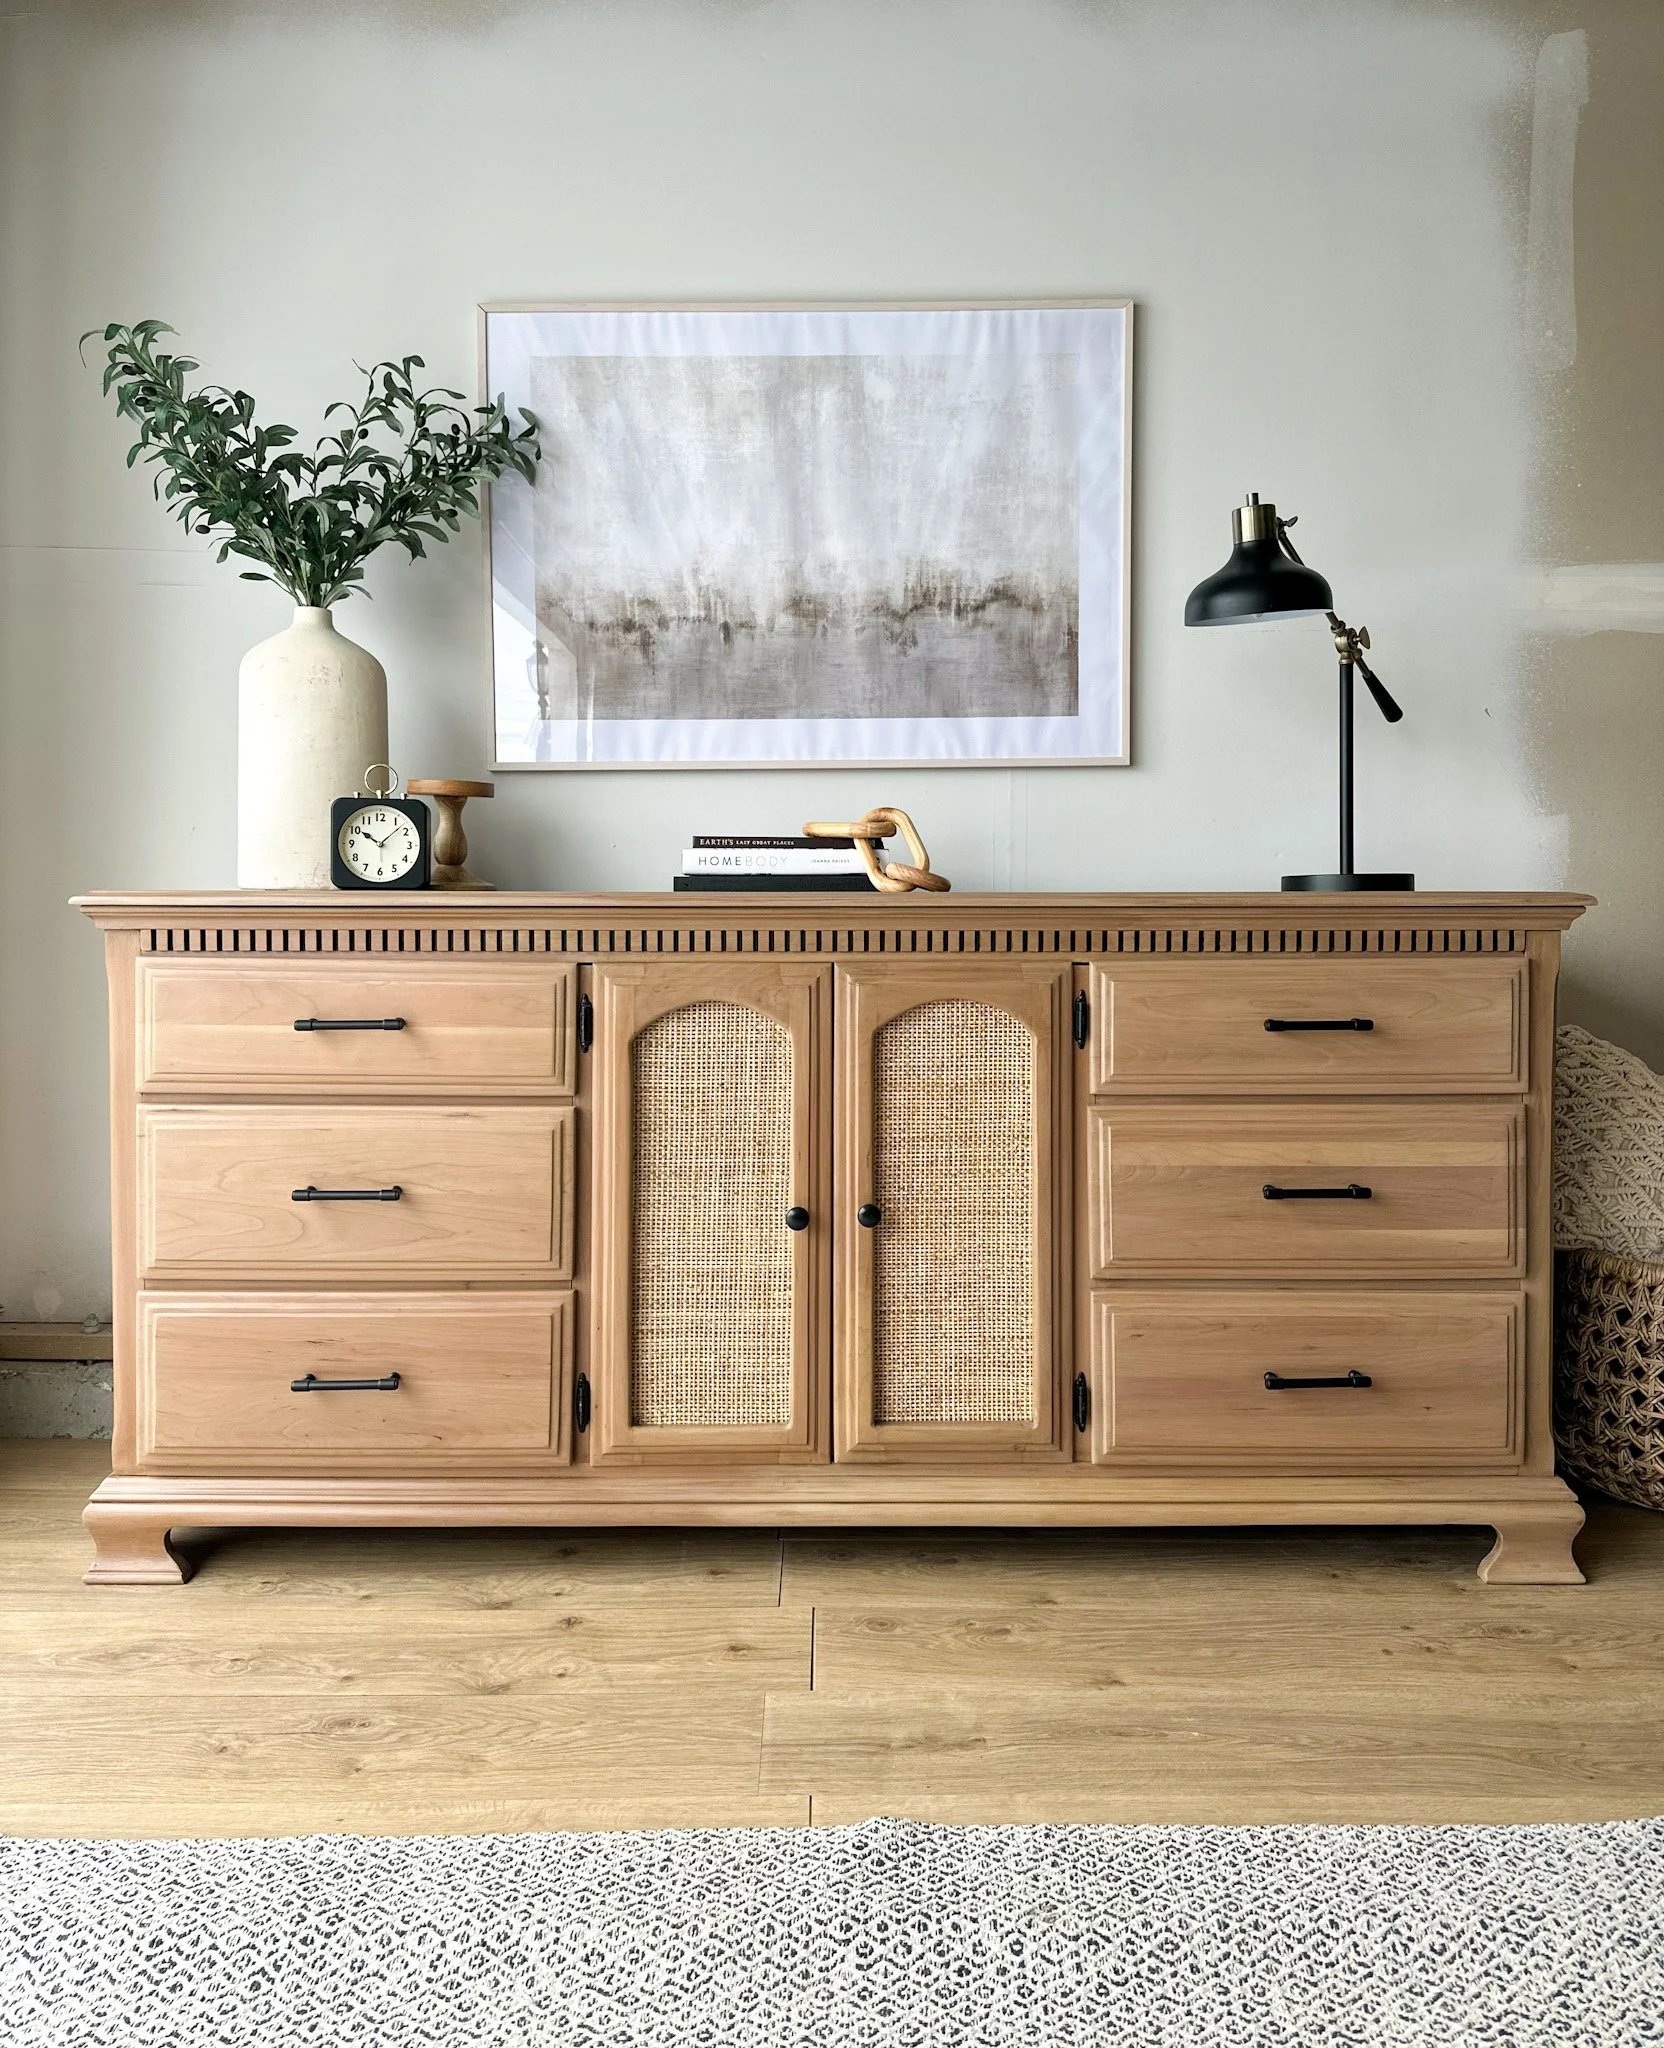
Cherry Wood Dresser Makeover: A Detailed Step-by-Step Guide
Hey DIYers! Ashley here, ready to dive deep into my latest furniture flip. This cherry wood dresser transformation was quite the adventure, and I'm breaking it all down for you. It’s one of my all time favorite makeovers though, so hang in there because it’s worth it in the end!
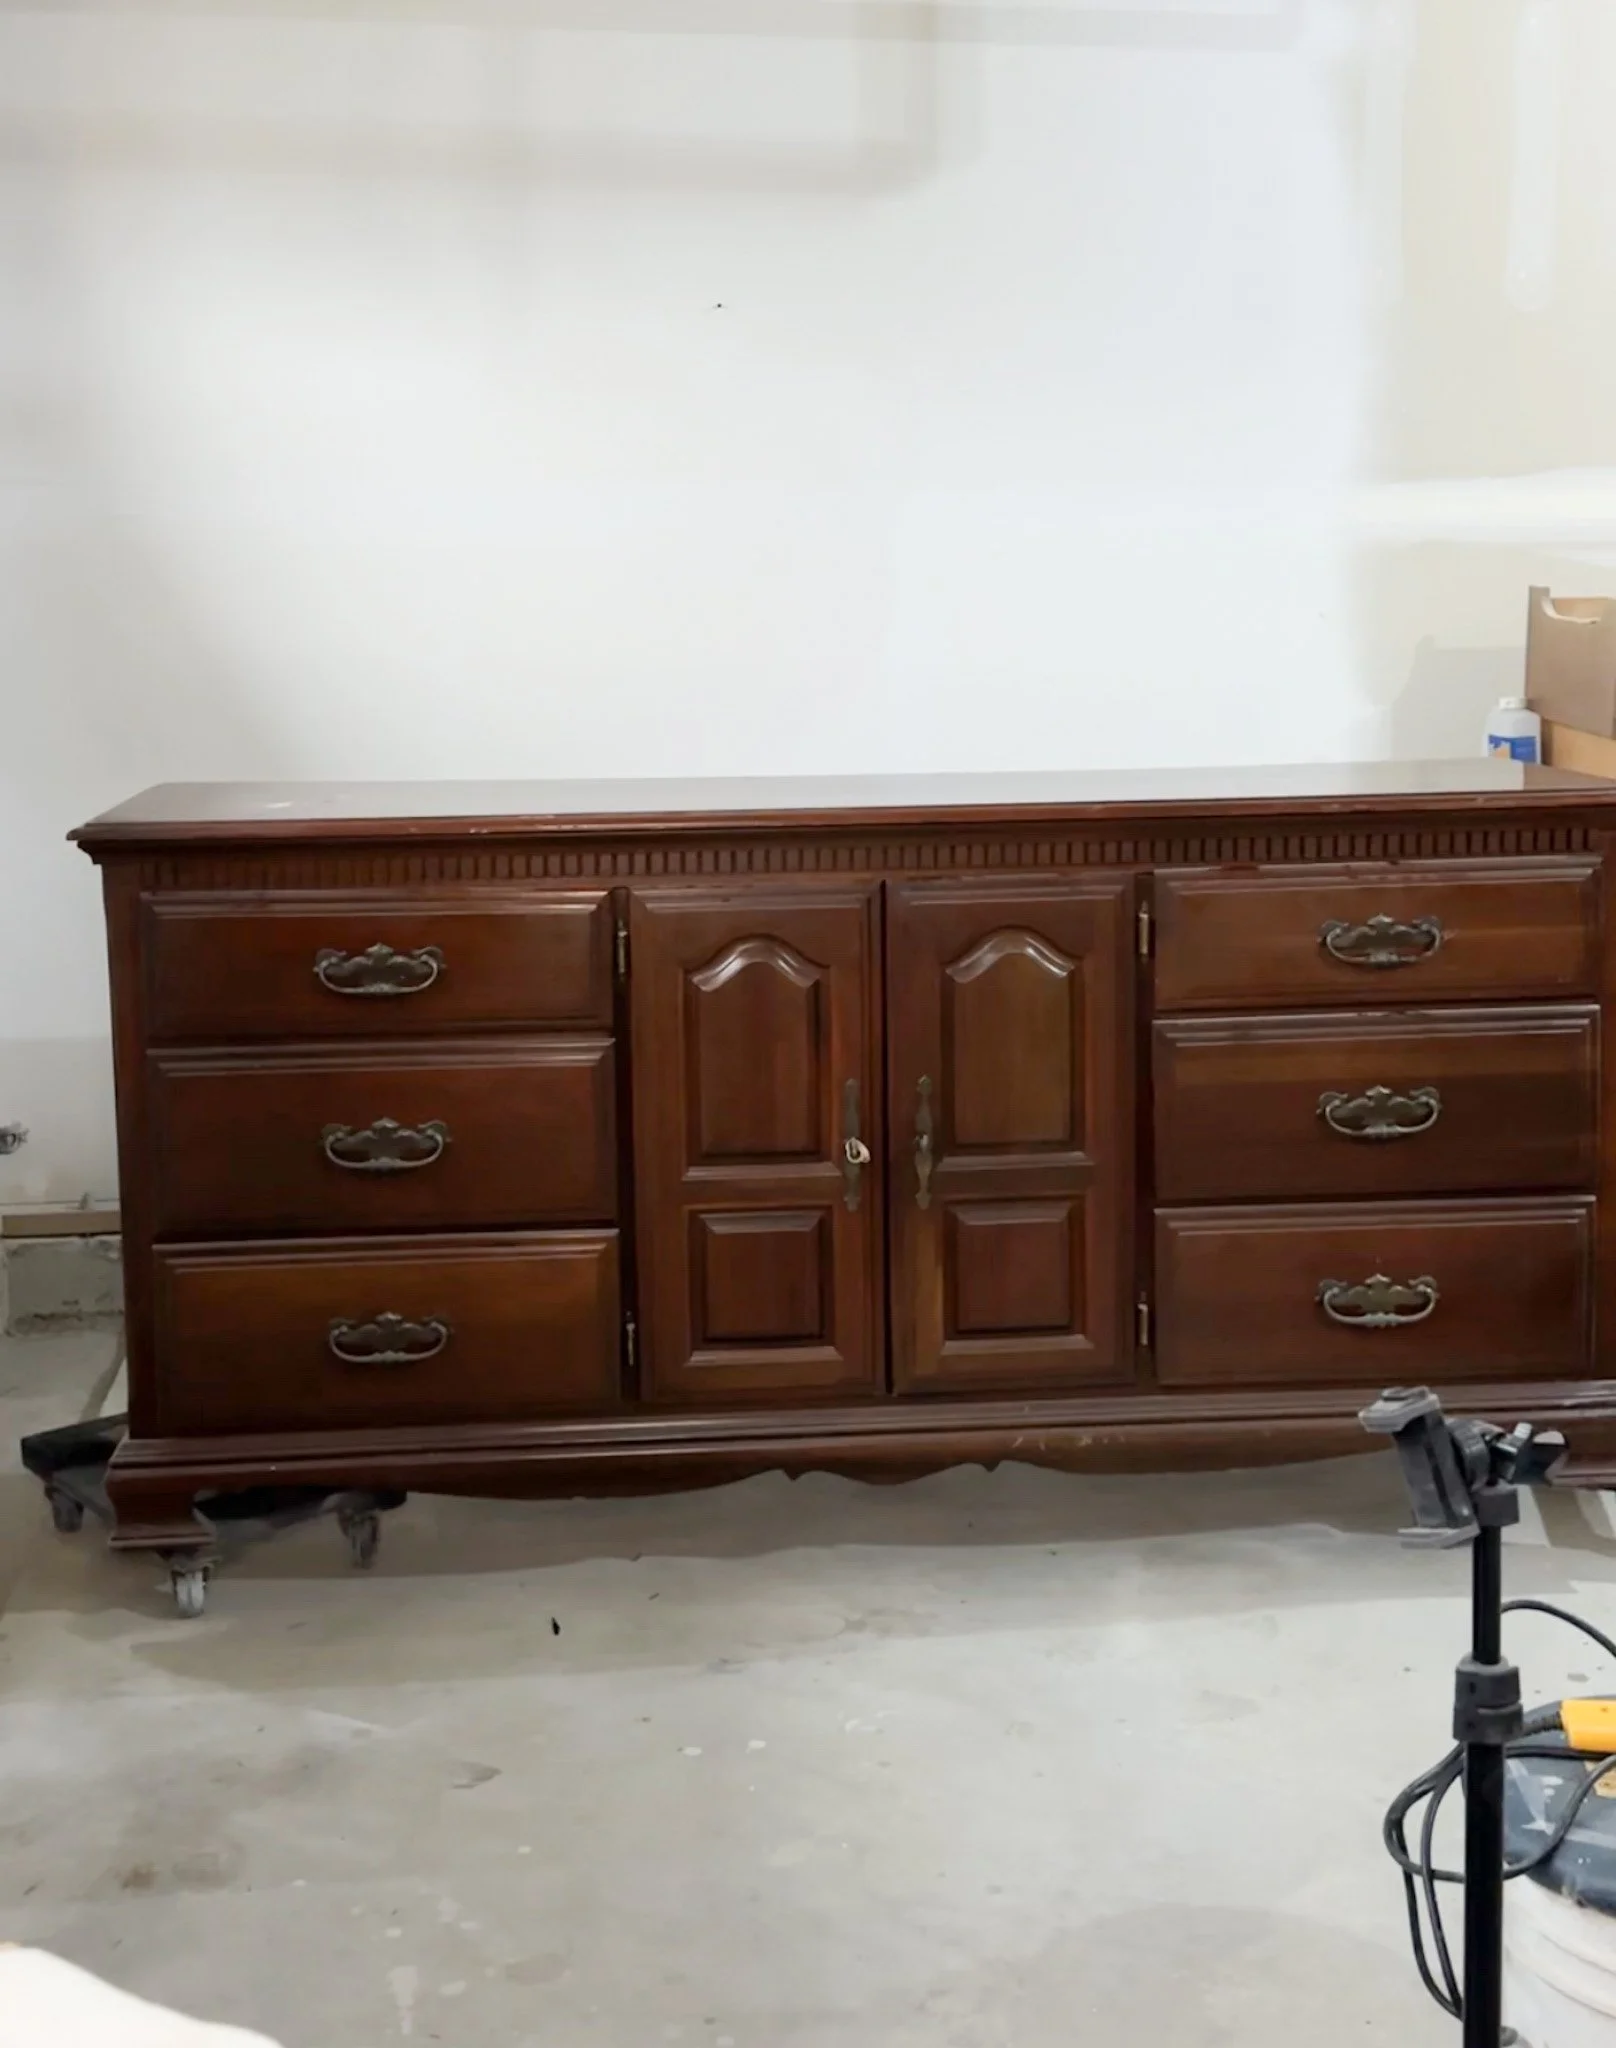
Here is a Quick Look at the before. It was in great shape but very outdated. The hardware and traditional style look of the doors/base makes it dated.
Product Requirements (not all necessary but everything I used):
Orbital sander and sandpaper (80, 120, 180 grit)
Surf Prep 3x4 Electric Ray Sander | (The small rectangle sander that has foam pads for easy curved sanding!) | Save 10% by using code ADASH10
Paint for wash (I used beige - specifically Knapsack Khaki by Melange paints)
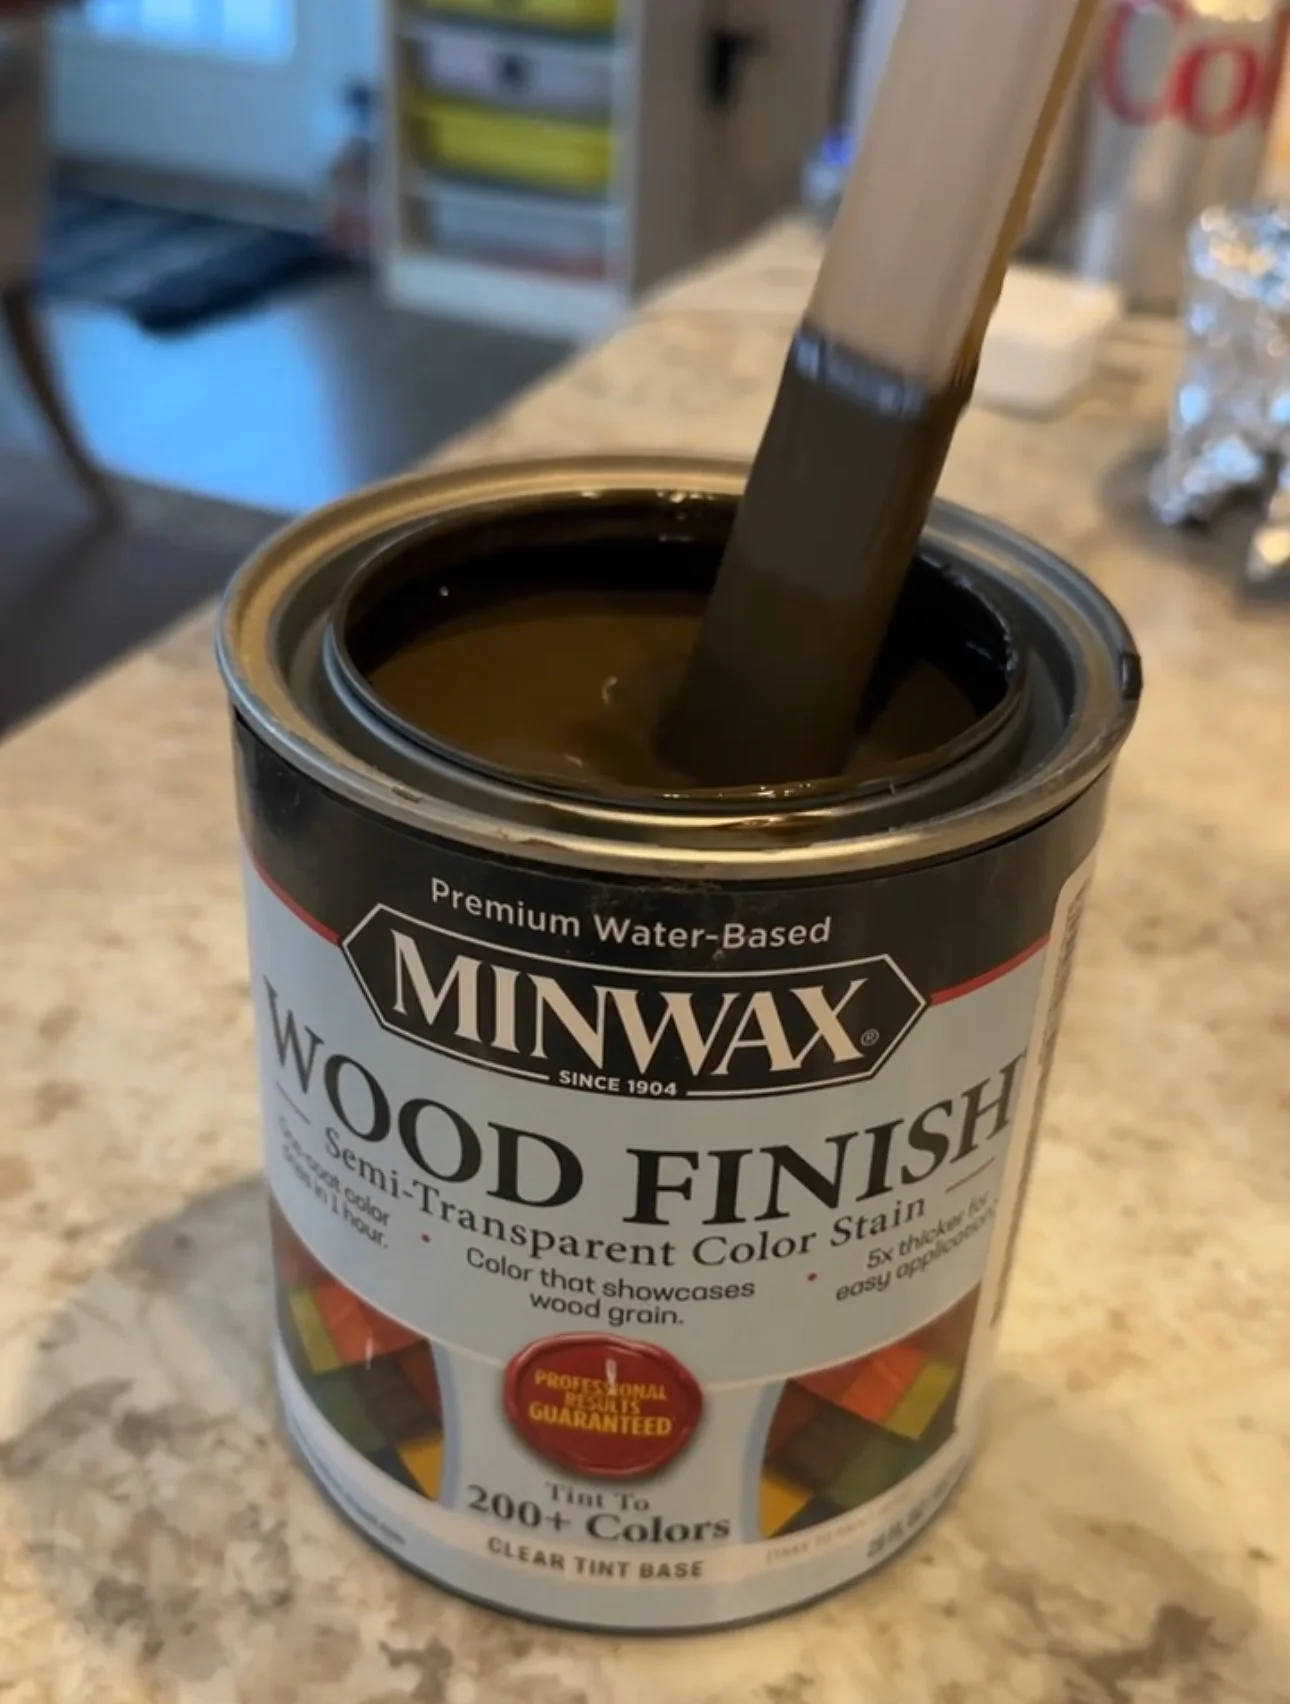
Water-based stain (I used Minwax Provencial)
1/4 inch plywood
Brad nailer and 18 gauge brad nails
Now, let's get into the nitty-gritty of each step:
Step 1: Prep Work
Remove all hardware, keeping screws in labeled bags.
Take out all drawers and number them (and their slots) with painter's tape.
Label door hinges with tape to ensure they go back in the same spots.
Clean the entire piece with a degreaser or all-purpose cleaner.
Use wood filler to patch any holes or deep scratches, let dry, and sand smooth.

Cleaning Old Furniture with Krud Cutter - Degreaser
Step 2: Sanding
Optional: Start with a carbide scraper to remove the initial finish. Work in the direction of the grain. This part isn’t necessary but can sometimes help remove stubborn finish FAST!
Begin sanding with 80 grit sandpaper on an orbital sander for the large, flat surfaces.
Only use this low of grit if you are SURE it is solid wood. Most furniture is made of wood veneer - so chances are slim that it is solid wood. If it’s veneer - start with 180 or 220 grit sandpaper or even using a chemical stripper to remove the finish!
Use a detail sander or sanding block for edges and corners.
I have a Surfprep sander - linked here! Use Code ADASH10 to save 10% off your order.
Progress to 120 grit, then finish with 180 grit for a smooth surface.
Hand sand any intricate details or hard-to-reach areas.
Note: I didn’t sand in between the small square/rectangle areas. I thought it would add some dimension to the piece, and honestly, I didn’t want to spend the time doing it when I didn’t think it was worth it!
Thoroughly vacuum and wipe down with a tack cloth between grits and after final sanding.
Step 3: Modifying the Base
Use a level to mark a straight line where you want to remove the ornate bottom detail.
Secure the dresser and use a jigsaw with a fine-toothed blade to carefully cut along the line.
Sand the newly cut edge, starting with 80 grit and working up to 180 grit for a smooth finish.
Step 4: Creating Arched Doors
Use a compass or trace a large circular object to create your arch shape on the doors.
Start the cut with a Dremel tool to create an entry point for the jigsaw blade.
Carefully cut out the arch with a jigsaw, staying slightly inside your line.
Use a router with a roundover bit to smooth the edges of the arch. Go slowly and make multiple passes if needed.
Sand the routed edges by hand to ensure they're completely smooth.

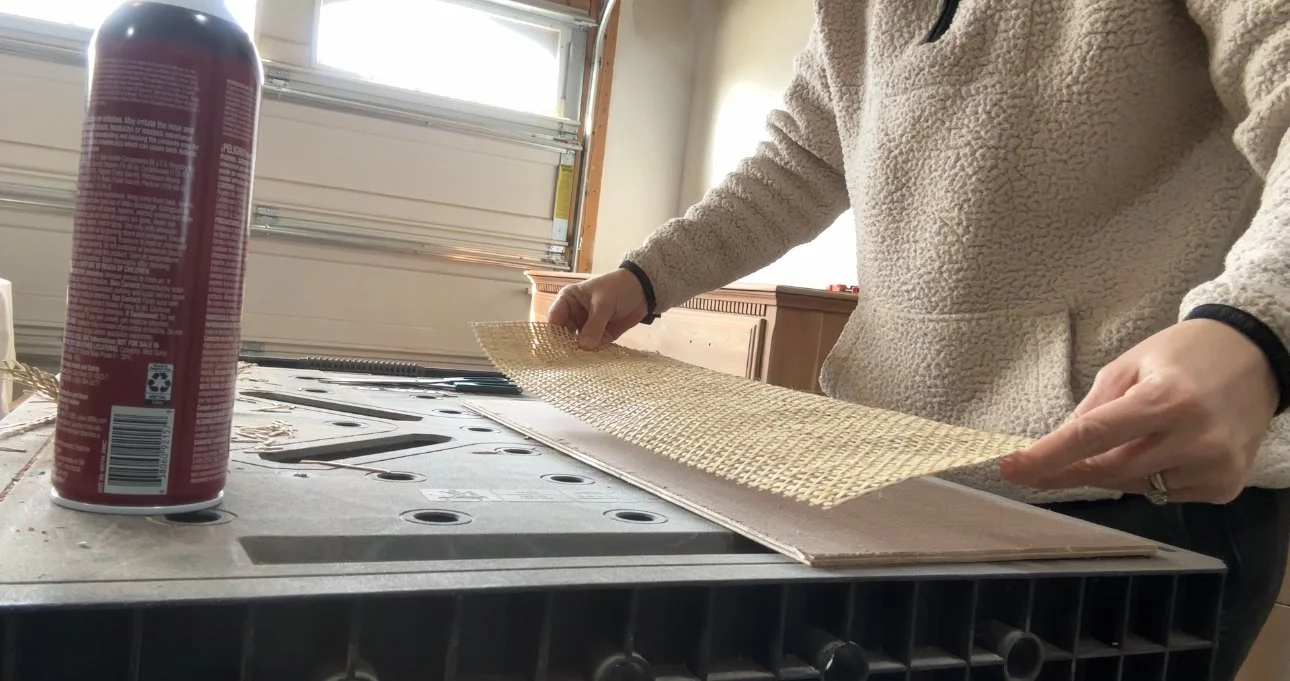
Step 5: Preparing Cane Inserts
Measure the arched openings and cut 1/4 inch plywood about 1 inch larger on all sides.
Soak cane webbing in warm water for 20 minutes to make it pliable.
Lay cane flat to dry slightly - it should still be damp but not dripping.
Spray plywood with fabric adhesive, then carefully lay cane over it, pulling taut.
Place heavy books on top and allow to dry completely (about an hour).
Trim excess cane with sharp scissors once dry.
Step 6: Paint Wash

Mix equal parts beige paint and water in a container.
Working in small sections, apply the wash with a foam brush.
Quickly wipe back with a lint-free cloth to reveal wood grain.
Allow to dry completely (about 1-2 hours).
Step 7: Stain
Lightly sand the paint wash with 320 grit sandpaper to knock down any raised grain.
Mist the surface lightly with water using a spray bottle.
Apply water-based stain with a foam brush, working in the direction of the grain.
Wipe back with a lint-free cloth for desired intensity. Work quickly as water-based stain dries fast.
Allow to dry completely (about 2 hours).
Step 8: Finishing Touches
Position cane inserts in door openings and secure with brad nailer, placing nails every few inches around the perimeter.
Cut peel and stick wallpaper to fit drawer bottoms, carefully applying and smoothing out any bubbles.
Apply Howard's Feed-N-Wax to drawers and runners with a lint-free cloth. Buff after a few minutes for a nice sheen.
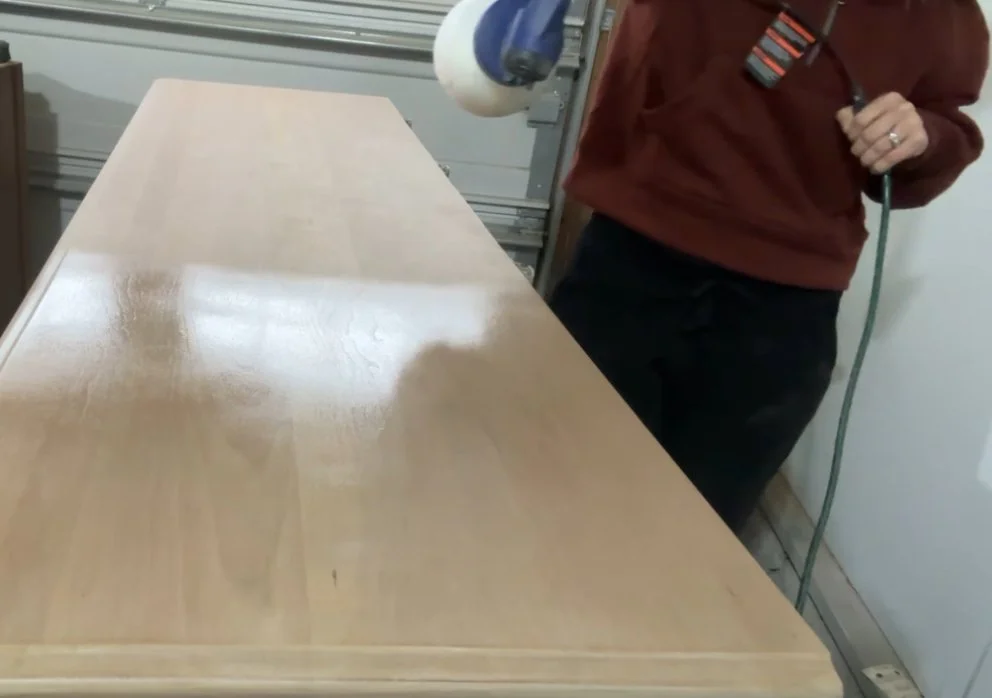
Step 9: Sealing
Set up your space for spraying - ensure good ventilation and cover your work area.
Thin water-based polyurethane according to manufacturer's instructions for spraying.
Apply a light coat with your paint sprayer, moving in smooth, even strokes.
Allow to dry completely (about 2 hours), then lightly sand with 320 grit sandpaper.
Apply a second coat for added durability.
This project was a real learning experience! Cherry wood can be tricky, but the paint wash and water-based stain combo ended up being a game-changer. The arched cane inserts added that modern touch I was after, and the new hardware was truly the perfect finishing touch.
Remember, patience is key in furniture flipping. Don't be afraid to change course if your original plan isn't working out. Sometimes, those unexpected turns lead to even better results!
I hope this detailed guide inspires you to tackle your own furniture makeover. If you give it a try, I'd love to hear about your experience in the comments below.
Happy DIYing, everyone!