DIY Basketball-Themed Valentine’s Box
“Shoot Me A Valentine” | Basketball Themed Valentine’s Day Kids’ Box
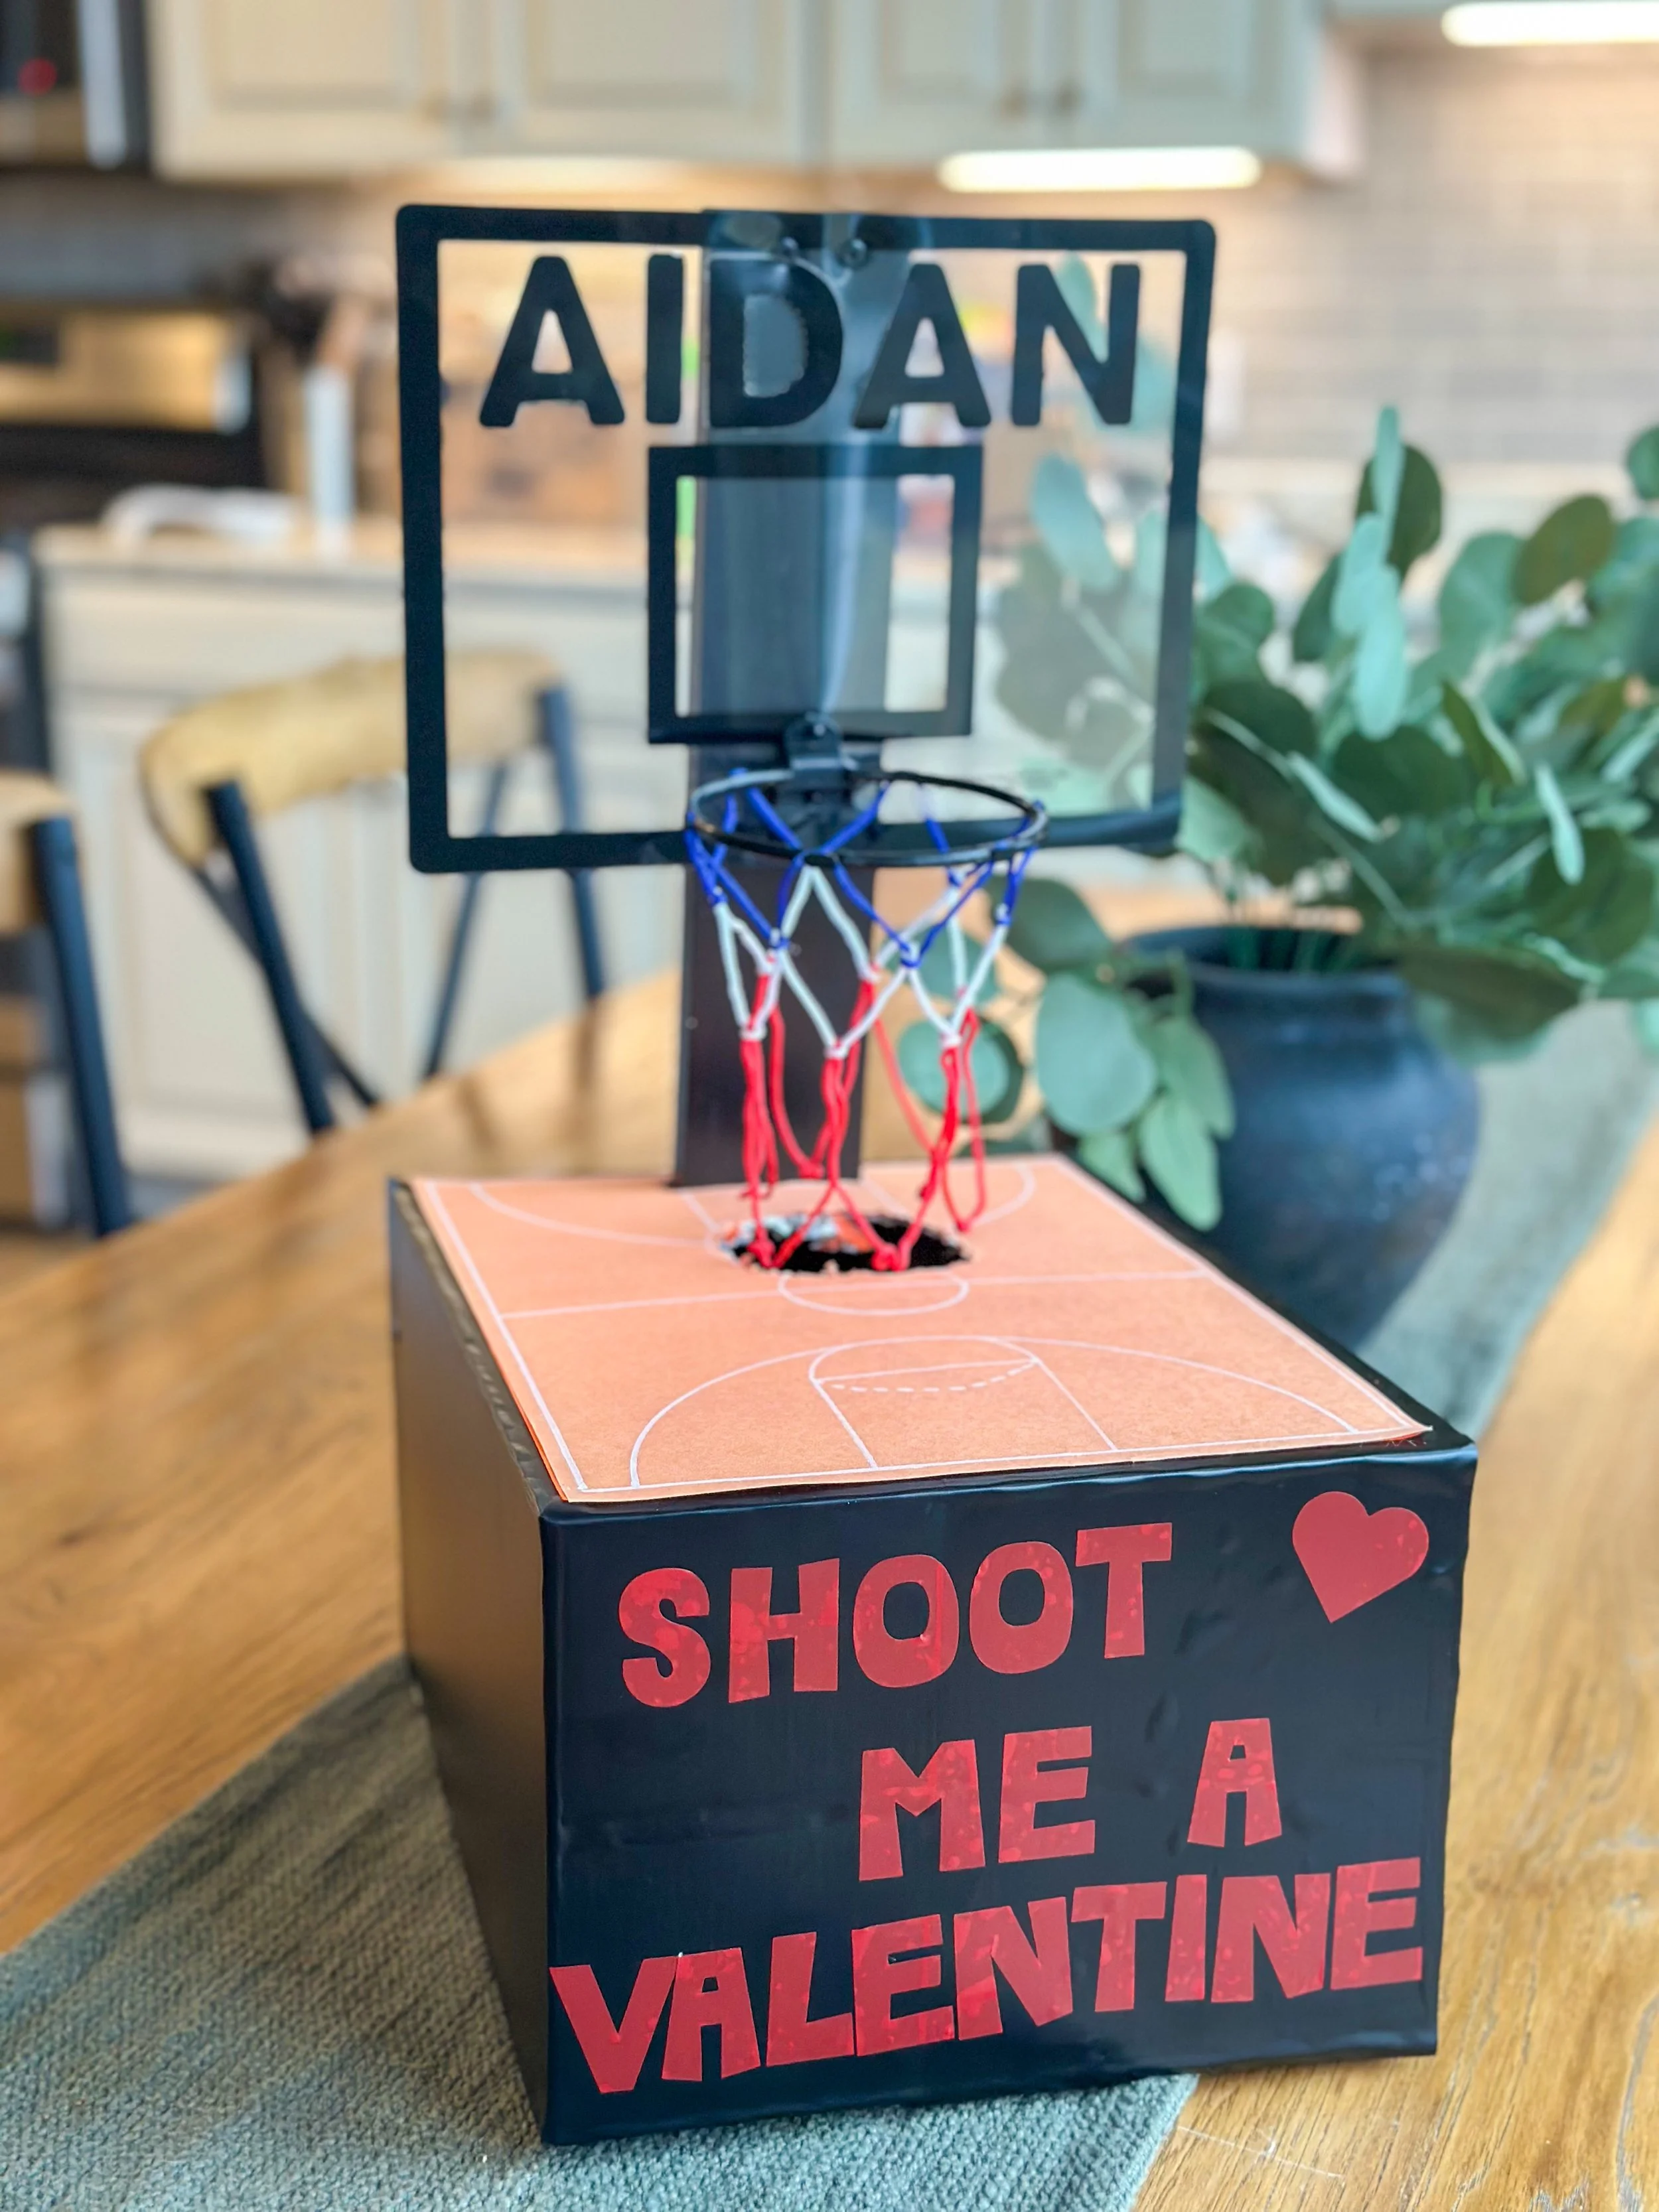
Valentine’s Day is just around the corner, and if you have a basketball-loving kid, this DIY Valentine’s box will be a slam dunk! Using a mini muffin box and a few simple craft supplies, you can create a fun and interactive box that allows valentines to be "shot" into the hoop. Follow along to make your own "Shoot Me a Valentine" box!
Supplies Needed:
Shoe box but any box will do! I used an empty large mini-muffin box
Black vinyl, construction paper, or wrapping paper (for covering the box)
Light brown/orange construction paper (for the basketball court)
White paint pen (for drawing court lines)
Scrap wood (1x3)
Black paint
Small basketball hoop (found at the dollar store)
Poster letters (for name on the backboard)
Cricut (or scissors and adhesive letters)
Tape and glue
Box cutter or scissors
Step 1: Prepare the Box
Once my kids finished off the mini muffins (a tough job, but someone had to do it!), I repurposed the box as the base for our Valentine’s holder. Cover the entire box with black vinyl, construction paper, or wrapping paper—whatever you have on hand. This creates a clean, polished look while also making it easy to customize.
If you are a perfectionist, I wouldn’t recommend using vinyl because you will see every bump, air pocket, and seam!

Step 2: Create the Basketball Court
Cut a piece of light brown or orange construction paper and attach it to the top of the box. I attached it to the box using double-sided tape, and ended up using a lighter color piece of construction paper (after already attaching the orange).
This will act as your basketball court.
Using a white paint pen, draw on the classic basketball court lines to bring it to life. You can see in the video below I used random objects to trace to give me straight lines and circles. A plate gave me the perfect semi-circle!
Step 3: Add Personalization

Use poster letters to add your child’s name to the backboard, making it feel like their own custom basketball hoop. The Dollar Store sells poster letters which happened to be the perfect size for this backboard!
Step 4: Make the Basketball Hoop and Pole
Take a 1x3 piece of scrap wood and paint it black. Once dry, cut a hole at the end of the "court" where the wood will be inserted into the box. Secure it firmly inside the box so that it stands upright like a basketball pole. Mount the small basketball hoop (from the dollar store) to the top of the wooden pole.
For the finishing touch, I used my Cricut to cut out letters spelling "Shoot Me a Valentine" and attached them to the front of the box. If you don’t have a Cricut, you can use adhesive letters or hand-cut letters from paper.
Step 5: Create the Valentine Slot
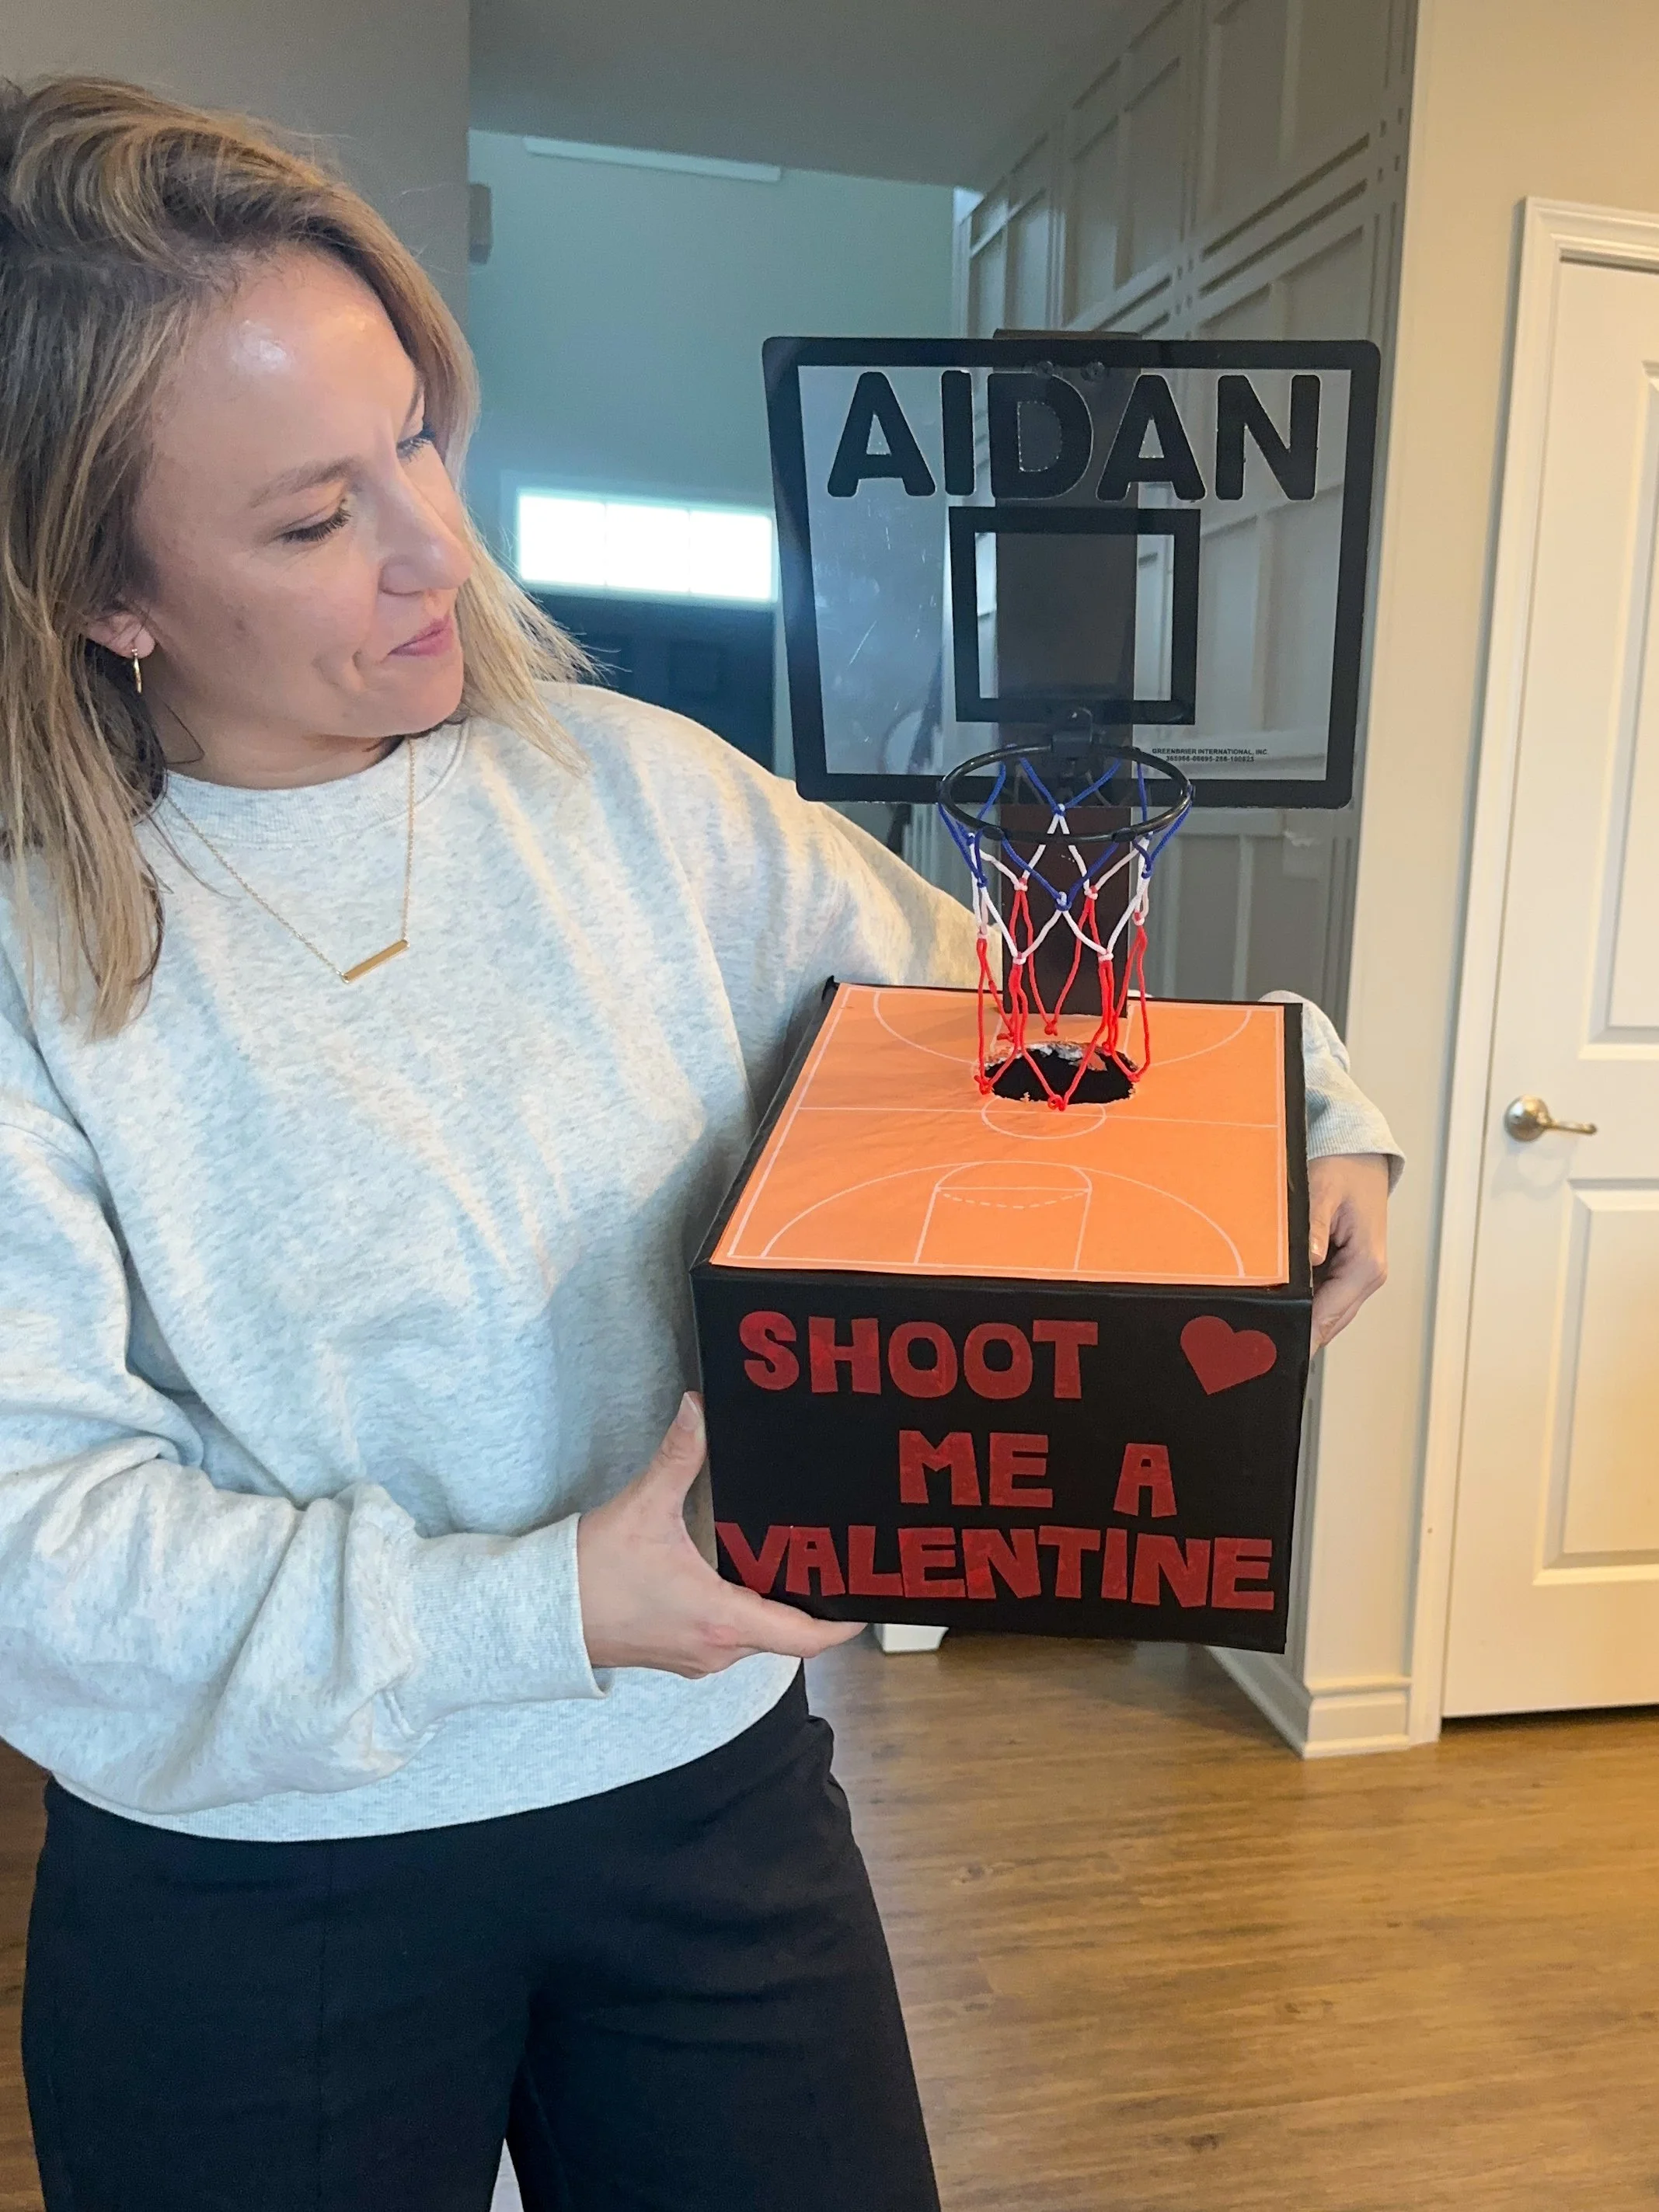
Using a box cutter or scissors, cut a hole under the net. This way, valentines can be "shot" through the hoop and land inside the box, making it both fun and functional!
Note: See video above for how I did this! I ended up making it a bit bigger because some of the “test” Valentine’s we tried were too big to fit in the slot.
Step 6: Let Your Child Customize
I left the sides of the box blank so that my son could decorate it however he wanted. Whether with stickers, drawings, or basketball-themed cutouts, this step makes the project even more special for your little athlete.
WARNING!! Your son or daughter might want to create a competition in class with this fun and interactive Valentine’s day box….speaking from experience hahaha! Which just makes it all that more special!
Final Thoughts
This DIY basketball-themed Valentine’s box is an easy and creative way to celebrate Valentine’s Day while embracing your child’s love for the game. Plus, it’s a great opportunity to upcycle an empty box and use craft materials you already have at home. If you make one, be sure to tag @StudioAdash—I’d love to see your creations!
Happy crafting, and may your Valentine's Day be a slam dunk! 🏀❤️