DIY West Elm mirror dupe
Do you love the simple arch design of mirrors like West Elm but don't want to pay the $700 price? Here is a perfect solution to help you DIY your own for less than $100!
Below are step-by-step instructions on how to create this dupe. I used my existing mirror from the bathroom (reduce, reuse, recycle!). You can easily go buy a similar mirror from Home Depot or Lowes to get this look.
As an Amazon Associate, I earn from qualifying purchases. I also may earn from other qualifying purchases with other companies or get free product to review and use. All opinions are my own.
Material used:
Mirror (I used my existing from the bathroom)
Spray paint (only needed if you want a different color from original PVC trim)
Gorilla Glue Adhesive (optional)
Step 1: Remove mirror from wall
To remove the mirror from our bathroom wall, you first need a 5-in-1 tool (I have this one) and a mallet or hammer. Gently tap on the mirror clips that are attached to the top of the mirror.
Removing Existing Mirror
Step 2: Cut mirror
This part was actually the easiest! I took the mirror to my local glass and mirror shop, where they offer to do custom cuts for only $10/cut. I drew on the mirror with a dry erase marker (easily wipes off) where I wanted the glass cutter to cut. I wanted roughly 2 inches off the sides, 1 inch off the top, and rounded/arch shaped corners. Below is a video on how I made the arch shape with a large pot.
The total cost of the all the cuts was only $50! It's such a steal for a beautifully shaped mirror.
Step 3: Stick the gold trim on the mirror
To get the look of a gold frame, I purchased this trim. It is a plastic PVC, flexible trim and you can buy it in a few different colors. I opted for white because I could easily spray paint it the color of my choice. I ordered the 30ft version because this mirror is big, but I had a lot leftover. I would recommend measuring before you order so you don't over buy (like me!).
I taped the trim around the mirror edge before cutting to size. To cut, use regular scissors. Doesn't get any more simple than that! I cut two pieces. The first was the top part, around the arches. The second was the bottom straight part. While this isn't seamless, when it is put together, it looks like it! (Note: I actually ending up removing the bottom part of the trim because of how I installed the mirror on the wall. And it still looks great! See step 4 for more about this). Below is a quick video overview on this process.
I wanted it to be gold so decided to use Rustoleum gold spray paint. Make sure to flip over after spraying the sides to ensure it's good coverage. Note: after applying the trim, I saw some imperfections. These can easily be fixed by spraying some of the gold paint in a disposable cup or plastic bowl, and using a small paint brush to do any touch-ups required.
The next part was just peeling the backing off of the trim, and sticking it on the mirror. The adhesive will stick, but you might want to add some additional adhesive. I didn't at first, but after installing the mirror, I went back around and added some Gorilla glue gel clear adhesive. See step 4 for more information on this!
Step 4: Install the mirror
This was by far the hardest part of the whole project. I did so much research that I was stuck in analysis paralysis. There are a few options that you could use to install your mirror.
Option 1: Use mirror rated adhesive to glue the mirror to the wall.
While this is a good option, there are a few risks that I wasn't willing to take with this project. The first is that if you don't install it properly, it could easily fall off the wall. Because this was my kid's bathroom, I couldn't stop thinking about it coming crashing down on them while brushing their teeth. I would recommend doing your research to determine if this method is good for you. There are a lot of Youtube videos out there if you search for "installing frameless mirror".
Option 2: Use mirror clips (how it was originally hung)
This was the option that I opted for. While not ideal because I didn't want to see the clips, I decided this was the safest option for me and my family. I spray painted the original clips, and installed them back on the wall. I ended up having to remove the trim, and reinstalling it after I hung the mirror in the clips. The trim didn't fit in the clips, but it still looked great after I used additional adhesive.
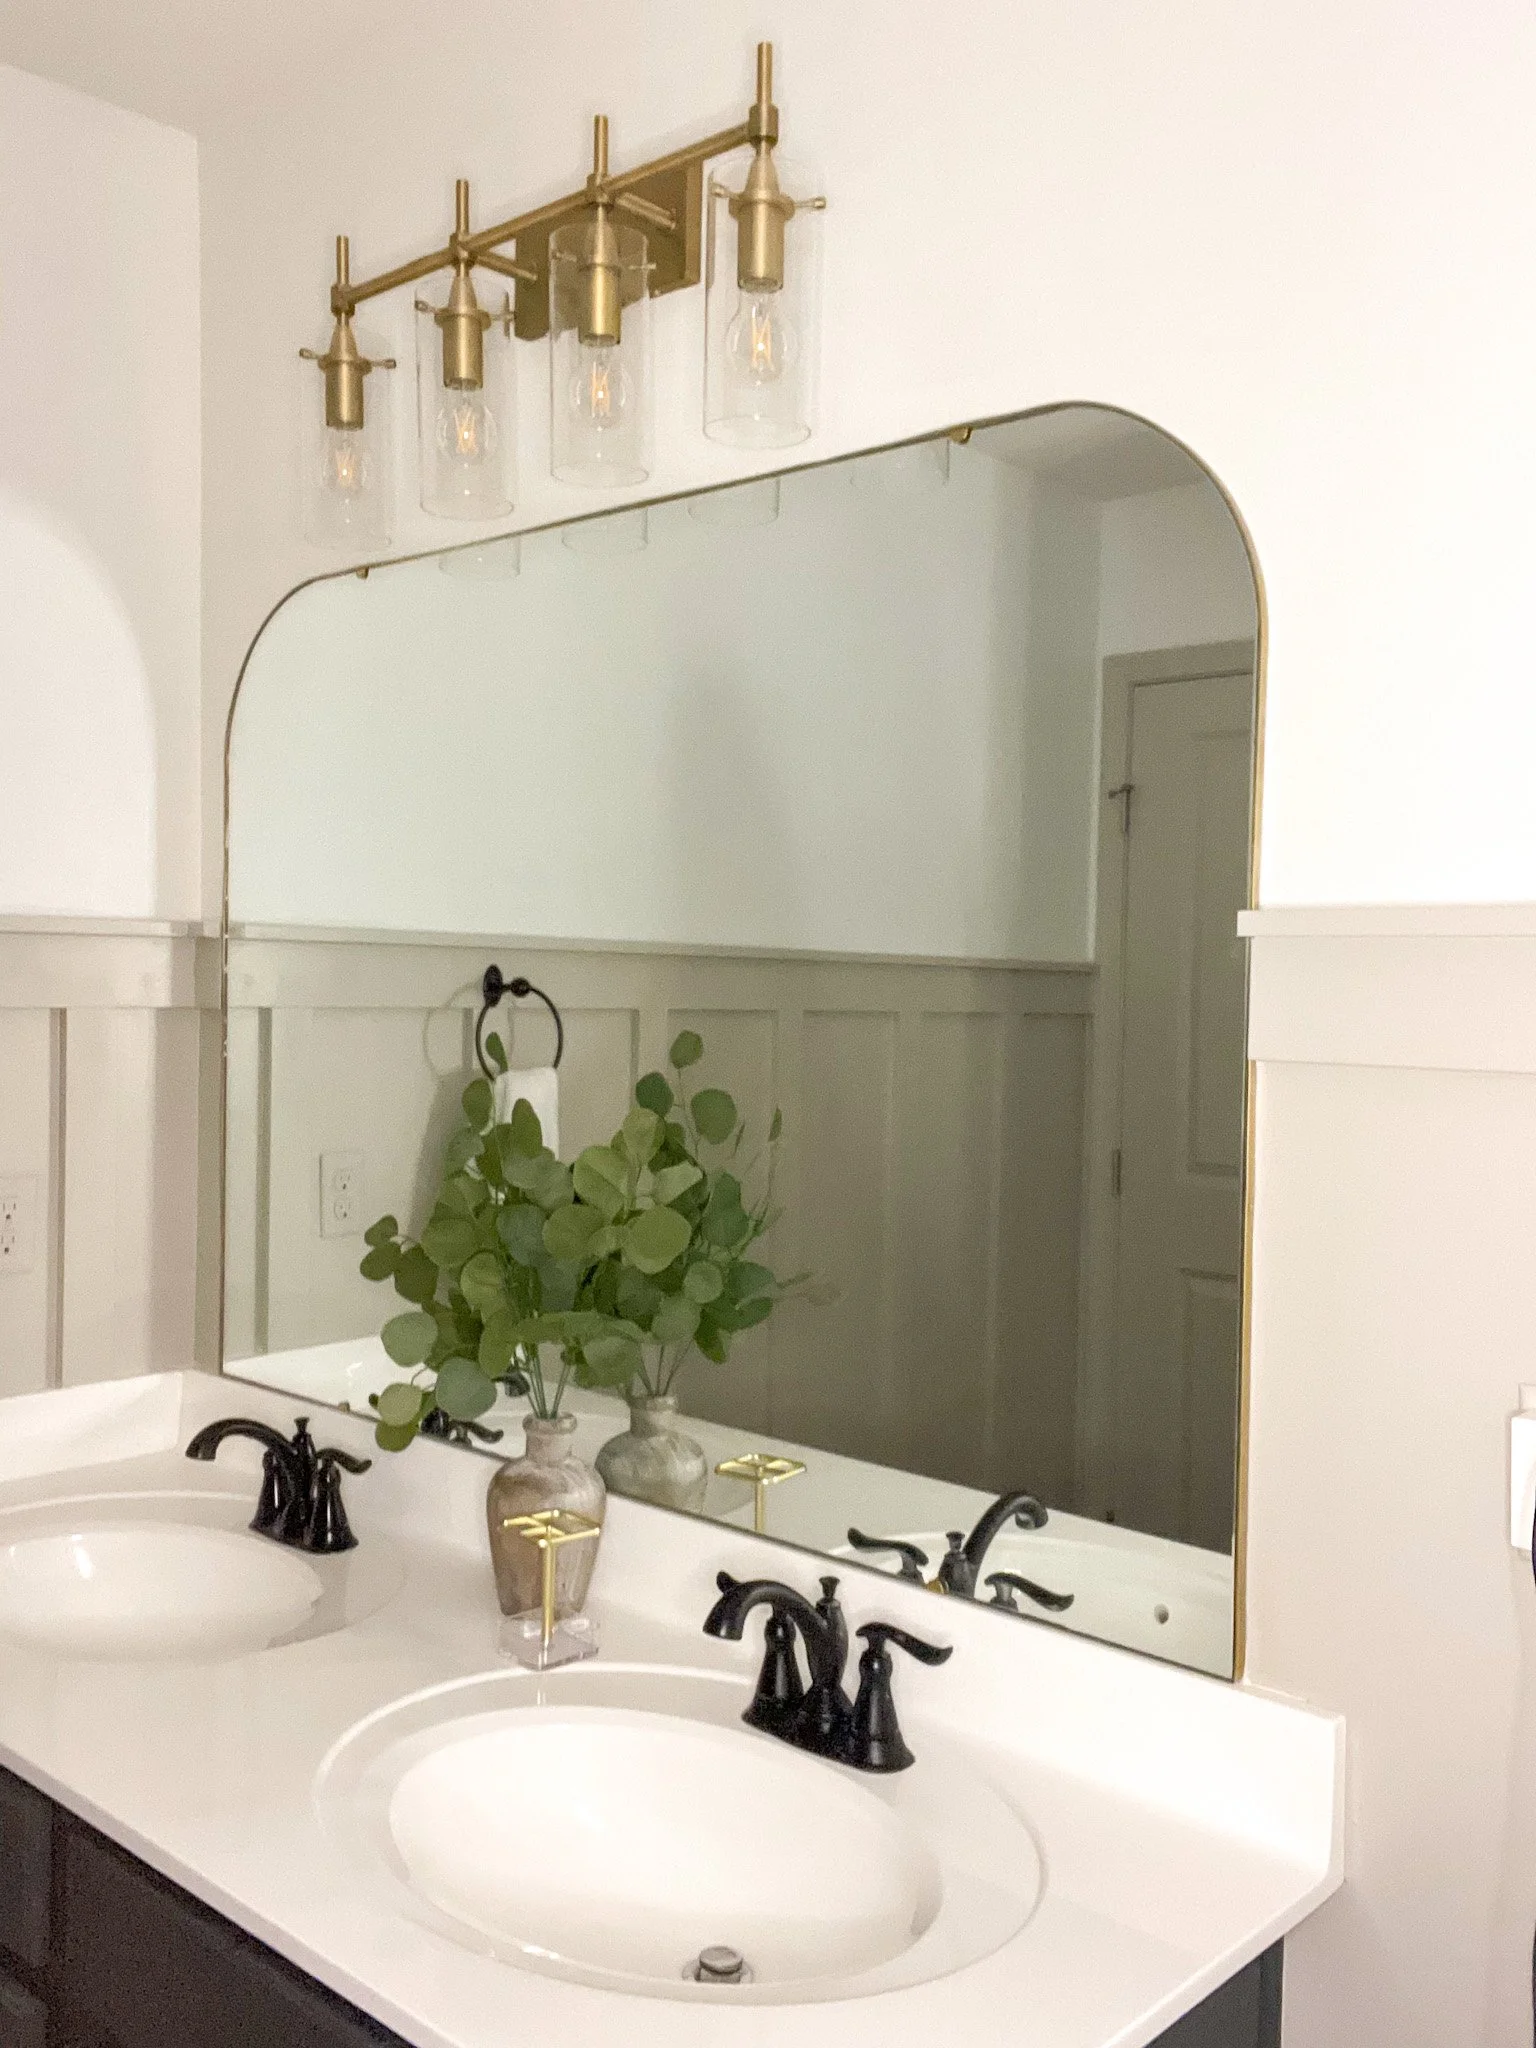
I love how I was able to reuse my original mirror for this project - and it modernizes the bathroom significantly! You can use this method on any mirror that you have for any room. I'll definitely be doing this again in the future.