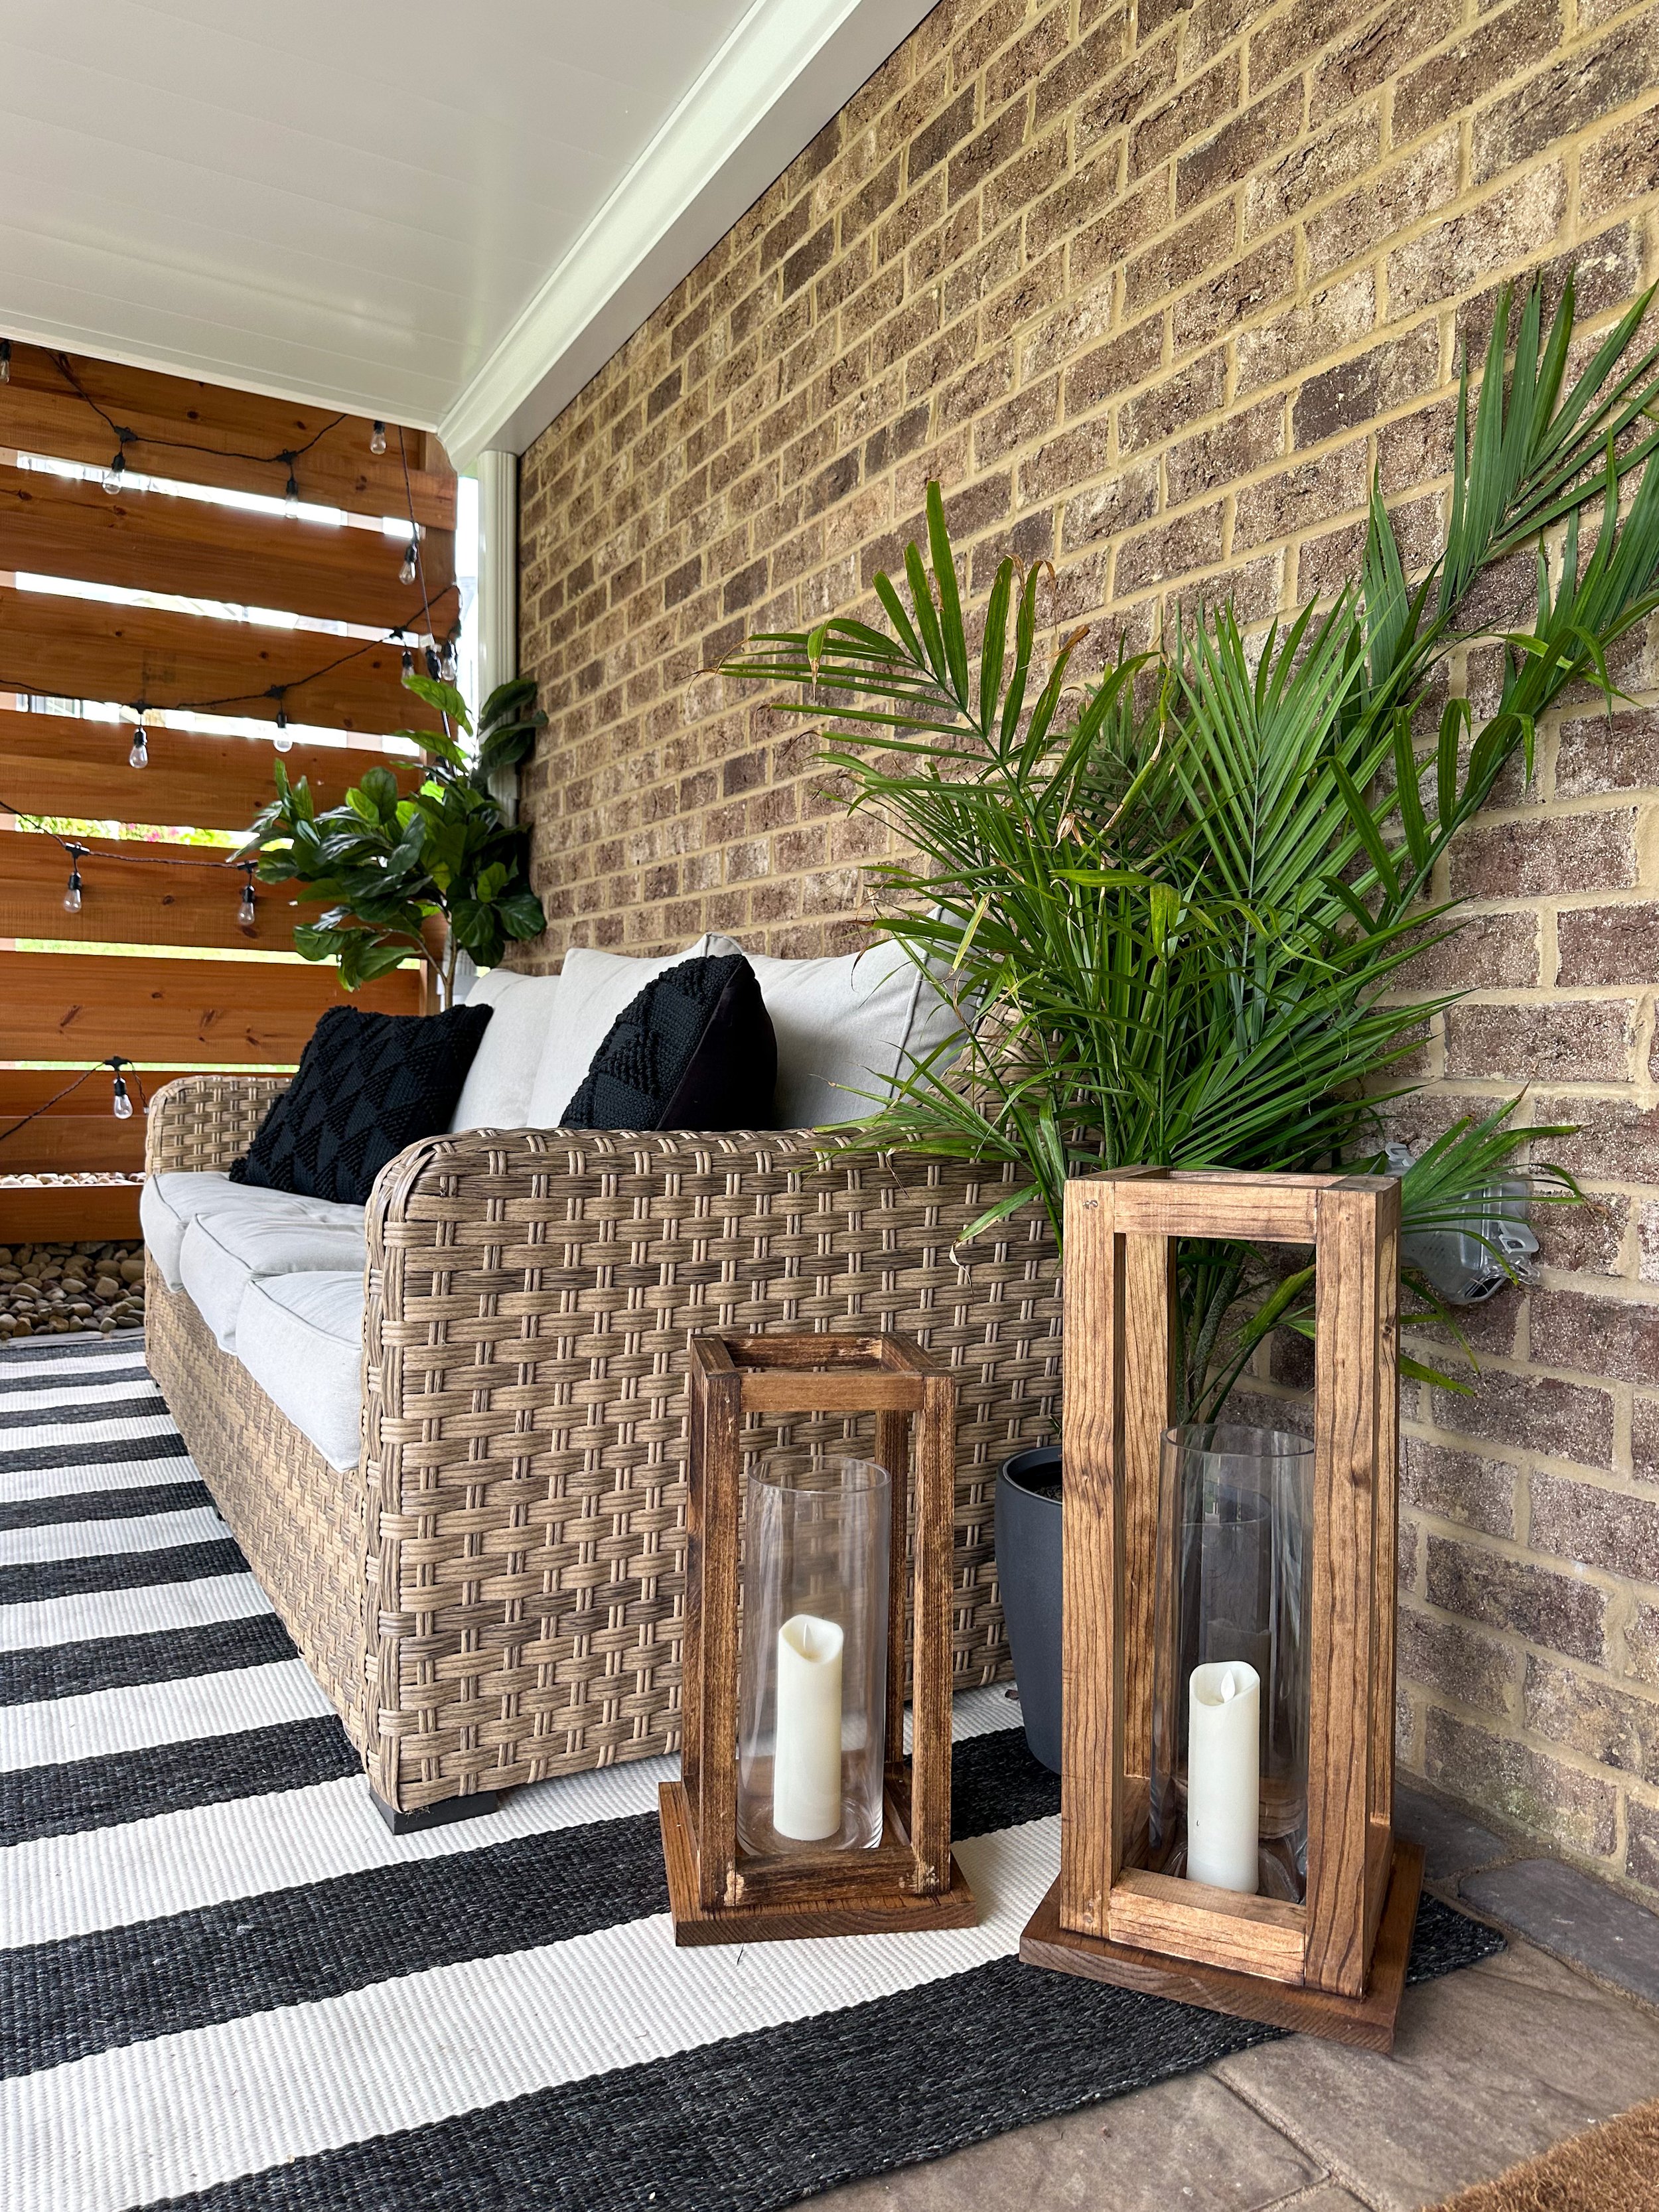
DIY Candle Lanterns

I built these easy candle lanterns with just a few tools! I’ll give you a couple of options on how to easily put these together in the event you don’t have some of these tools.
Note: This post is NOT sponsored. I chose to use tools from Temu because I wanted to try them out, as it could be a great cost effective option for beginner DIY’ers. Temu did sponsor my Instagram post found here but the interest was so high in the details of this build that I decided to put together this post.
Materials used:
2”x2” Poplar Boards
1”x1” Pine/Poplar Boards
1”x10” Scrap Wood Piece for Base
Wood Stain & Sealer - I used Early American by Minwax
Tools used:
Drill
Self-Center Dowel Jig Kit (Option A)
Step 1: Cut Wood to Size
Cutting Wood in Miter Box
For the tall lantern here are the sizes I used:
(8) 5.5” pieces of the 2”x2” poplar boards
(4) 22” pieces of the 2”x2” poplar boards
Base piece = 1” x 10” square pine board (More info on this in step 3)
For the smaller lantern, here are the sizes I used.
(8) 5.5” pieces of the 1”x1” poplar boards
(4) 16” pieces of the 1”x1” poplar boards
Base piece = 1” x 10” square pine board (More info on this in step 3)
I would recommend using this size wood for the smaller lantern. You could actually just use only wood glue to hold together to joints, and use painters tape to hold it in place while it dries. This does take a little longer because you have to wait for joints to dry before fully assembling.
To cut the wood, I used a miter saw box that I bought from Home Depot. It’s a great, cost effective way to cut wood if you don’t have a miter box. It does give you an arm workout though!
Step 2: Build the Frame by Attaching Wood
To attach the pieces there are 2 options.
Option A: Shown in video
Using self-center dowel jig
Using a self-centering dowel jig, I drilled a hole on the side of the 2”x2” board. On the shorter 2”x2” board, I drilled a hole with the self-centering dowel jig. I added wood glue and a dowel and connected the two together before moving on to each piece until a rectangle was built.
This is the cheapest option but also the most time consuming one. If you plan to build a lot of these, or even build in the future, I would recommend investing in a brad nailer. There are so many projects that you can do with a brad nailer such as a feature wall in your house, that it makes it worth the investment upfront.
Option B: Easier but more costly tools required
Use 3/4” or 1” brad nails and wood glue to attach each of the pieces together - nailing each joint together.
Step 3: Attach Frame to Base Piece
I used a 1x10” scrap piece that I had and built the lantern around to match the size of this. If you don’t have a scrap piece of 1”x10” or 1”x9” or 1x8” piece, you can purchase a 1”x10”x8ft piece from your lumber store, and ask them to cut it for you. Home Depot will make 3 free cuts for you!
I just attached the base to the frame using wood glue. Once it was dry, it was ready to stain.
Step 4: Stain & Seal Wood
Prior to staining, lightly sand the wood with 220 grit sandpaper in the direction of the grain. After wiping off the dust, grab your favorite stain color. I used Early American by Minwax. It’s one of my all time favorite stain colors to use. While I didn’t use a pre-stain conditioner on these, I really should have! It reduces the blotchiness caused by penetrating stain.
To stain the wood, I just used a cheap foam brush and wiped off the excess with a lint free cloth. You could apply with a lint free cloth or t-shirt!
After the stain dried, I applied a topcoat to protect the wood. My favorite to use is Minwax’s water based in a satin finish. I applied with this brush and actually only did one coat, although they recommend to do at least 2 coats.
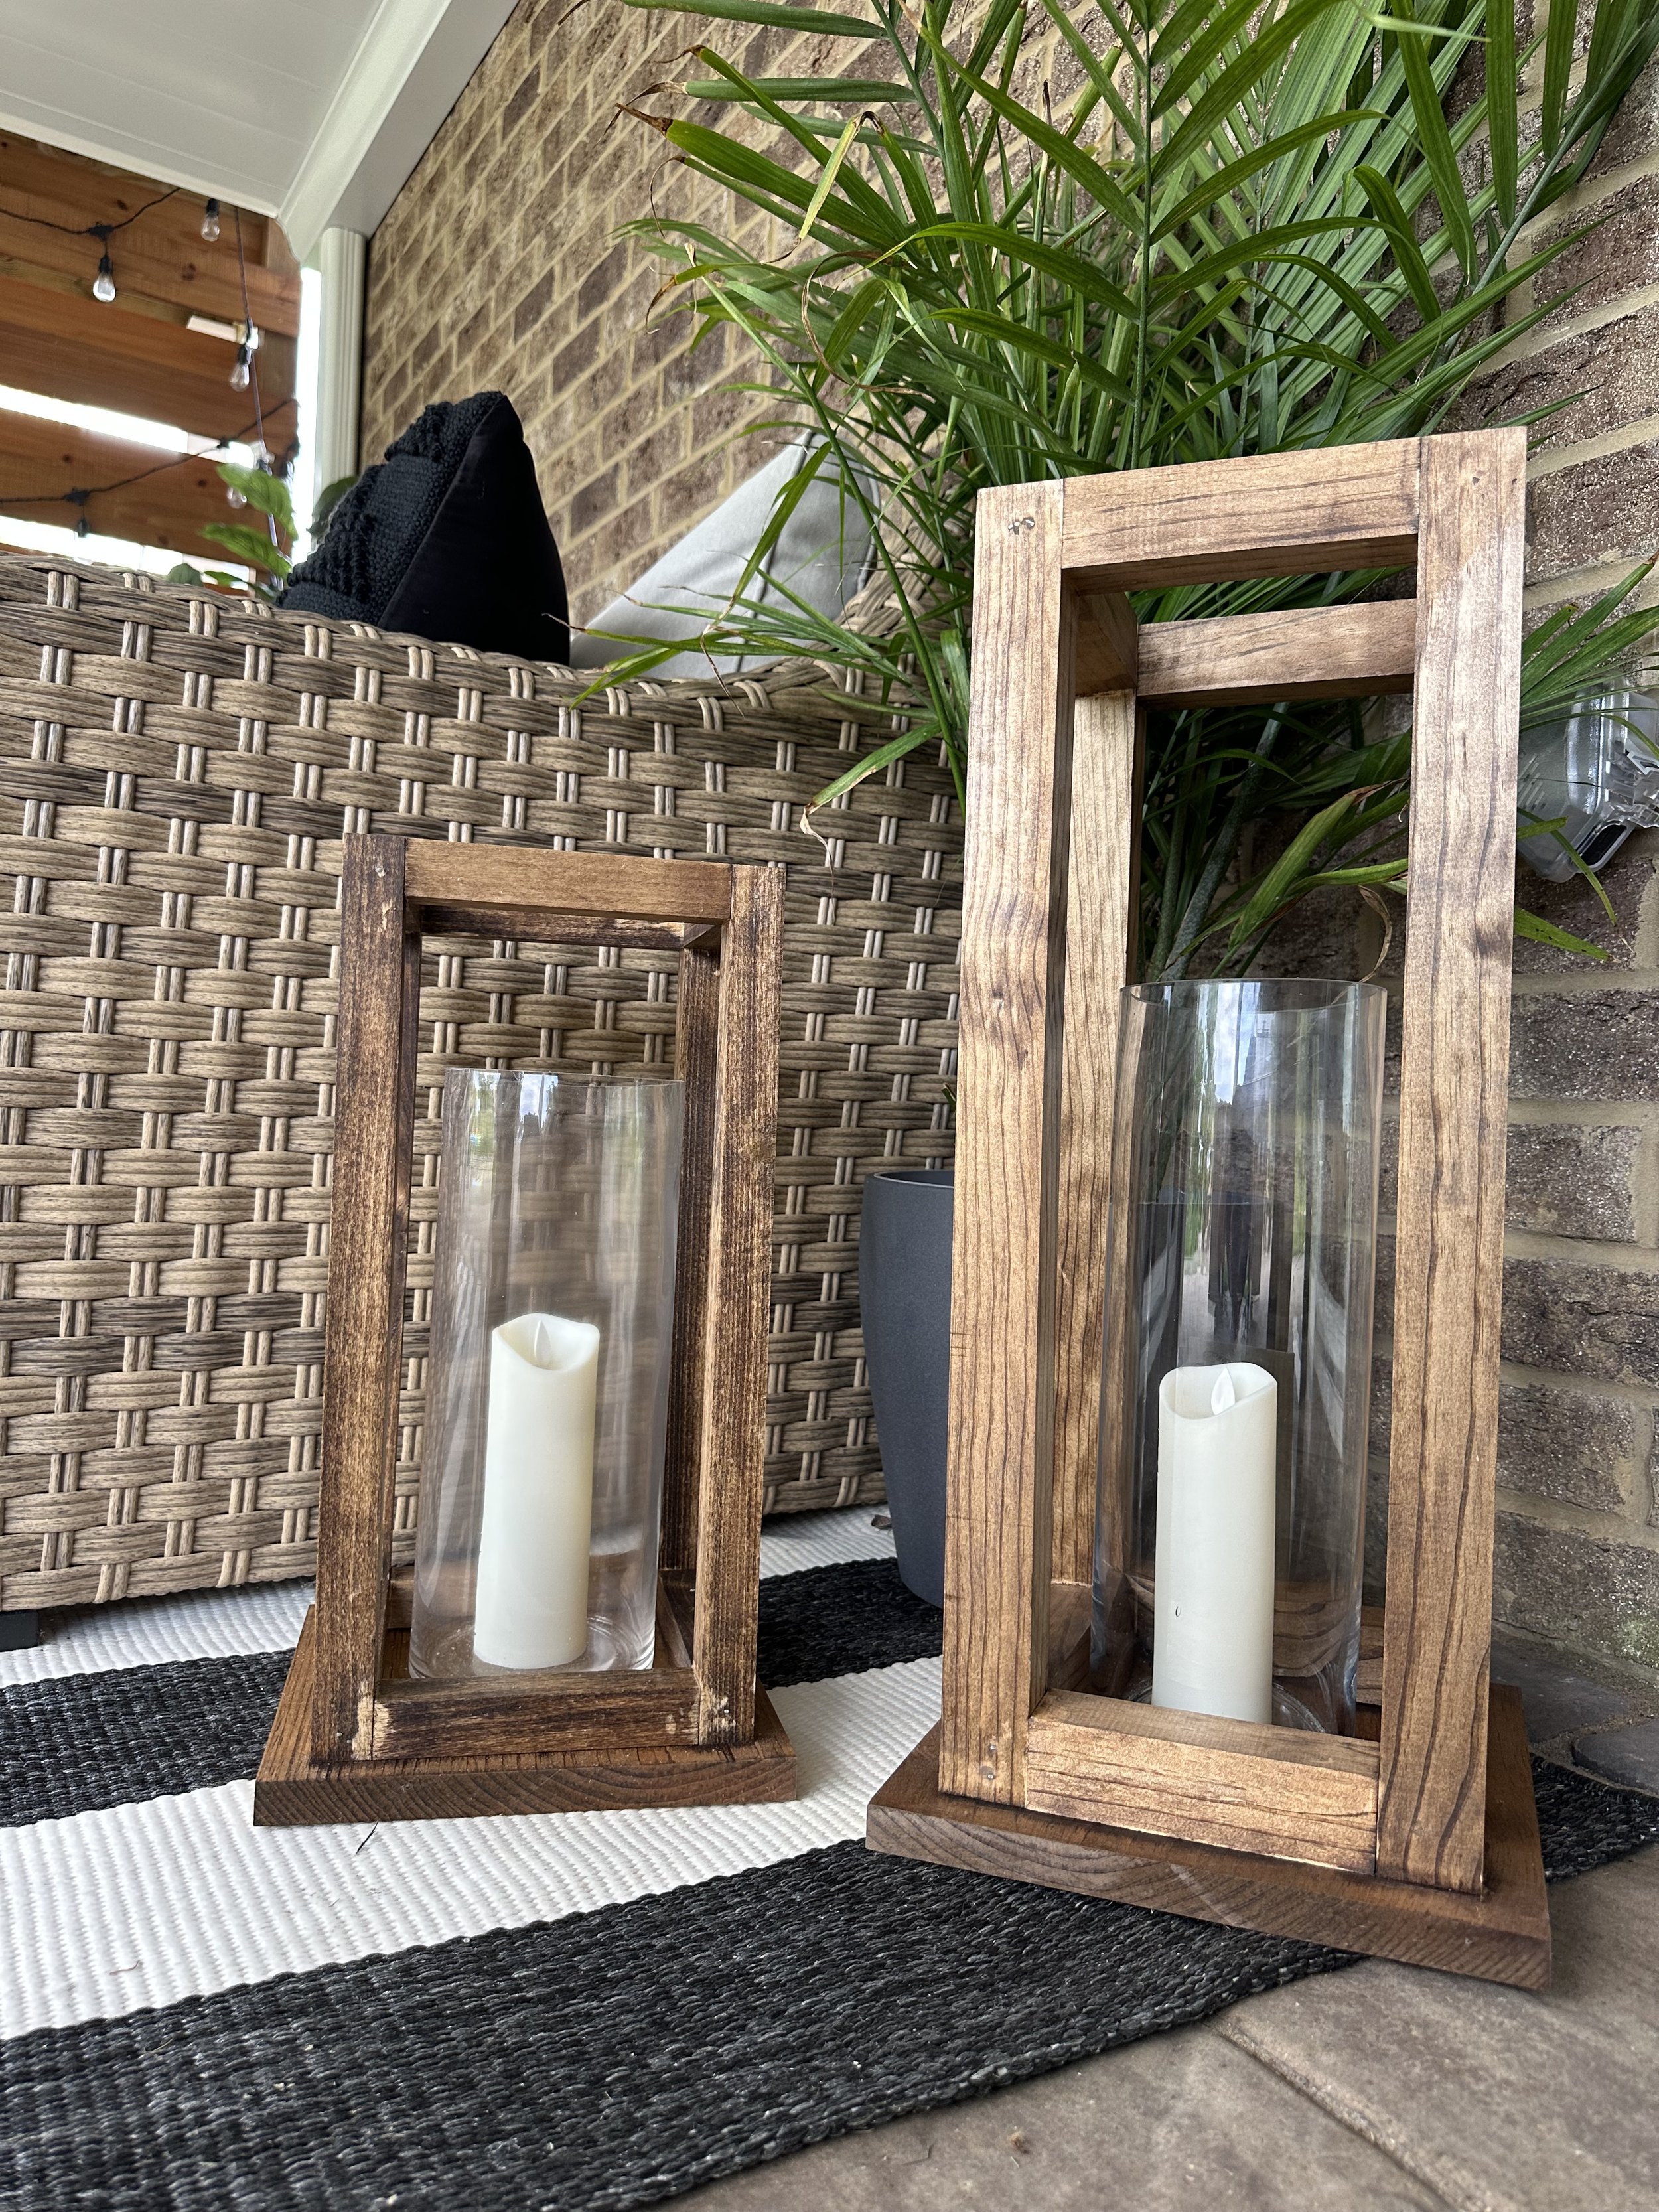
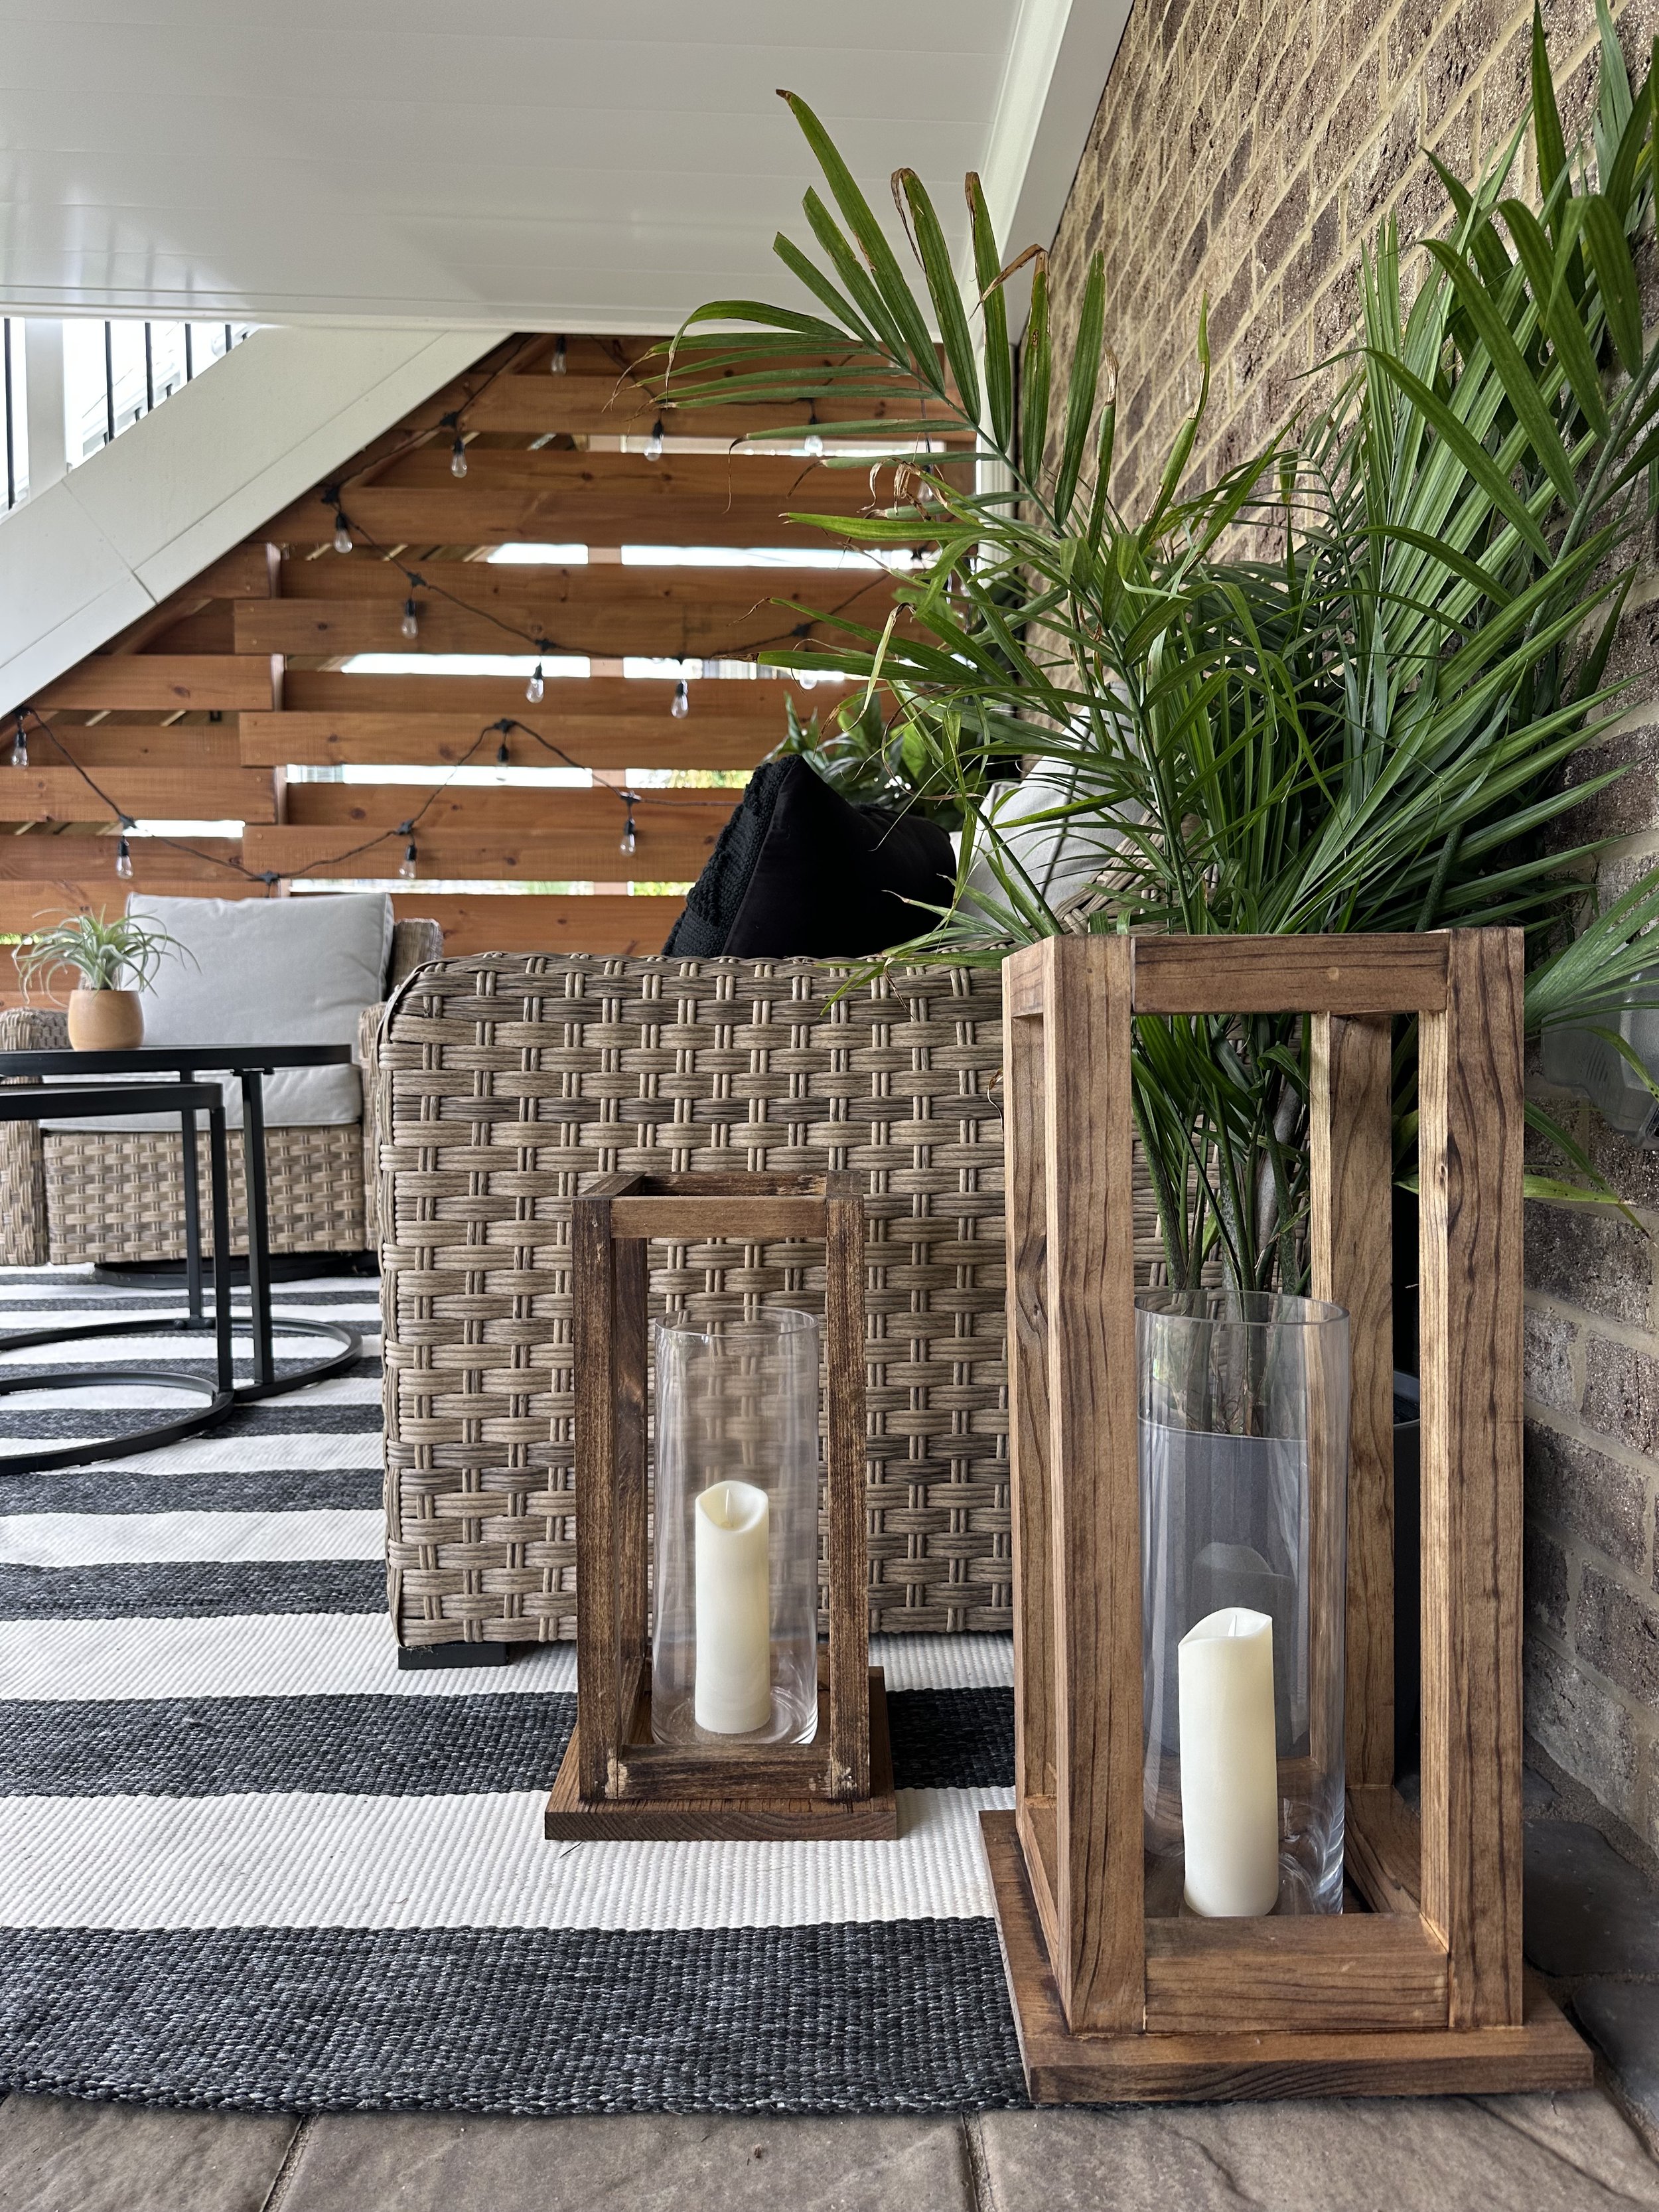
Step 5: Add vases & candles
I added in the clear tall vases that I also got from Temu. Here are some other options as well.
My most favorite find from Temu was these remote controlled candles. They flicker so they look like real flames and the cost was unbelievably low at only $18 for a 4 pack. Here is another inexpensive option I found on Amazon.
Please note: you should not use real candles in these wooden candle lanterns for fire safety reasons.