DIY Herringbone Counter
I just installed some Home Depot unfinished kitchen cabinets and needed a countertop to finish them off. I had so much leftover 3/4” oak plywood leftover from another build that I needed/wanted to use. It wasn’t big enough for the large space I needed so I decided to do a fun herringbone pattern by cutting the pieces to size & gluing it onto a thinner sheet of plywood. Here’s how I did it!

Cabinet Paint Color: Pewter Green by Sherwin Williams
Materials needed:
3/4” plywood (I used oak)
1/2” plywood (used to glue herringbone pattern on)
220 grit sandpaper
1.25inch oak trim
Stain (I used a custom mix of Minwax Early American, Varathane Sunbleached, and Varathane Weathered Oak)
Tools needed:
Circular Saw or table saw
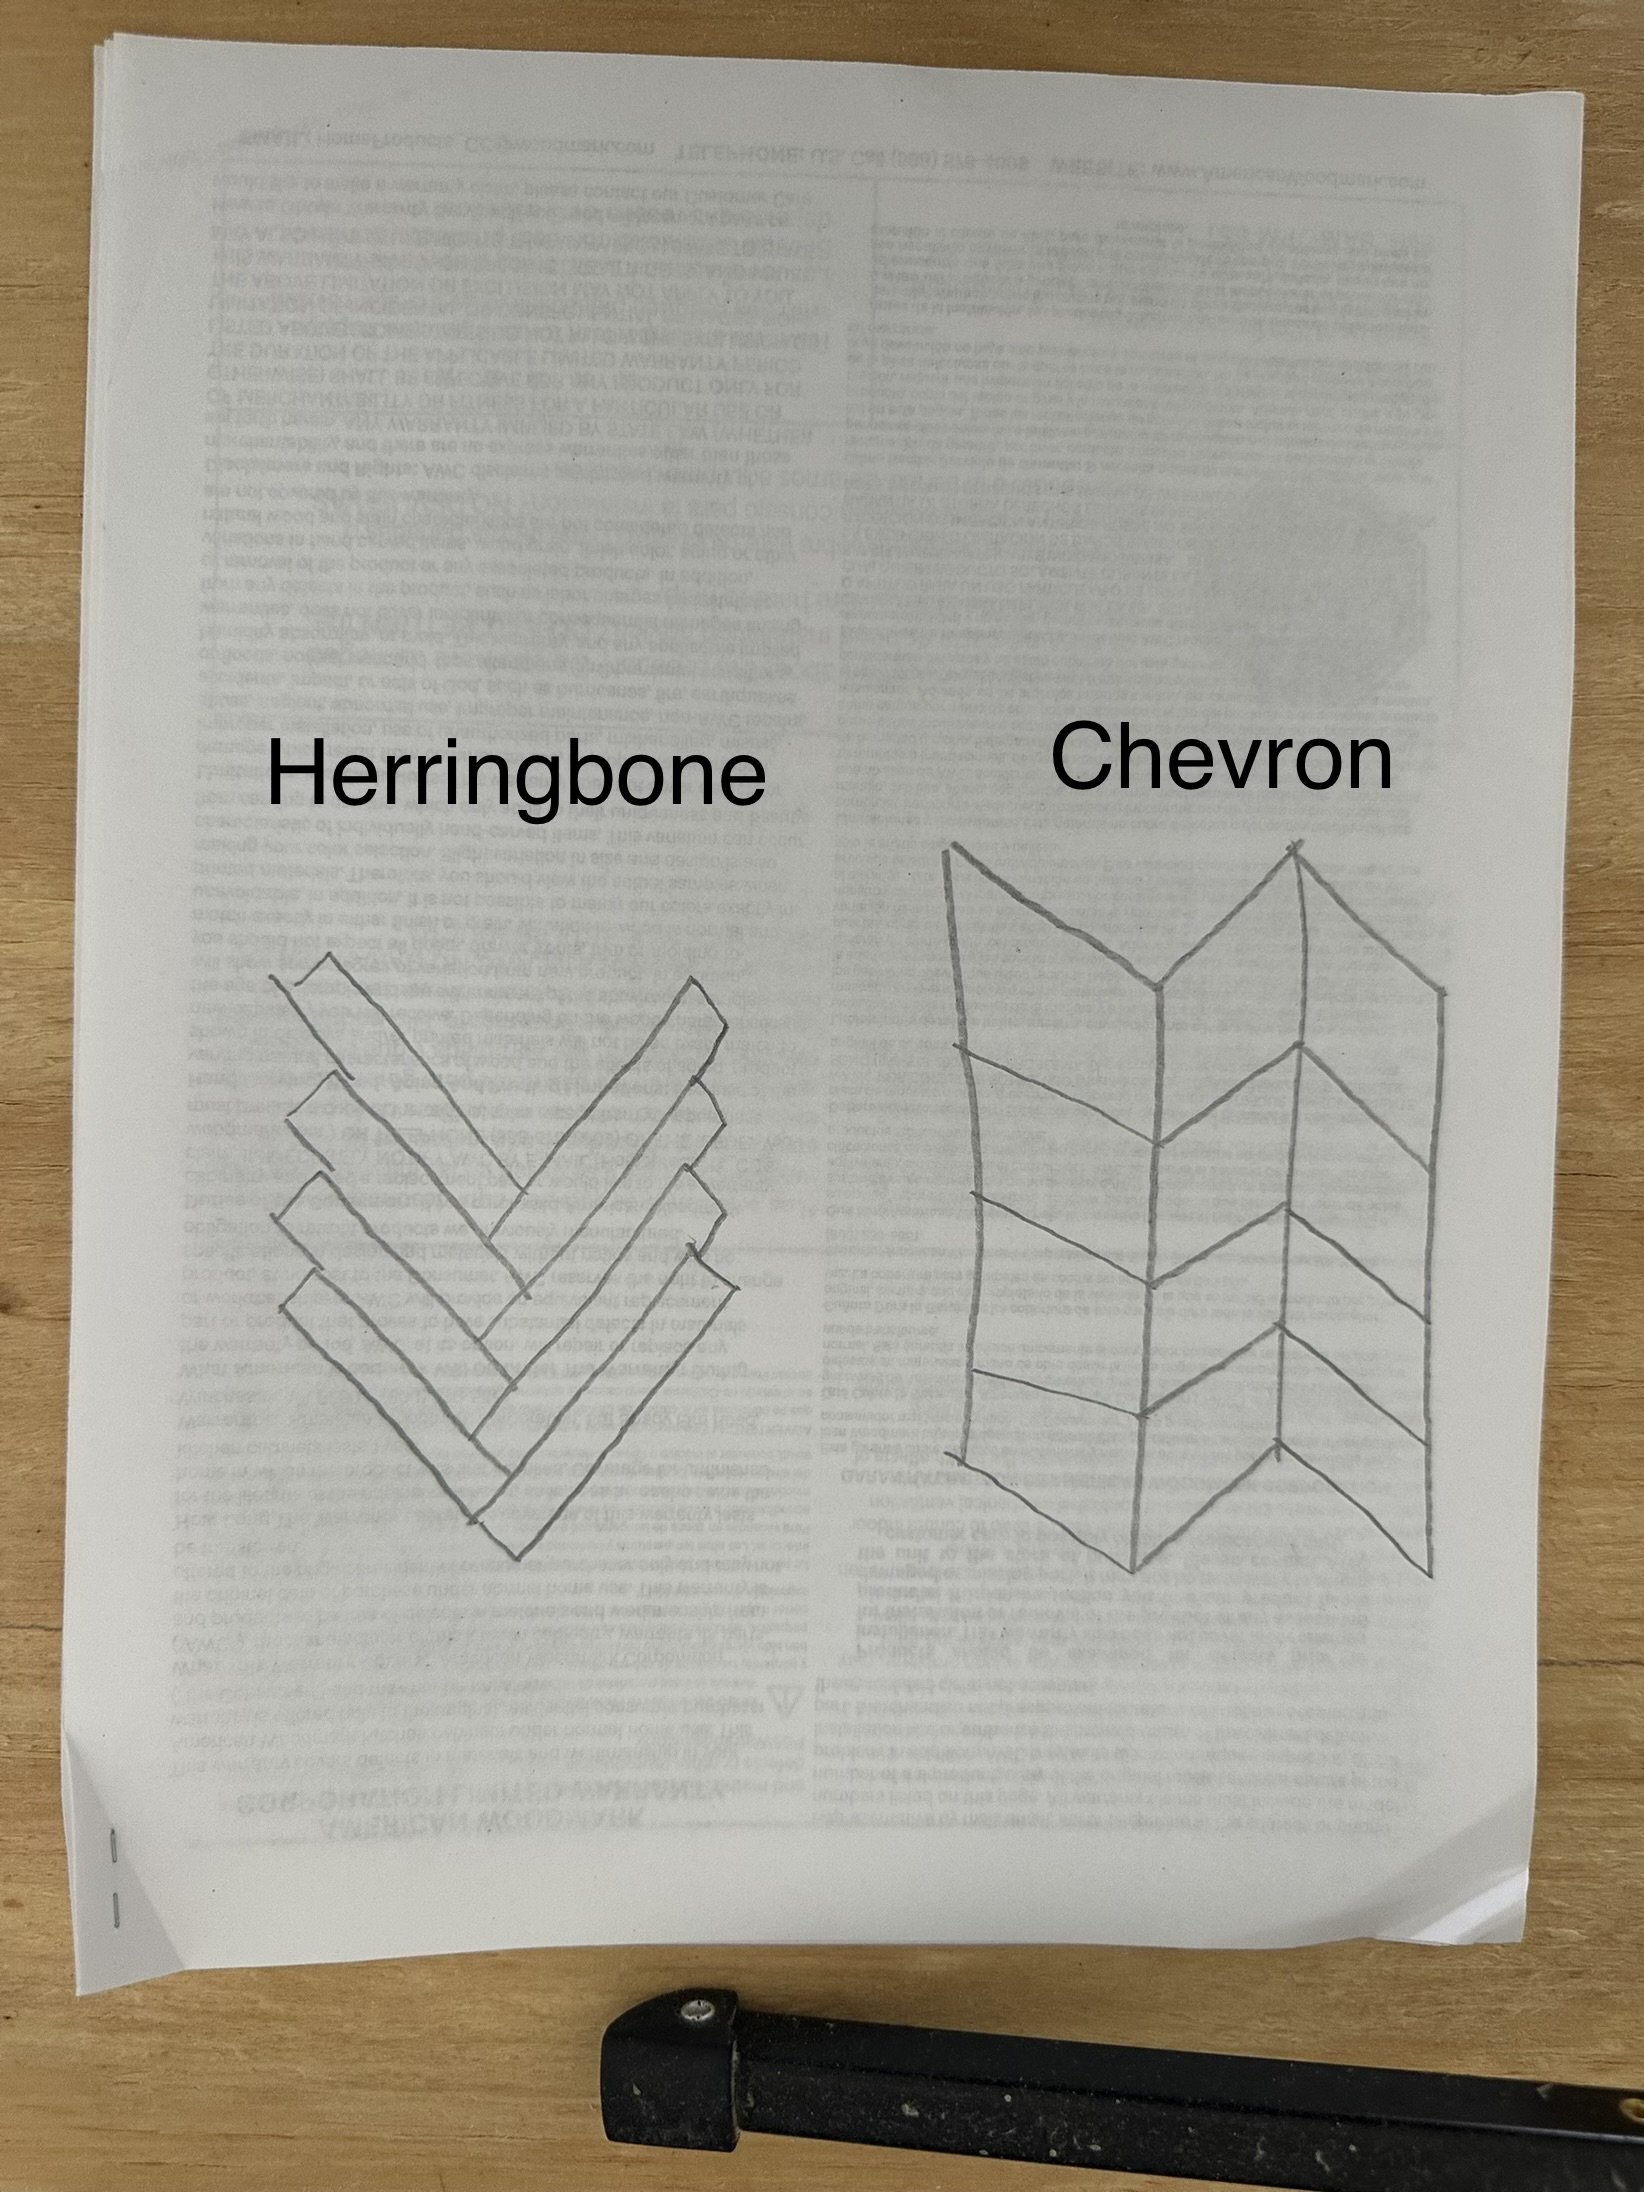
Chevron Vs. Herringbone
I decided to go with a herringbone design for this counter, but there are so many endless options of designs including chevron, a split chevron, and so many more you could choose from! I like the herringbone pattern because it’s like a big puzzle piece.
Step 1: Cut the base sheet to size
I used a 1/2” piece of plywood as the base sheet and had it cut to the size I needed at my local Home Depot. This speeds up the timeline of your project to have them cut the sheet for you! You could also use a sheet of MDF for this as well. Whatever is most cost effective for you works.
I used a 24” deep by 8ft sheet, and then had to attach a 2ft sheet of plywood to it because my counter was so long. I did this by using a combination of wood glue, pocket holes, and mending plates.
Step 2: Cut the herringbone pieces to size
For this, I decided to use 3.5” width plywood pieces and cut it in 2 different sizes to equal a full triangle when they are placed together. This ended up being a 12.5” piece (right side of image below) and a 16” piece (left side of image below) for each “triangle” in the herringbone pattern.

Step 3: Assemble countertop
First, draw a center line down the board and place the 16” and 12.5” piece together to where the center intersection touches the center line (see image below).

From there, just glue each piece down. It’s a good idea to lay a heavy long board on top after you are done and while the glue dries to ensure it adheres well.
For the edges where the larger boards don’t cover, I measured & cut each one to size. However, I wouldn’t recommend doing it this way as it took a lot of time. I would overextend the boards from the edges, and after the glue has dried, I would tape the edges with painter’s tape (so that the boards don’t splinter) and trim off the excess in one cut as opposed to MANY MANY cuts.
Step 4: Fill in seams
I used DAP wood filler to fill in any gaps to make the look very seamless and to ensure it was a flat (and crack free) countertop. After I filled in the gaps, I sanded it smooth with 220 grit sandpaper.

Tip: Ensure wood filler is stainable
While “stainable” wood filler is rarely actually stainable, this type of wood filler fills the seams enough to remove the gaps and still gives the natural wood look.
Step 5: Stain & Finish

Because I was using plywood, the edges looked unfinished so I used some 1.25” oak trim and glued to the sides. I ended up using my brad nailer to ensure it held in place but this is optional as wood glue will adhere well (just use clamps to hold in place while it dries). I used 1.25” brad nails.

I ended up using a custom mix because I had a lot of leftovers that didn’t quite make up enough to do the entire table. As long as you are mixing the same type of stains (i.e. oil based with oil based), the possibilities are endless! I love using a staining pad when staining wood.
I used roughly 10% of the Sunbleached, 45% of Early American and 45% of the Weathered Oak. The application goes on so well but you can use either a lint free cloth, sponge, or foam brush.
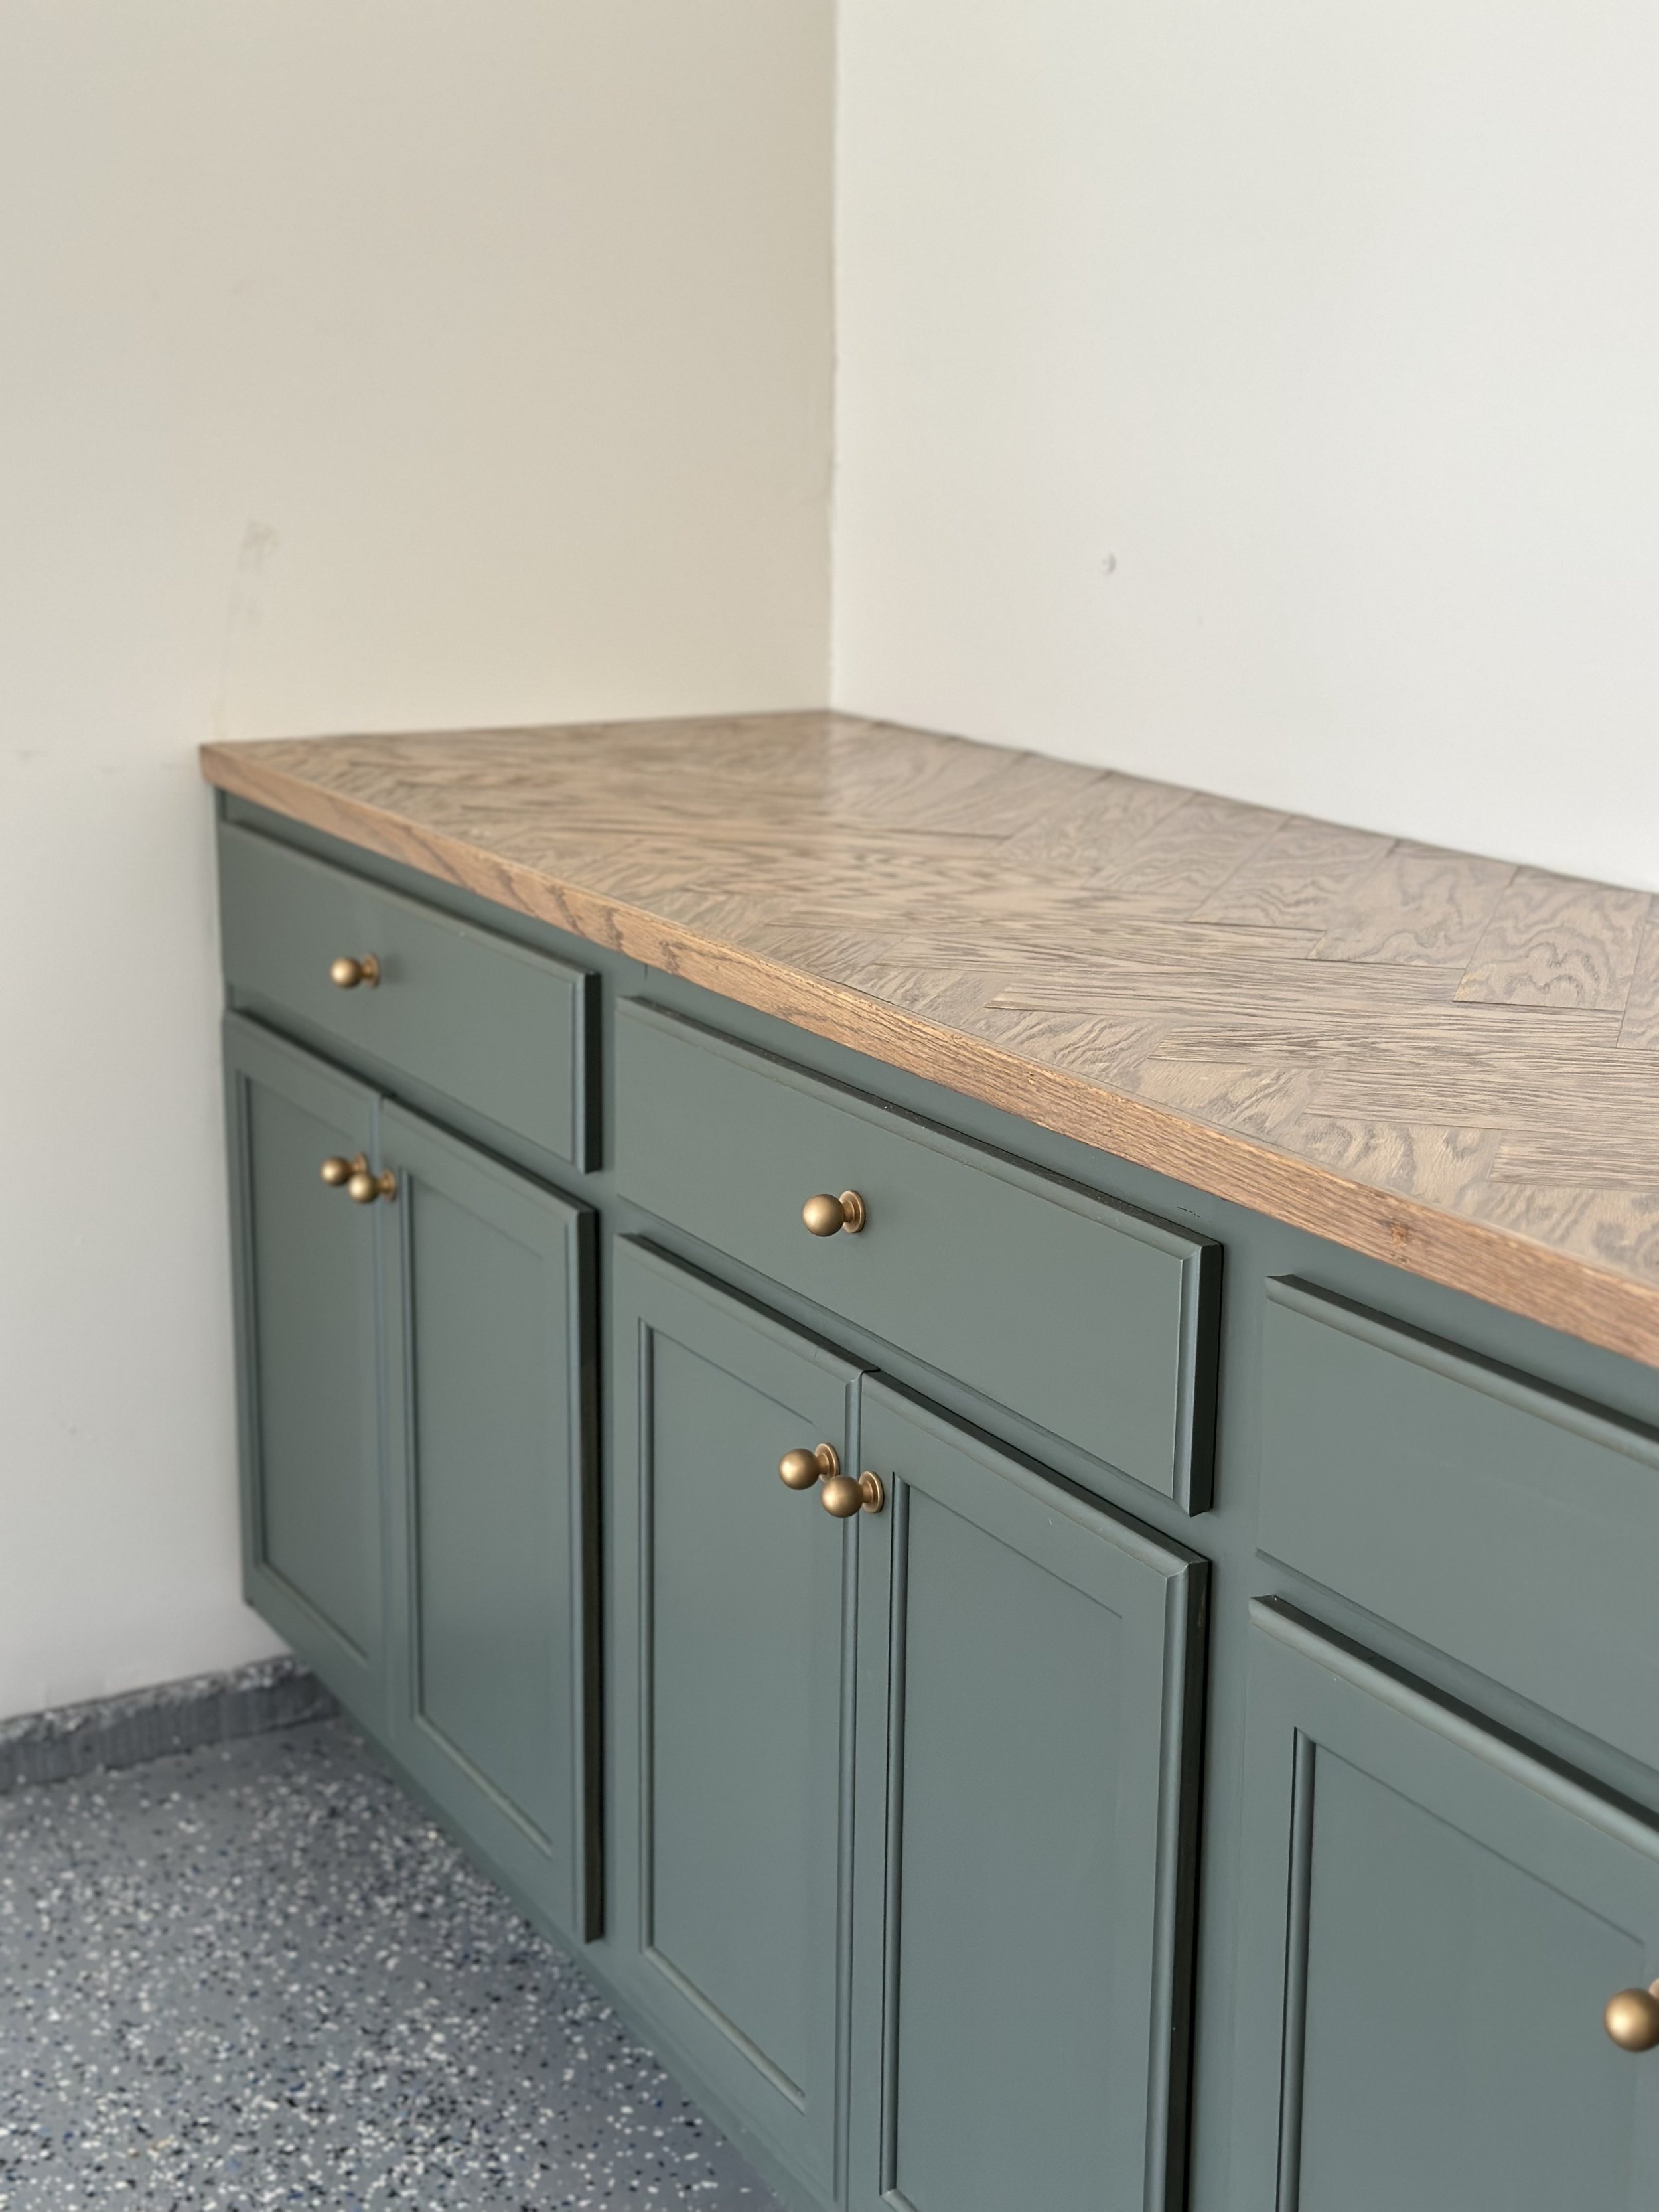
Here is the final look! I love the way it turned out and it gives a unique worktop to my new work area.