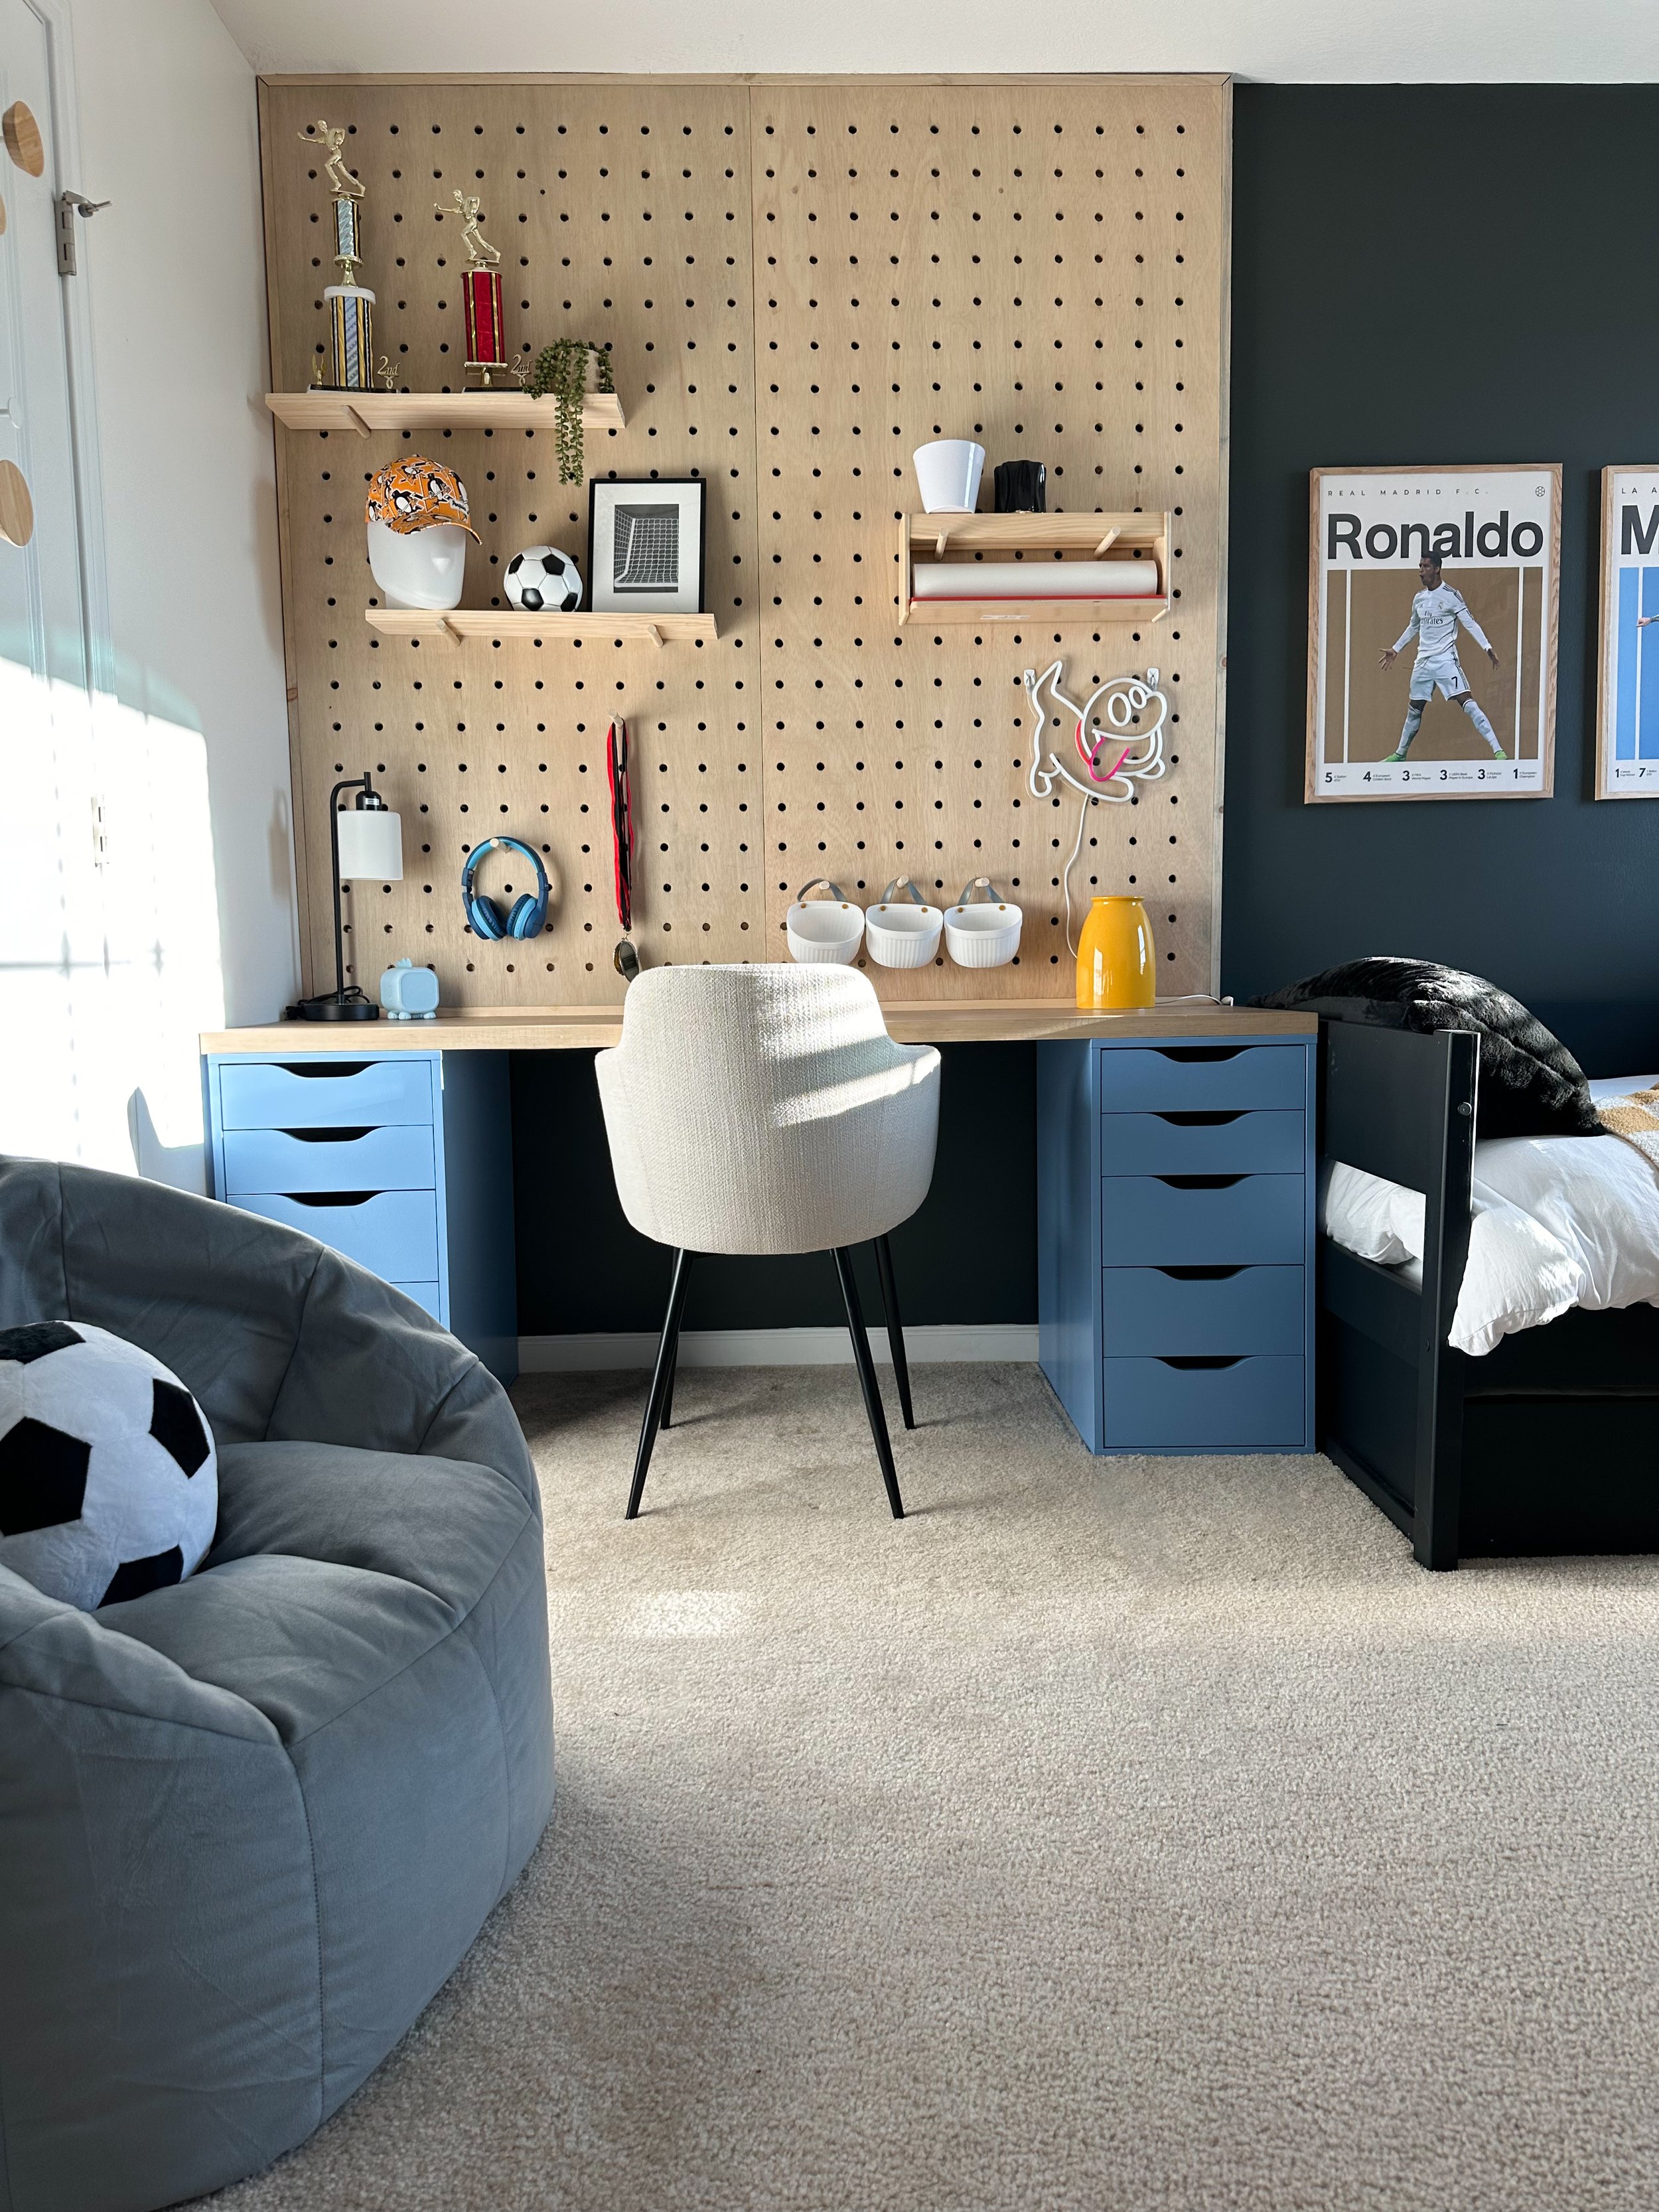
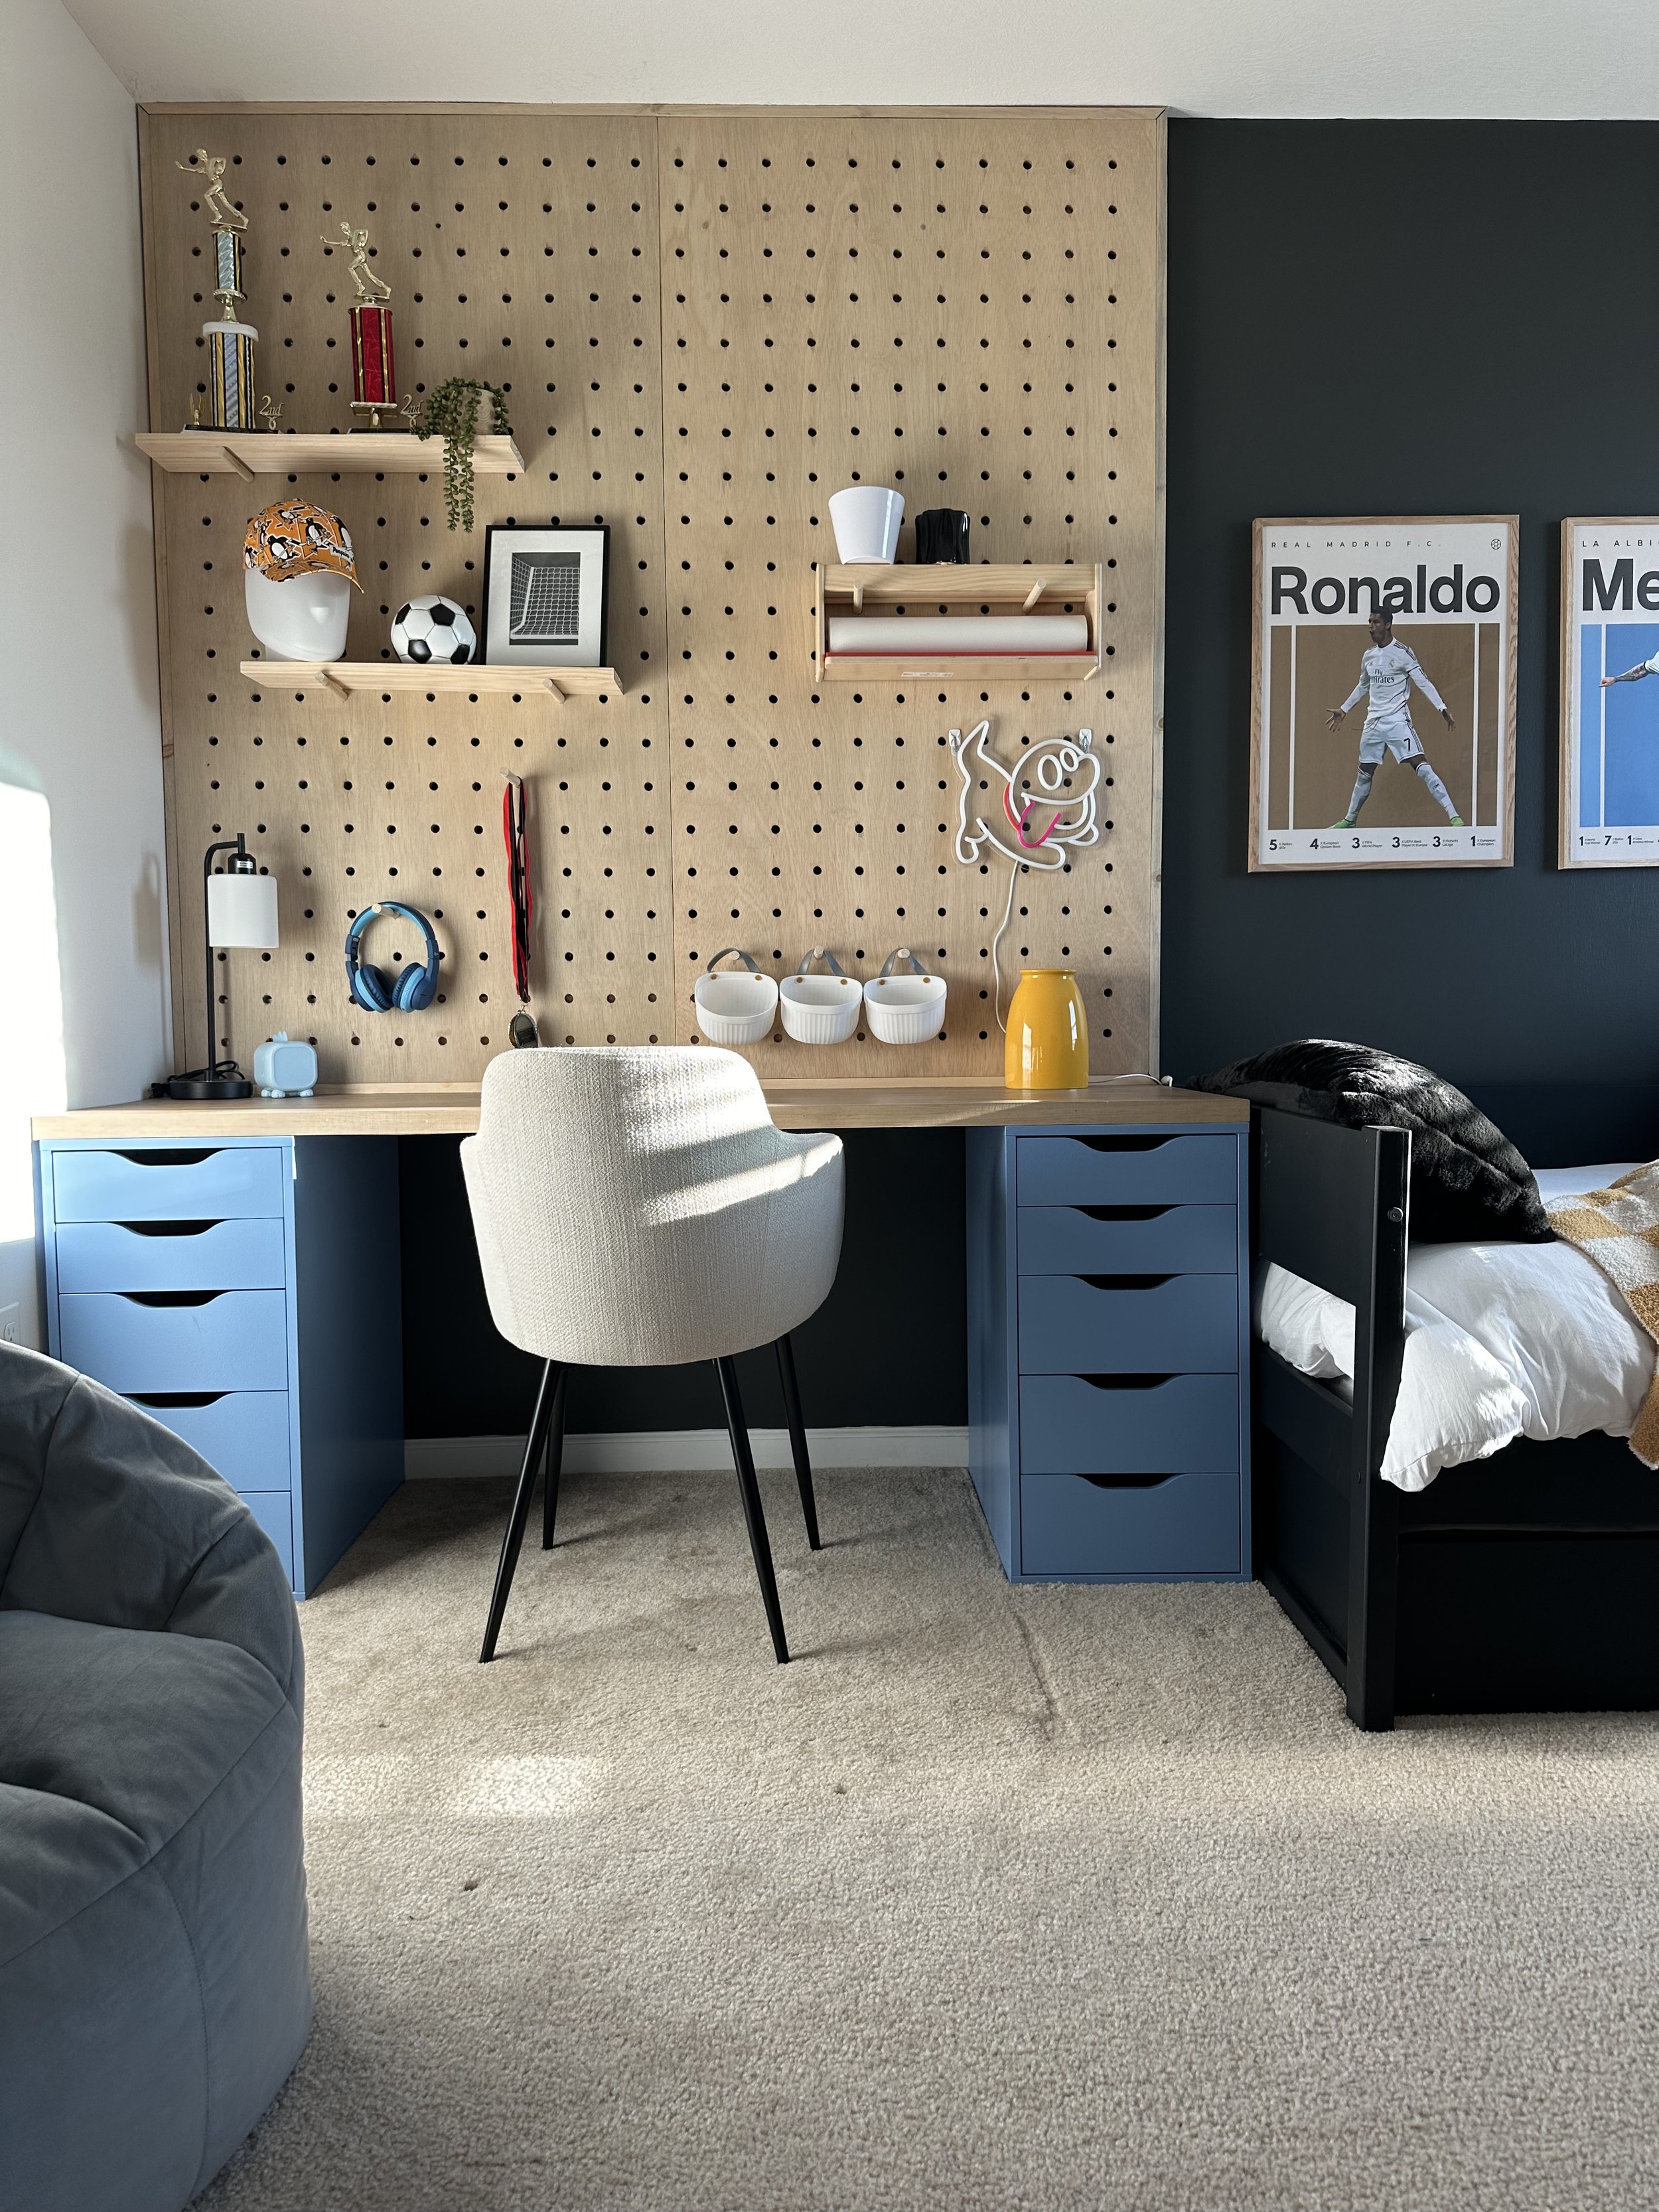
DIY Giant Wooden Pegboard
Why a Giant Pegboard?
This project is a functional, eye-catching solution perfect for organizing kids’ rooms, entryways, or offices. Plus, it’s customizable to fit your space and style!
I made this giant pegboard for my 7 year old’s room makeover. He LOVES art, so I wanted to give him a fun space to be able to create. It has been so much fun to easily adjust the shelving to store whatever he wants at the time.
Here is a quick video of what I did and all the details are below!
Materials Needed:
3/4" plywood (recommend red oak for better durability)
Marker
Drill with a 1” Forstner drill bit
1”x2” wood strips (for support boards)
Cabinet screws
Wood plugs (For canceling screw heads)
Level
Optional: Pre-stain wood conditioner and stain
Step 1: Choosing the Right Plywood
Start by purchasing your plywood. Avoid cheaper options, as they tend to splinter even with painters tape. Red oak plywood is a more durable choice.
Step 2: Deciding on Hole Spacing
Determine the spacing of your pegboard holes. For a clean, symmetrical look, I chose 6” spacing. I also chose this spacing to give me a lot of options for hanging items. You can really choose whatever works best for you.
TIP: The more closer the spacing, the more holes you need to drill which actually takes a lot longer than I thought it would have!
Step 3: Centering Your Holes
To center the holes:
Divide your spacing (6”) by 2, which places the first row of holes 3” from the edge of the plywood.
Measure and mark every 6” horizontally and vertically using a marker or pencil.
I ended up using 2 pieces of plywood because the space I had was pretty massive. When I installed the pegboards, I butted them up next to each other so that they looked seamless.
Step 4: Prepare the Plywood for Drilling
Stack the plywood sheets face up to prevent veneer damage.
Place a scrap piece of wood underneath to avoid drilling into the floor.
I placed painter’s tape across the board where I would be drilling the holes, and marked where I would be drilling onto of the painters tape. This helps prevent splintering. It definitely adds time to the project, but worth it in the end!
Step 5: Drill the Holes
Carefully drill into the wood with the drill bit before drilling fully. This will also help prevent splintering.
Drill all marked points while maintaining a steady straight angle. I purchased a drill press guide that helped my drill go at a straight angle. This is so important so that the pegs will go in straight, and not at an angle!
Step 6: Stain or Seal the Pegboard
I chose to stain the pegboard to match the wood tones in the room but this part is not necessary. I wanted to ensure the wood stayed a light color, so I used Weathered Oak by Minwax. It’s my go to for a light stain!
If you are staining, I recommend using a pre-stain wood conditioner to ensure a smooth stain and no blotchiness!
I used a weathered oak by Minwax to stain the board. It goes on grey but it don’t freak out! It just eliminates the yellow/orange tones of wood to give a nice light look.
I would highly recommend sealing it though, even if you don’t stain it. This will help protect the pegboard for many years to come. My favorite water based sealer for wood is here. I use this brush to apply it and it always gives a fantastic finish!
Step 6: Install the Pegboard
Attach 1”x2” support boards to the wall. Use a level and mount them into studs for stability. I actually ended up using a large sheet of extra plywood I had. Anything will work as long as it is drilled into the studs!
Secure the pegboard to the supports using small head cabinet screws. I filled in the holes with small wood plugs to hid the heads of the screw.
Step 7: Add Pegs and Shelves
Cut 1” dowels to your desired length (e.g., 11” for 8” deep shelves). Insert them into the holes and add shelves to complete the look.
TIP: It can be a big of a tight fit with the dowels into the peg holes. It is better that they are tight than loose so that nothing falls off the pegs/shelves.


Final Tips:
Frame the edges of the pegboard for a polished look or leave them open for a minimalist style. I ended up framing mine by gluing some select pine 1/2” thick board around the edges.
Use at least 8” deep shelves to ensure they’re practical for decor or storage.


