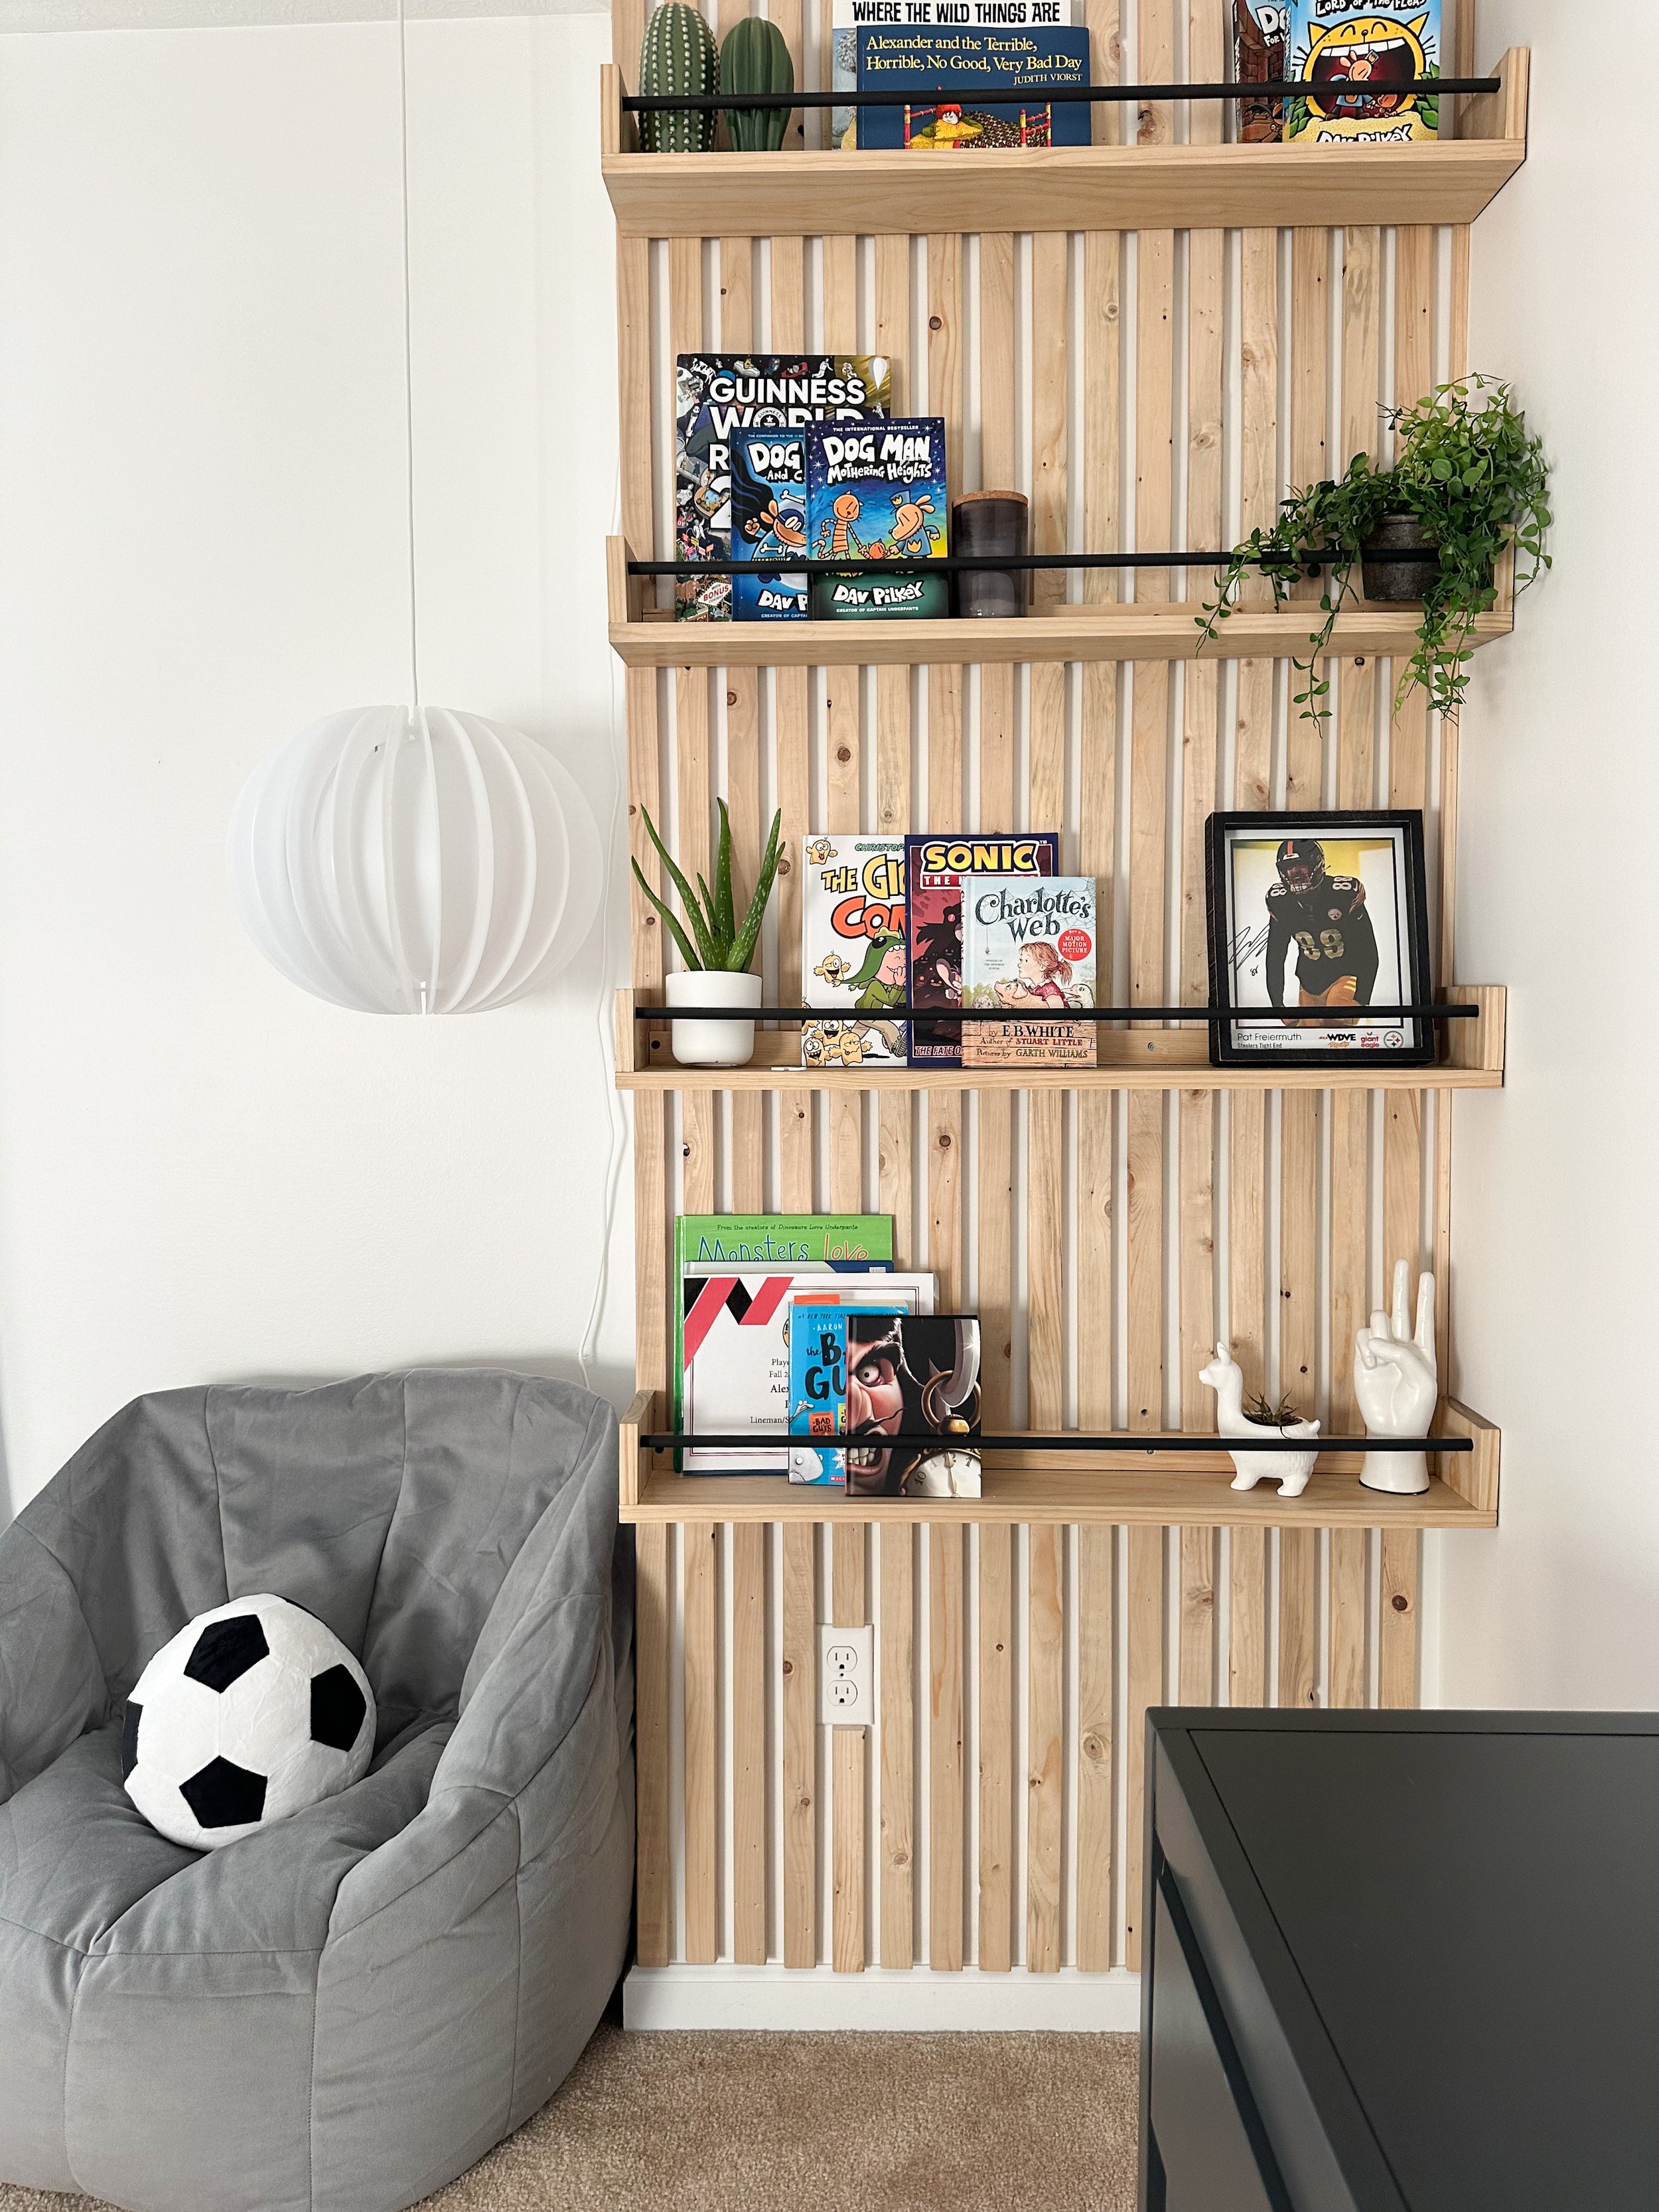
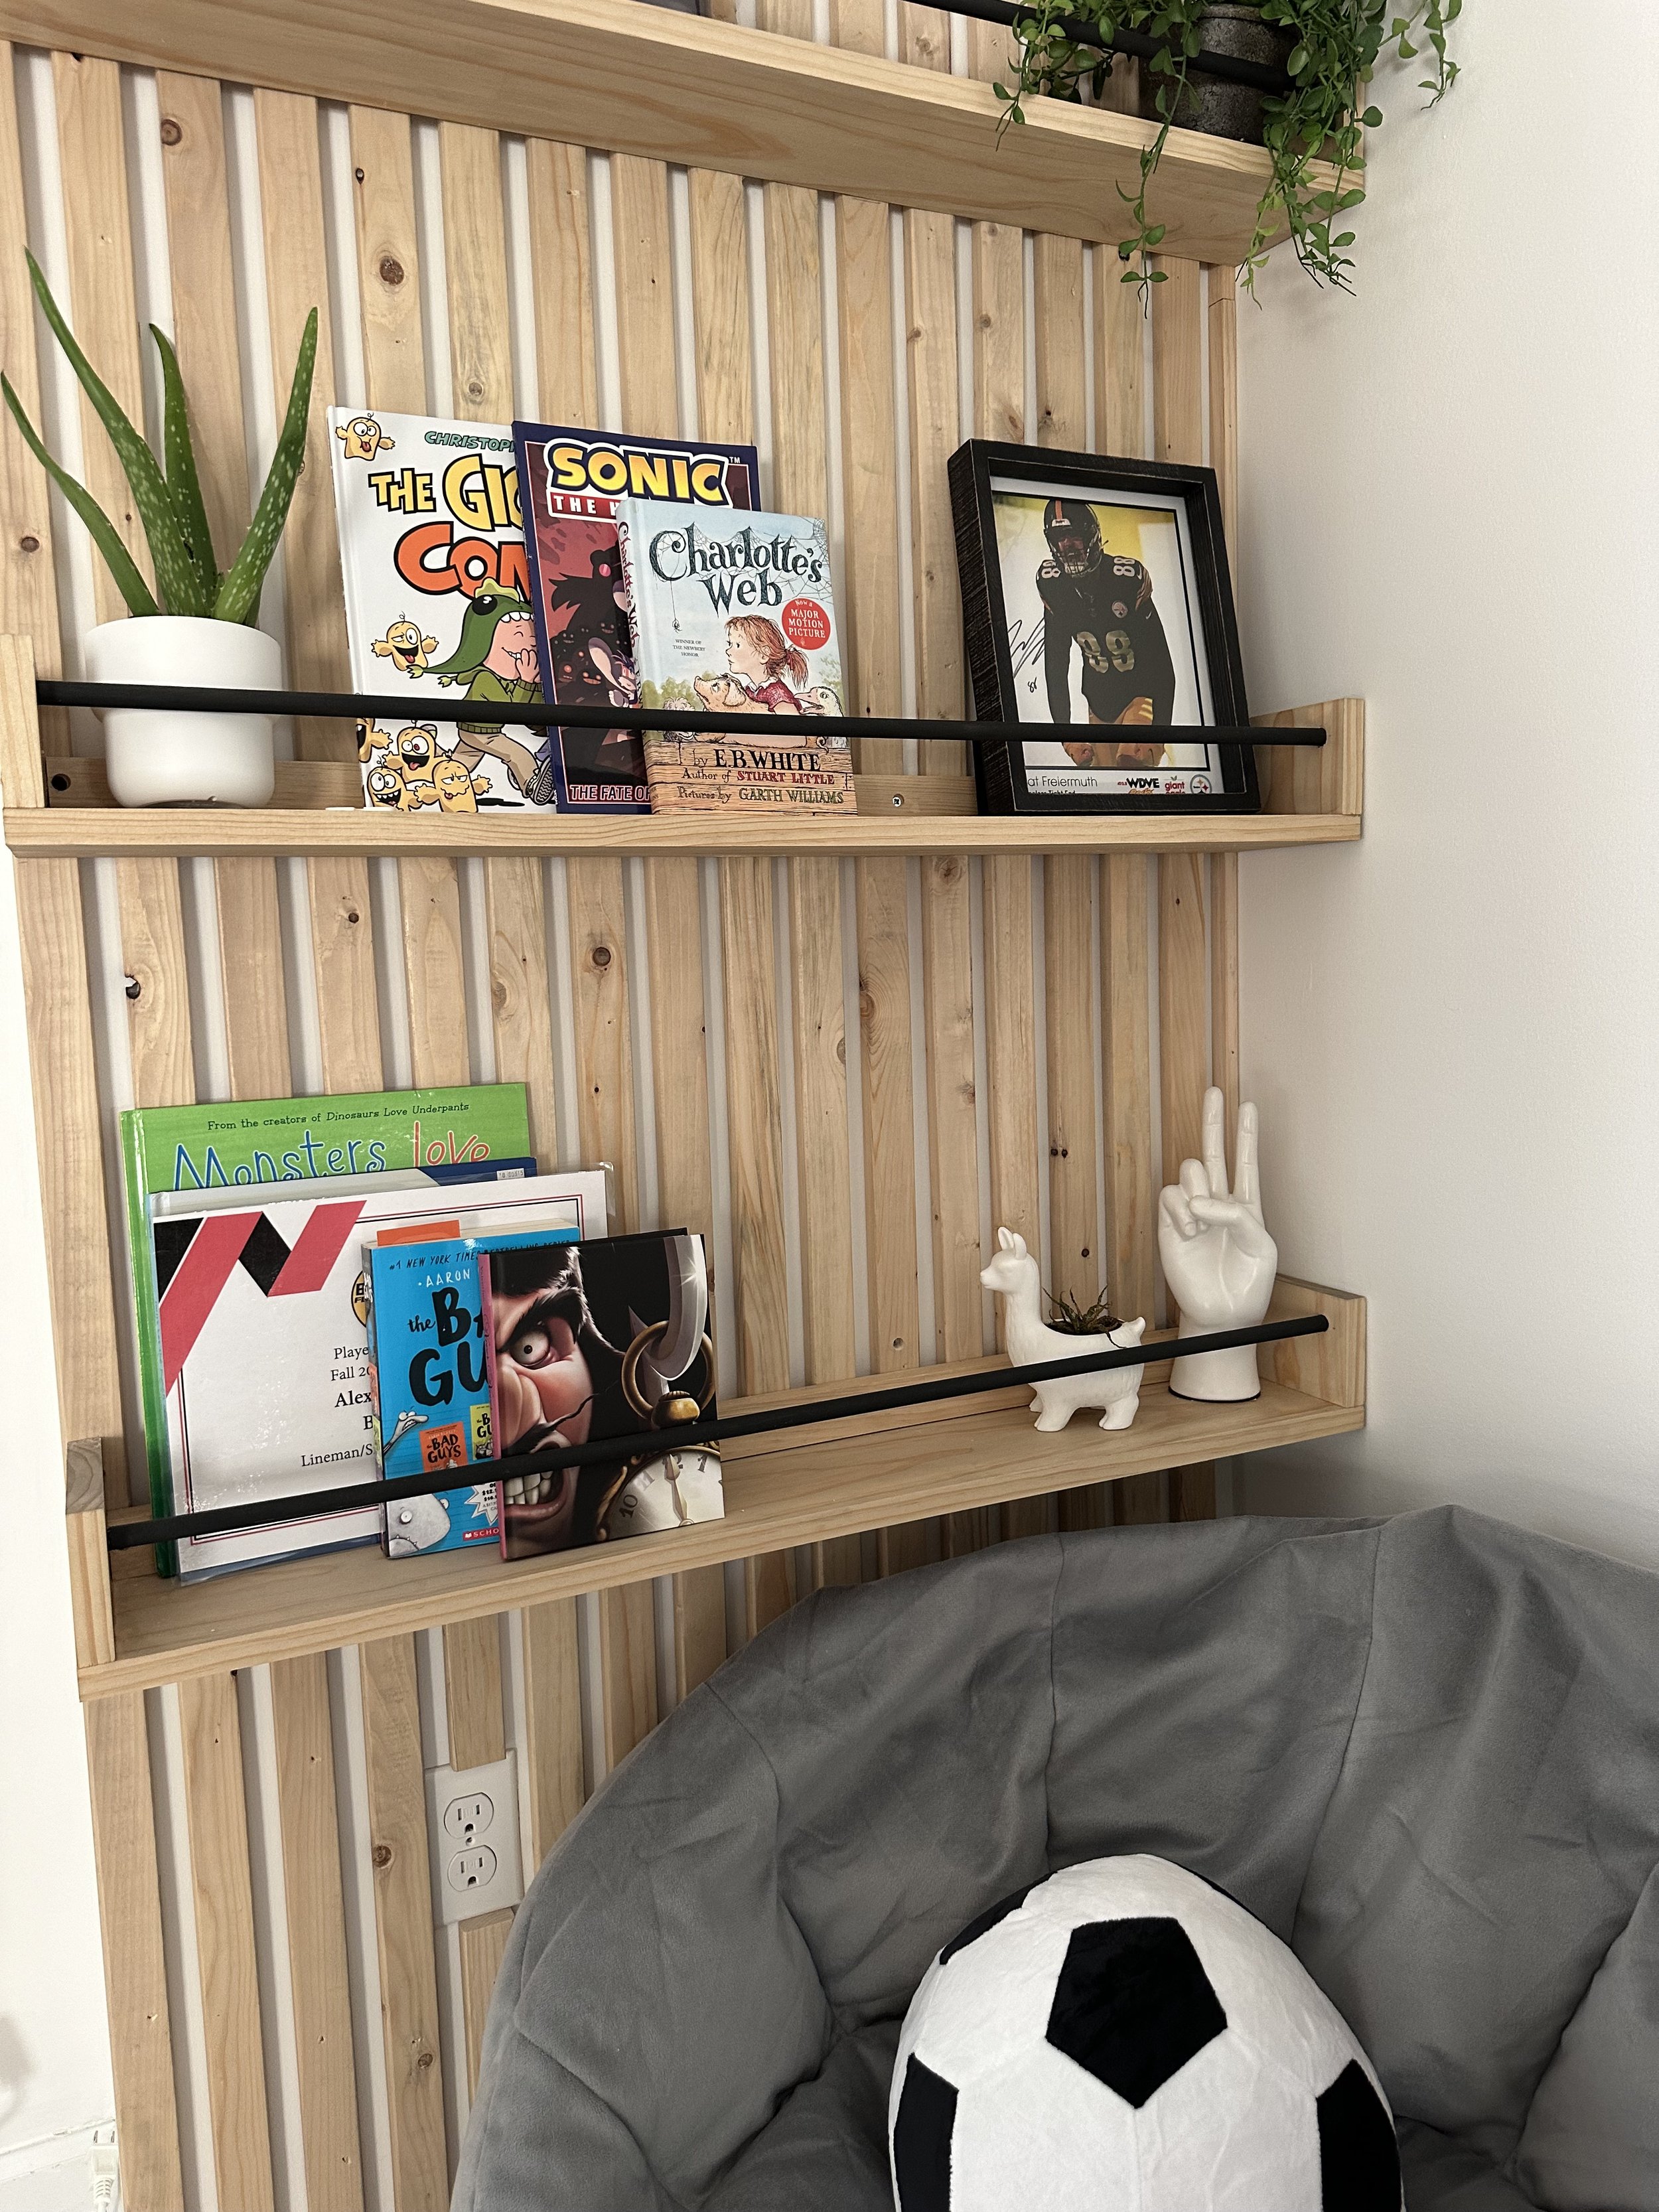
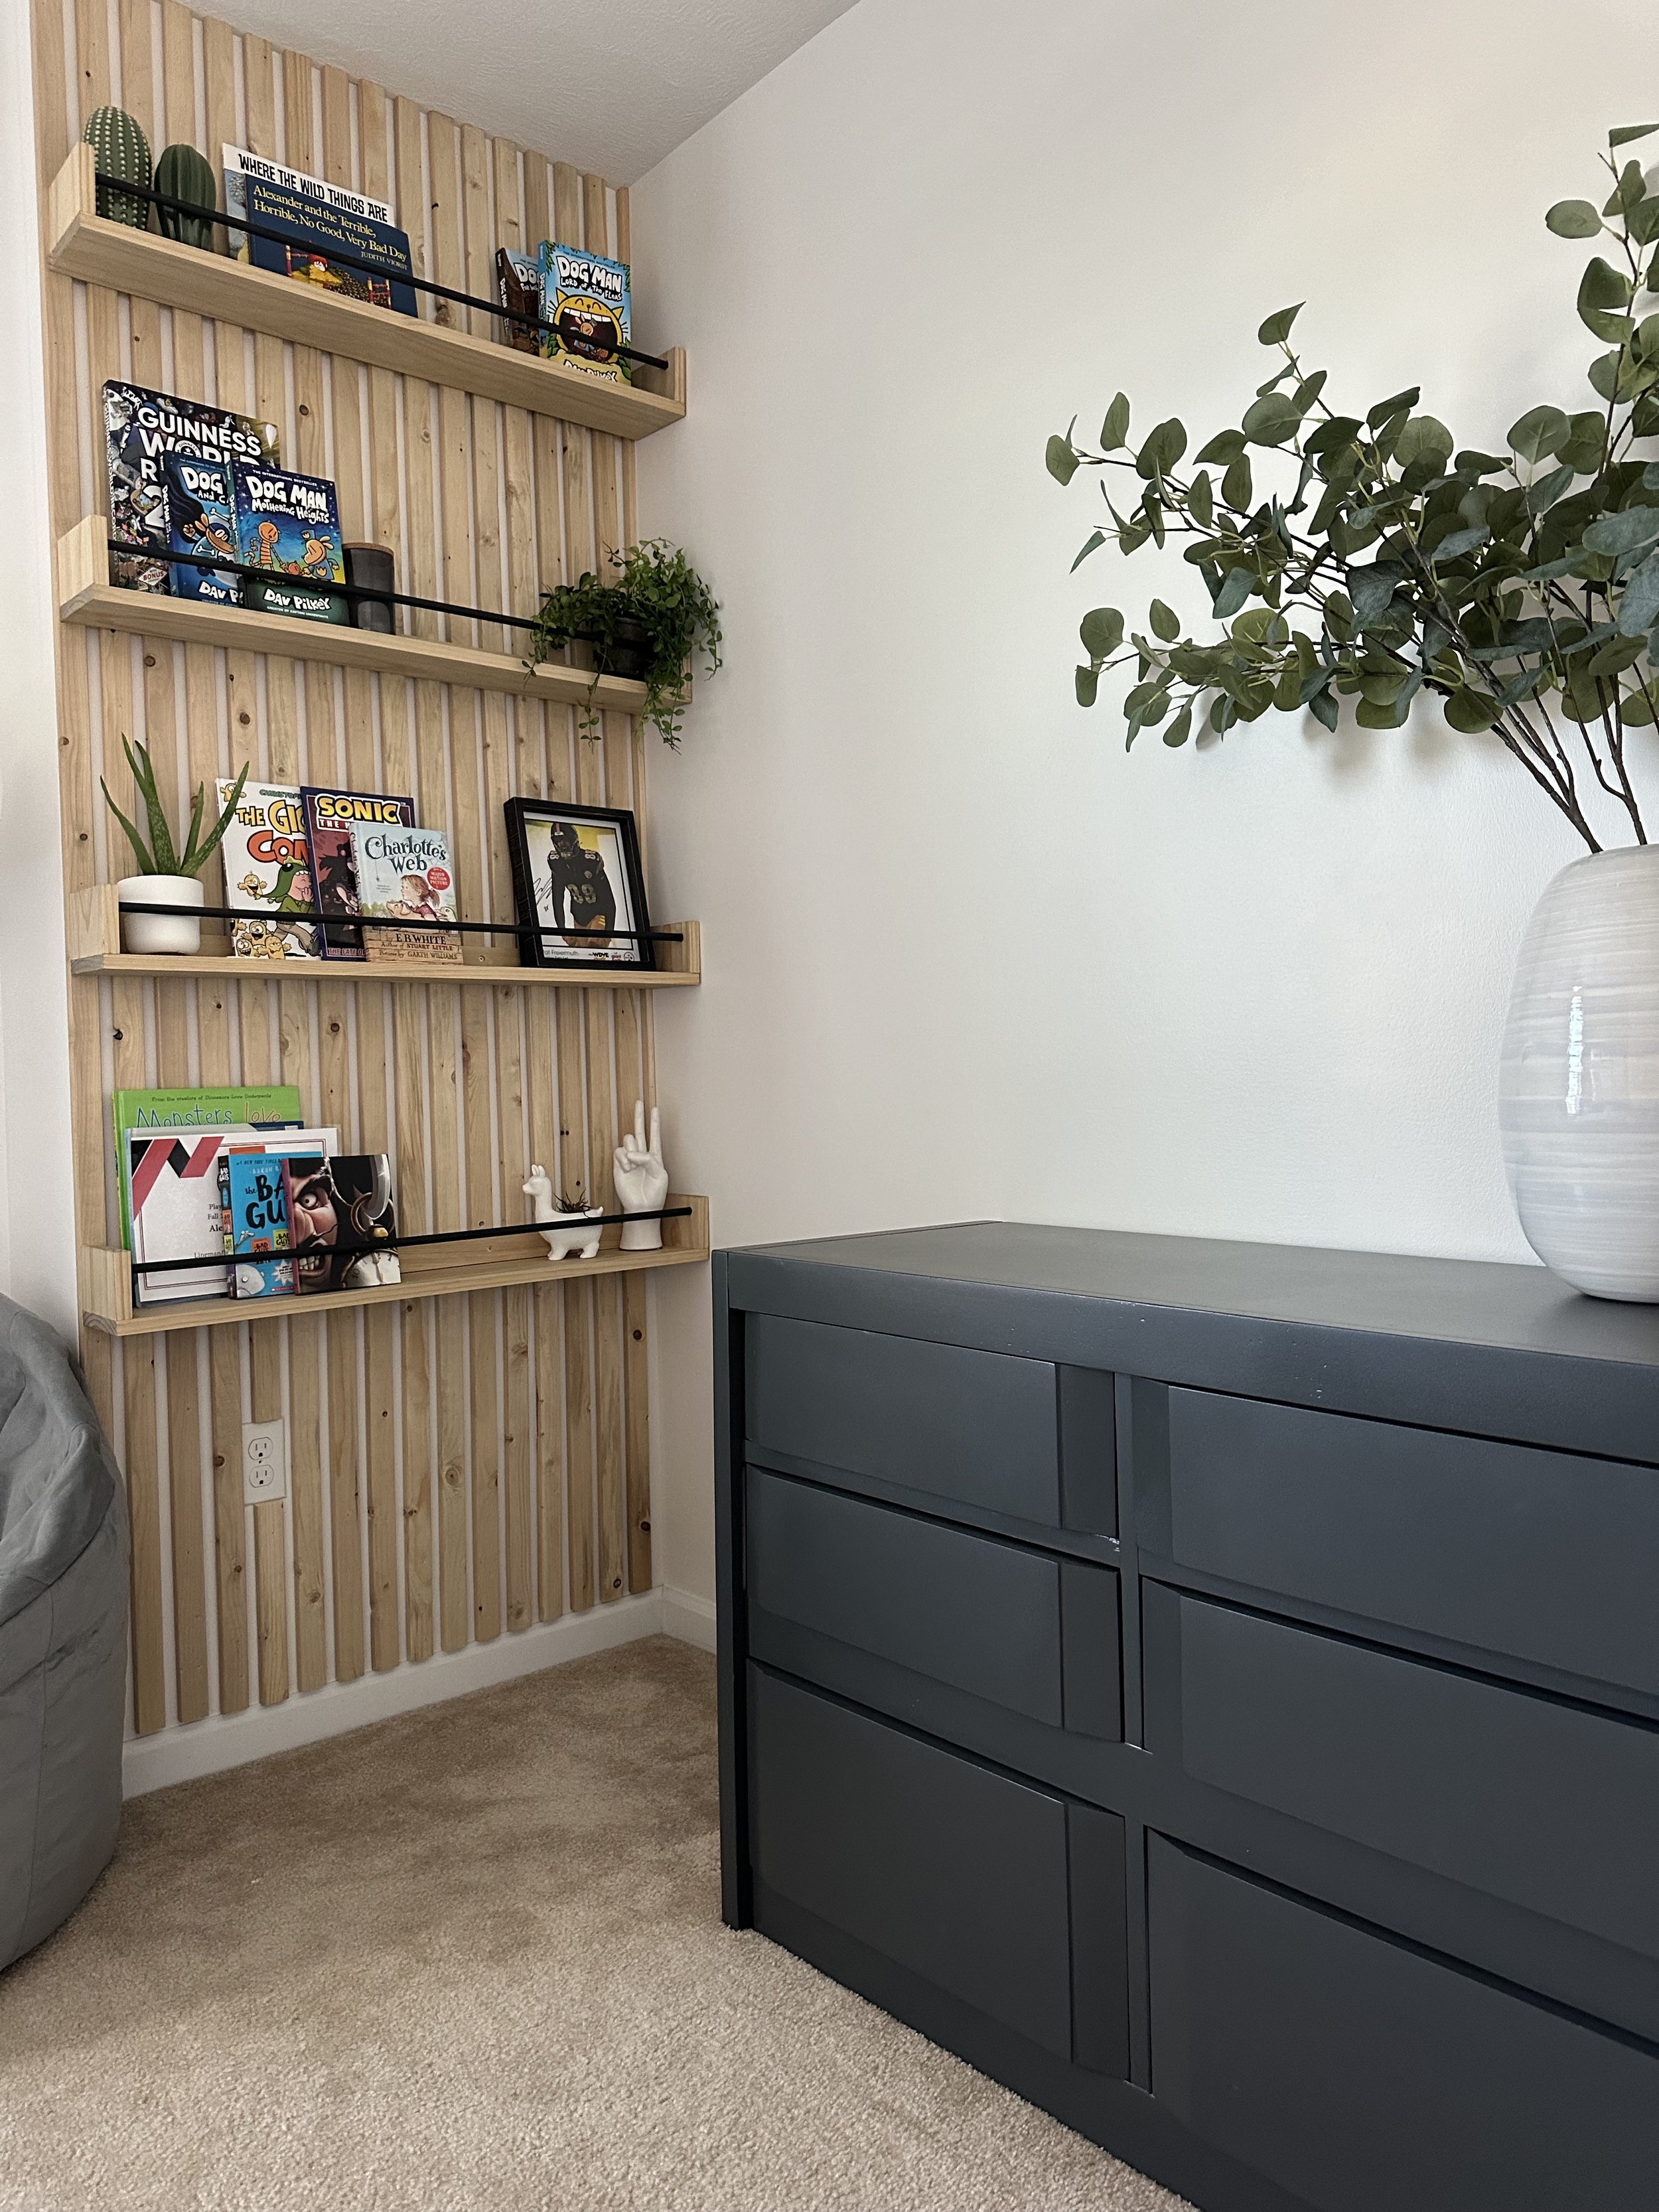
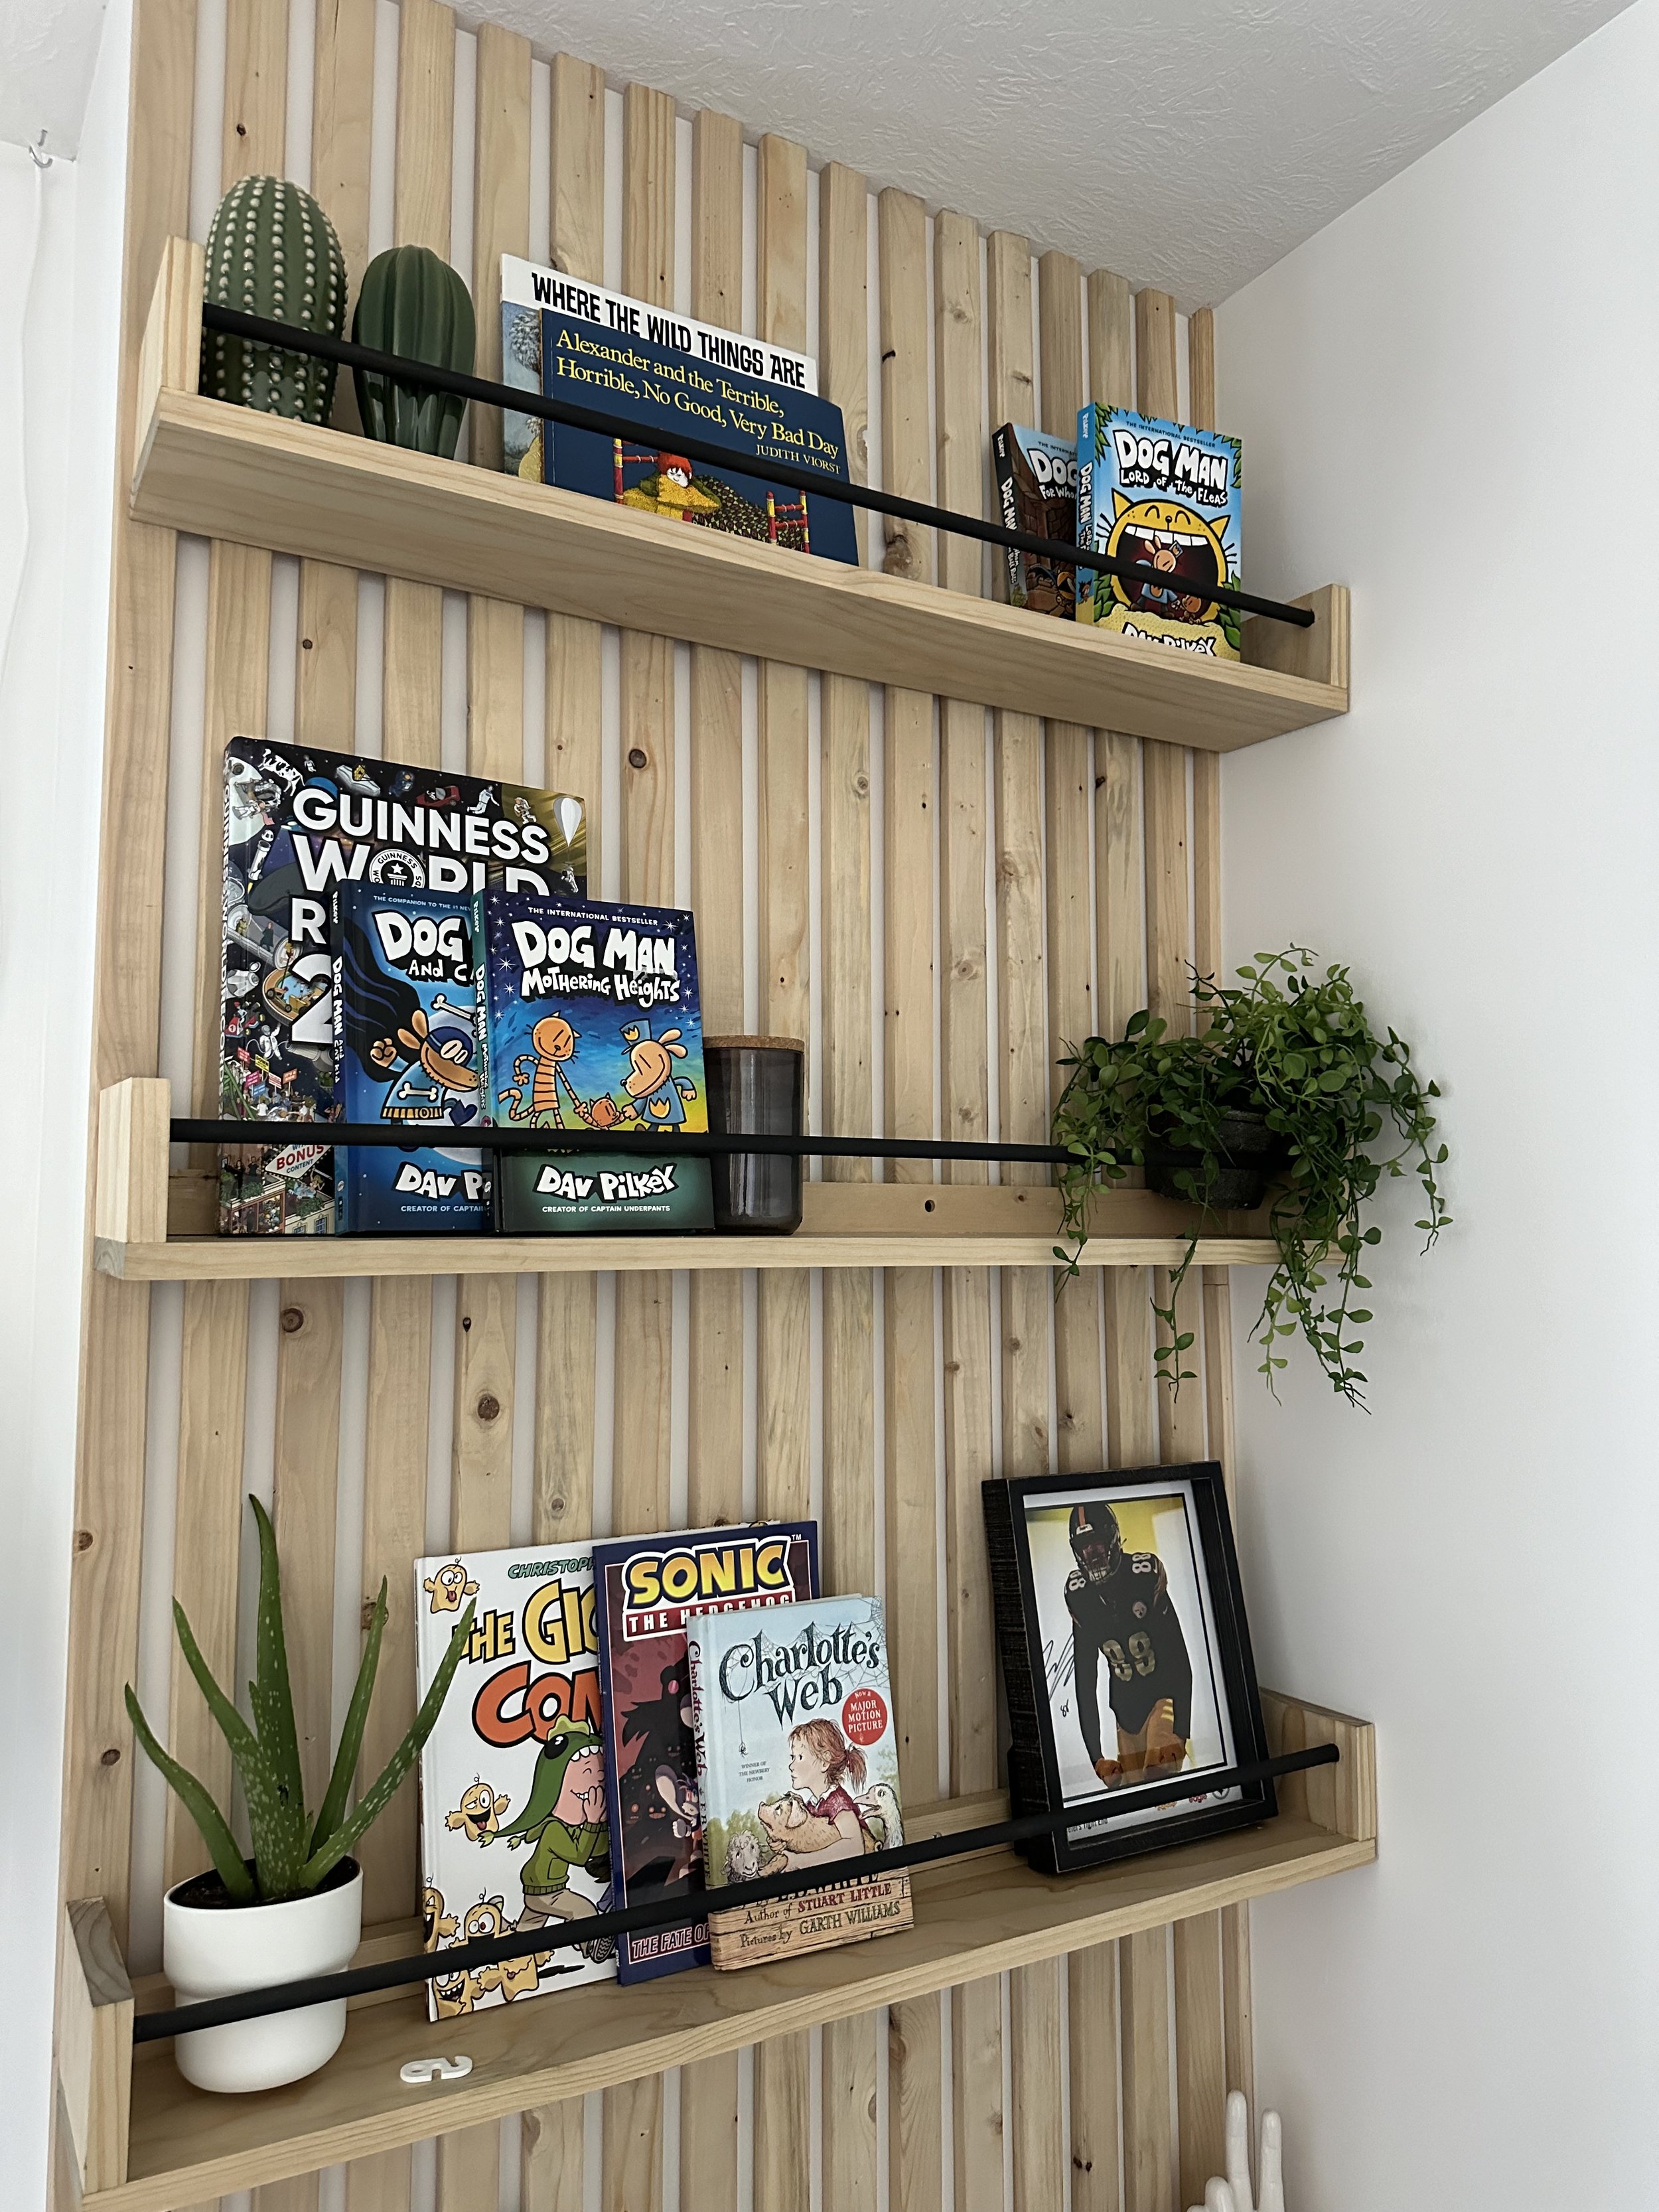
How to Create a DIY Slatted Wood Wall
My 7 year old loves to read to the point that he asked Santa for an entire series of books (it ended up being a 23 set!) When I was redoing his bedroom, he had this weird bump out which I thought would be the perfect place for a statement wall + functional bookshelf. In comes the slatwall bookshelf!
Materials Needed:
(16) 1x2x8 furring strips
1/2″ dowels
1x6” pine select board (for shelf surface)
1x2” pine select board (for shelf backing)
Paint or stain (optional)
Tools Needed:
Drill
Step 1: Install the Slat Wall
Locate the studs:
Before you start installing the slats, use a stud finder to locate the studs in your wall. This is crucial because you’ll want at least two slats secured to studs to support the weight of the shelves.
Prep the wood:
I used furring strips because they were only $2.50 per each 8ft piece! This saved me a lot of money, but added some backend work that I had to do to prep the pieces of wood. This meant I had to spend time sanding them nice and smooth.
I also ended up staining and sealing them before installing them. I used a pre-stain wood conditioner, Weathered Oak wood stain, and sealed with my favorite topcoat!
Measure and space the slats:
Next, use a tape measure and level to mark where you’ll place the slats on the wall.
Note: Most houses will not have exact level ceilings/walls. This means you have to measure and cut each piece indivudally. This takes so much time (especially if your room is upstairs, and your saw is downstairs!) but it is necessary to ensure a perfect slatwall.
I spaced my slats 3/4” apart, using a scrap piece of 3/4” plywood as a spacer to ensure consistency.
Attach the slats:
Using a brad nailer, attach each slat to the wall, making sure that the slats aligned with the studs are secured with screws for extra stability. For a clean look, hide these screws under the shelves or countersink them and use wood plugs to cover them up.
Fill in nail holes:
Once all your slats are up, fill in any nail holes with wood filler and allow it to dry. Sand down any excess filler for a smooth finish.
Step 2: Build the Shelves
Cut the shelves:
Measure the length you want your shelves to be and cut the 1×6 boards accordingly. Be precise with your cuts to ensure the shelves fit well on the slats.
Attach the back support:
Take a 1×2 board and attach it to the back of each shelf with brad nails and screws along the bottom. This will help attach the shelf to the wall later.
Drill pilot holes for front support:
Before attaching the sides of your shelves, mark where you want to add the front support. I drilled pilot holes for the front dowel but didn’t drill all the way through. To do this accurately, place a piece of tape around the drill bit 1/2” from the tip to mark where to stop.
Attach the sides:
Once the pilot holes are drilled, use your brad nailer to attach the sides of your shelves. Don’t worry if the edges aren’t perfect—just sand them smooth and fill any gaps with wood glue or wood filler.
Step 3: Install the Shelves
Attach to the wall:
Now that your shelves are ready, it’s time to mount them. Locate the slats attached to the studs on your wall and screw the shelves directly into these slats first. This ensures they are secure and won’t sag under weight.
Add extra support:
For added stability, use a few brad nails to further secure the shelves to the slats. This step will give your shelves extra strength.
Optional: After the shelves have been built, this is the time to stain them if you plan to do that. Regardless of staining them, make sure to seal them for protection with your favorite topcoat. This one is my favorite!
Step 4: Add the Front Support
Trim the dowel:
For the final touch, trim your dowel to the desired length and spray paint it (if you’d like) for contrast. I went with black to add a sleek finish.
Install the front support:
Once the dowel is ready, place it into the pilot holes on each side of the shelf. Gently bend it to fit into the other side, securing it in place. This will give your shelves a professional and clean look.
Final Thoughts
Congratulations! You’ve built and installed your DIY slatwall bookshelf. I’d love to hear how your build goes. Make sure to follow and send me a DM on my Instagram account @StudioAdash.


