FREE Table Makeover | How I Transformed a Gifted Piece into a Stunning Masterpiece

Table Makeover - After
Sometimes the best DIY projects come from the most unexpected places. In this case, my neighbor gifted me a table for free, and I couldn’t resist giving it a fresh new look!

If you’re new here, I’m Ashley, and I love taking old furniture and making it beautiful again while showing you how you can do the same. This table makeover turned out so well, and I’m excited to share the step-by-step process with you.
What I used:
Step 1: Stripping the Finish
The table’s veneered top had an outdated finish, so I grabbed my go-to solution: acetone. Acetone is perfect for projects like this because it melts the finish off effortlessly without damaging the delicate veneer. It’s like watching butter melt—it’s that satisfying!

Acetone is a great option for removing finishes if the finish isn’t super thick. If it is, I’d suggest a more powerful chemical stripper like this one.
Step 2: Adjusting the Height
Next, I focused on the legs. Since the table wasn’t at a standard height, I cut the legs down to make it more functional. A standard height not only improves the piece’s usability but also makes it easier to sell—win-win!
Note: I got A LOT of questions about this on social media. The table was originally at counter height (requiring barstools to sit at the table). I cut off approximately 6” to make it a 30” height table which is standard for a kitchen table.
Step 3: Prepping the Legs

The legs were raw wood, which meant I could sand them instead of stripping. Personally, I prefer sanding when I can—it’s quicker and gives me more control over the surface. I sanded them down smooth, ready for staining.
If you are sanding in a garage, like most of us are, it’s gets dusty really fast. I highly recommend hooking your orbital sander up to a shop vacuum. All you need is an adapter like this one that fits most shop vacs and orbital sanders.
Step 4: Staining for Depth and Dimension
The first step in finishing is to make sure to lightly sand with 220 grit or 180 grit sandpaper in the direction of the grain. This opens up the grain to make it accept the stain!
Then, apply a pre-stain wood conditioner. I used a water based pre-stain wood conditioner because I was using a water based stain. Whatever stain you plan to use, just make sure it matches (i.e. oil to oil or water to water).
When it came to staining, I trusted my gut and started with a light color. Specifically, I used rustic beige by Minwax.
My favorite way to apply stain is with a staining pad. When using a water based stain, it’s important to work quickly as water-based stains dry faster than oil-based stains, so apply the stain in manageable sections.
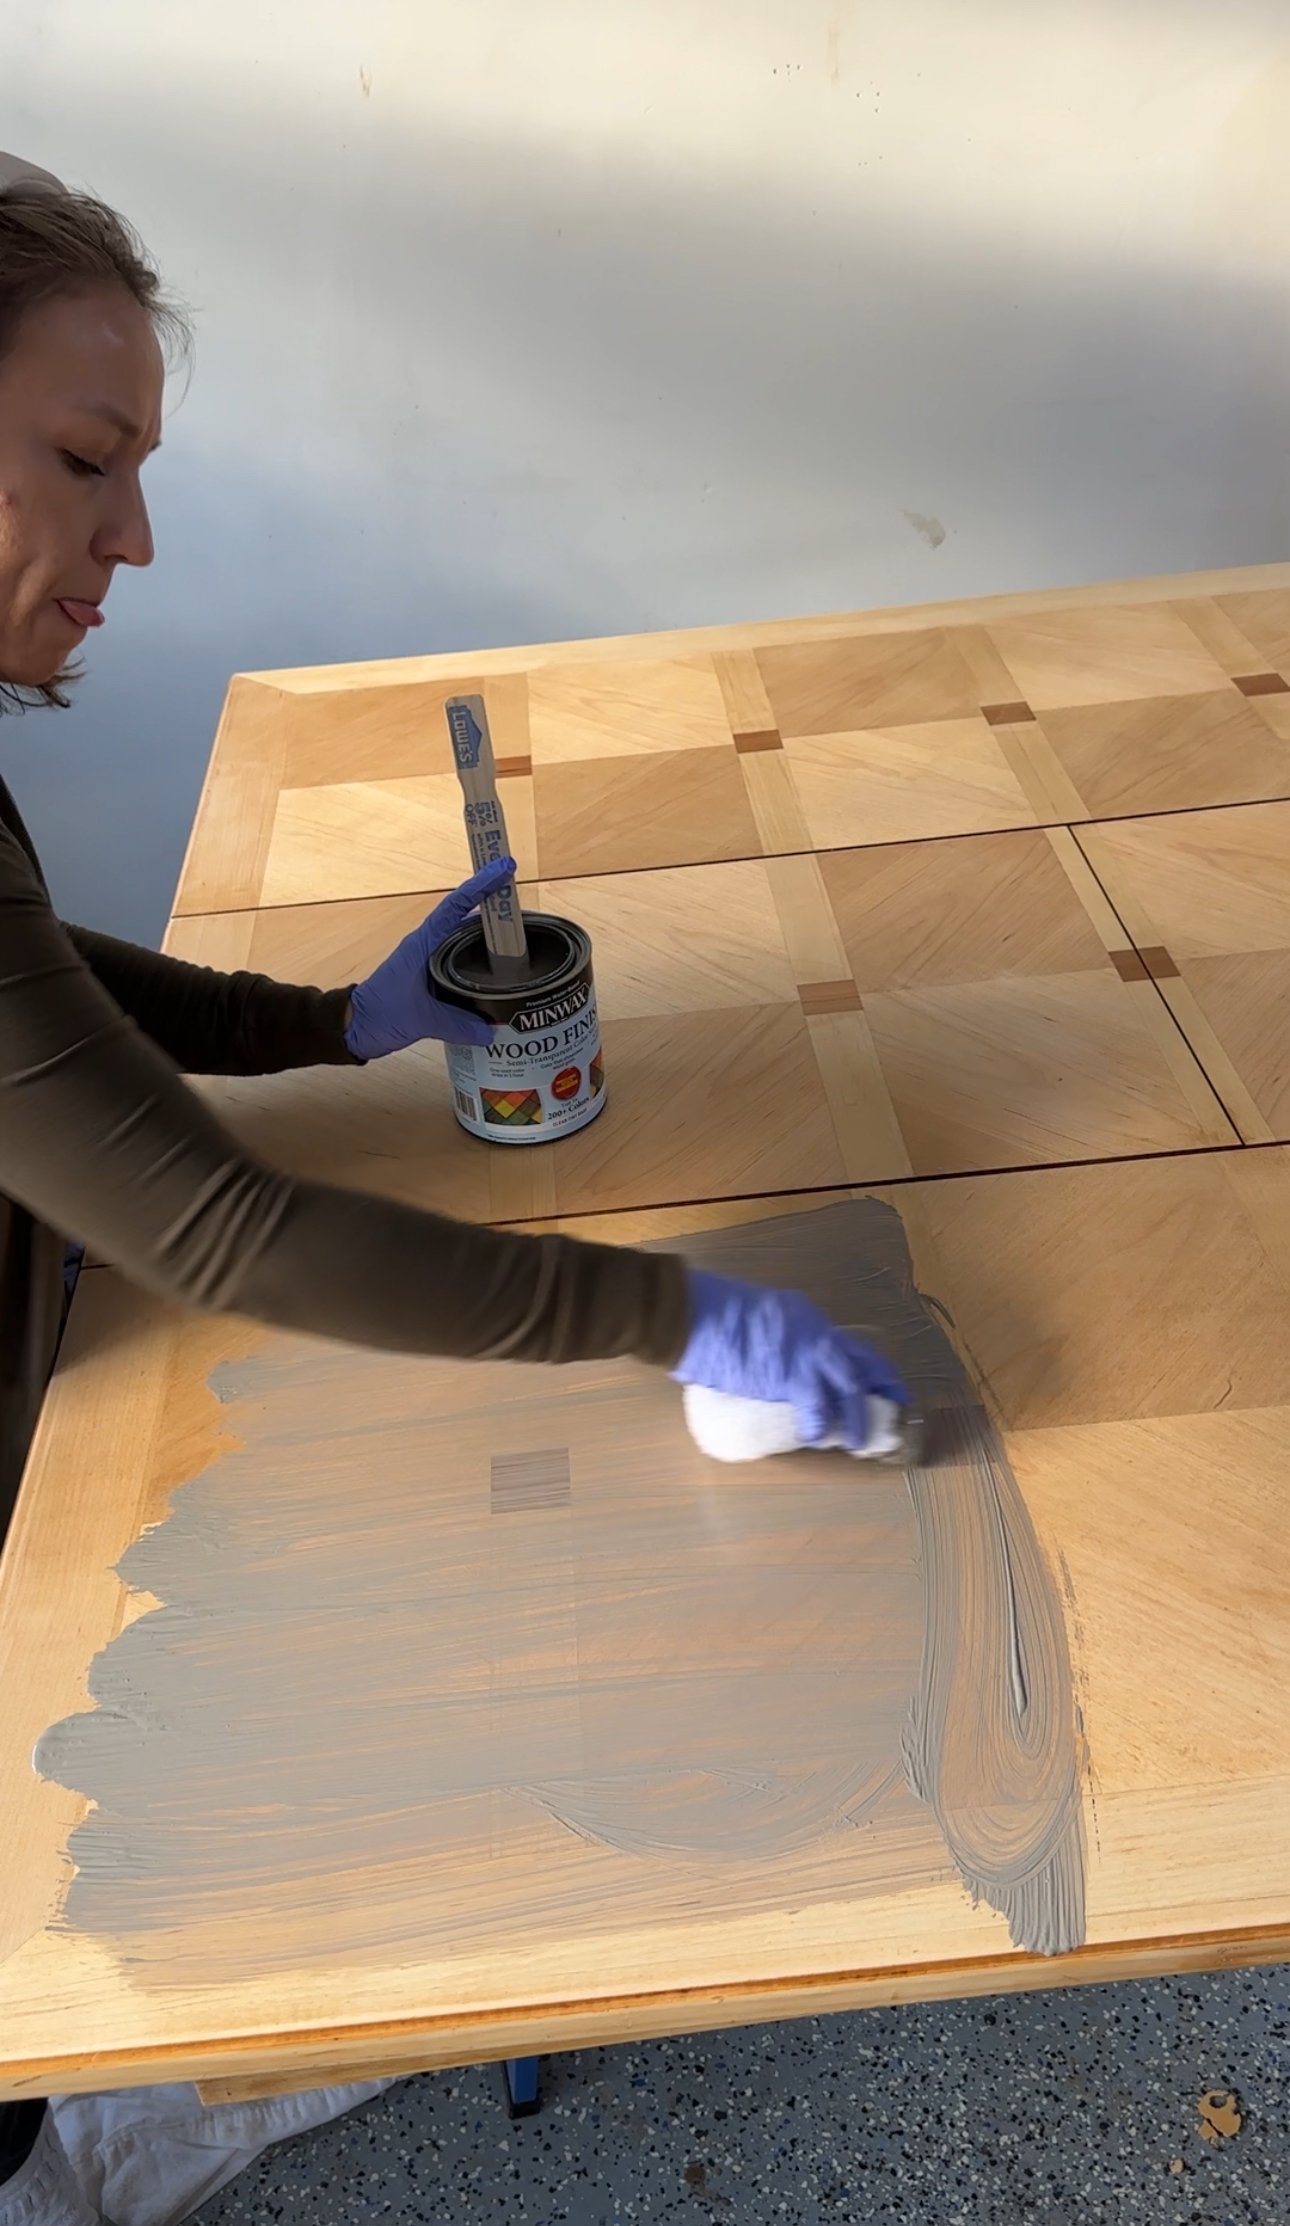
But after seeing how it looked, I felt it needed more depth. So, I layered on one of my favorite brown stains (Provincial) to achieve a rich, dimensional finish. Layering stains is a game-changer—it lets you create a custom look that’s anything but flat.

Step 5: The Perfect Topcoat
For the final step, I sealed the table with my most durable topcoat. This is my go-to for furniture that sees heavy use, like dining tables, coffee tables, and nightstands. A durable seal ensures the finish will last for years, even with daily wear and tear.
The Big Reveal
And here it is—the finished table! The transformation is dramatic, and I couldn’t be happier with how it turned out. Here’s a quick look at the before and after. None of these photos have been edited!


If you’ve been thinking about refinishing a table of your own, tables are a great beginner project because they tend to take more wear and tear than most furniture. They’re often in need of a refresh sooner than other pieces, which makes them perfect candidates for a makeover.
Want to try this yourself? Let me know how it goes!
Until next time, happy flipping!